Sub Enclosure Contruction

Now here is where the fun began. The enclosure took up the majority of the install time. the goal, fit 4 Phoenix Gold 12's in the back of a camaro and still leave room for the amp rack.... Here's how we did it.


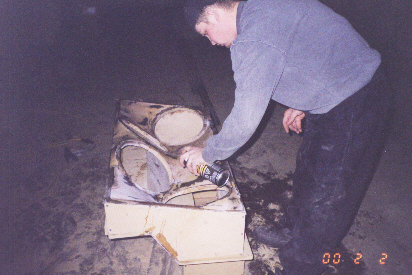
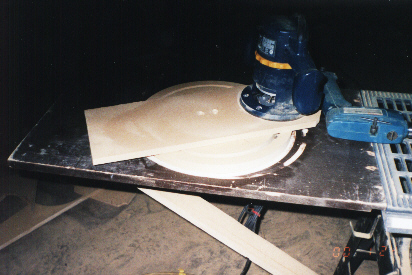
Hey I'm cheap, I didn't want to buy a perfect circle jig , so hmm I made my own... It worked rather nicely... I needed the rings for the box... you'll see....


Here the rings were attached to a frame that I had already built...I'd include pictures of building the frame but I figure even a trained chimp could figure it out.


Next fleece was stretched over the entire frame.


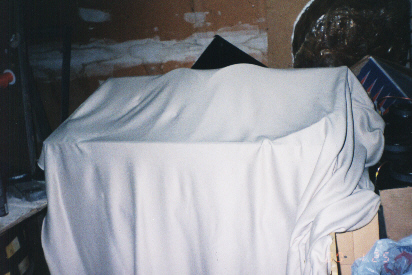
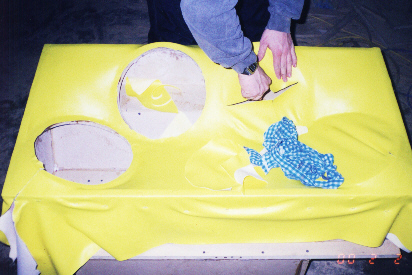
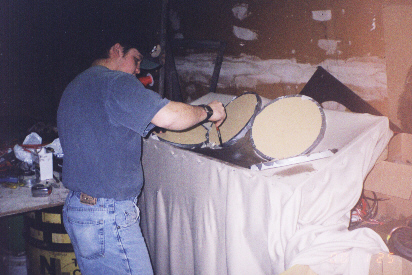
Then it was stretched and held down to shape with rings made from MDF. Resin was then applied to the enclosure. .

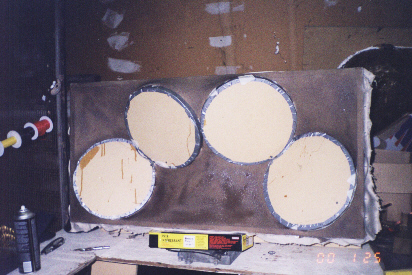
I think there were three layers of resin applied before I removed the rings

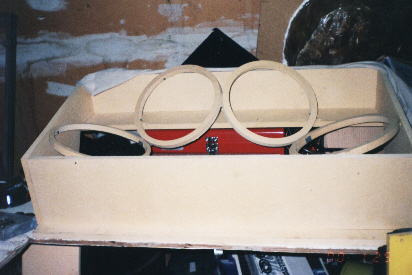
On the back side of the enclosure I applied long strand fibreglass around the rings for strength. then proceeded to apply layer of fibreglass matte and resin.

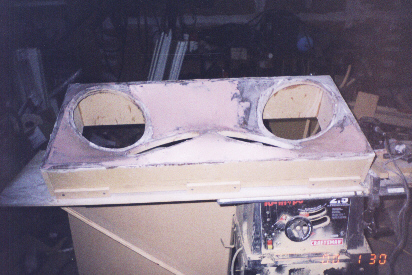
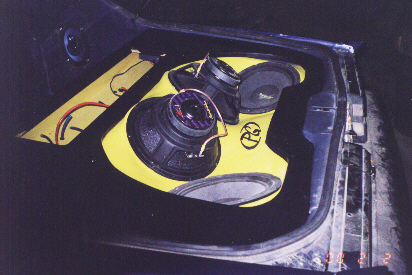
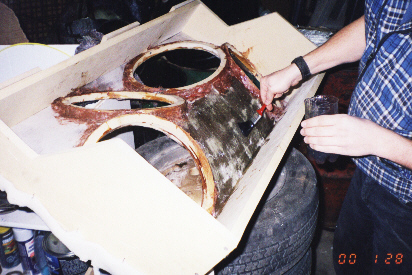
5 layers later, and being test fitted into the car vefore sanding

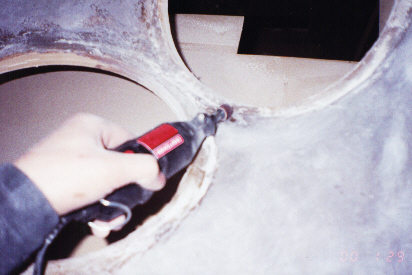
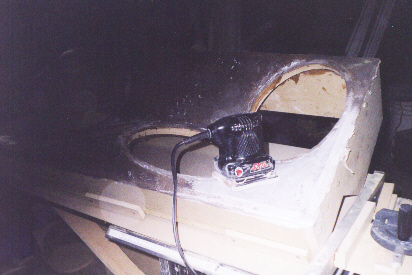
I used my electric sander for the most part.

Anything I couldn't get too with the sander I hit with the dremel.

In the process of body work, body filler was applied to smooth out the rough spots. and then sanded again and again and.....

After the top was done I attached the bottom half of the enclosure

Then the bottom of the top piece. (confused?)

I then fitted a piece of 1/4 MDF to the space left and covered it with 3 layers of matte and resin to strengthen it.

After it was all complete it was sealed with silicone and prepped for vinyl. here I am applying the glue.


Now unfortunatley vinyling  kept two of us busy for a good part of an hour, so we didn't snap any in progress pics. but here it is complete and cutting out the holes.


A steel PG symbol was put on the sub box for visual appeal. and the subs were installed.

Back