 Pearl
Harbor: Phase 2
Pearl
Harbor: Phase 2
Team Avenger
 Pearl
Harbor: Phase 2
Pearl
Harbor: Phase 2
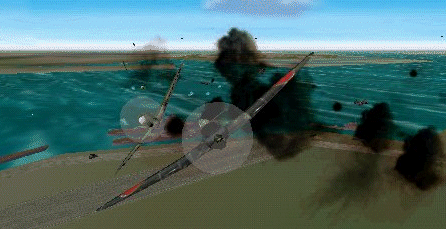
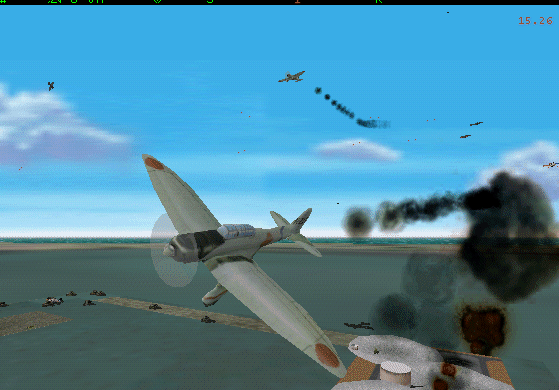
Frame 4:
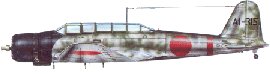
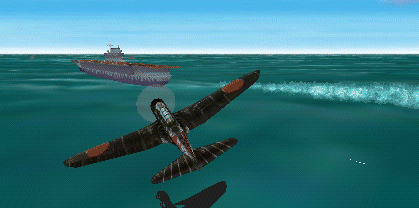
Kate07 from Kaga to Battleship
Row;

1.kate7.diving.gif 58.02 Kb |
2.battleship.row.gif 46.99 Kb |
3.lining.up.gif 53.17 Kb |

4.torp.out.gif 63.51 Kb |

5.over.bb.gif 61.13 Kb |

6.p40.close.gif 56.83 Kb |
7.p40.misses.gif 57.54 Kb |

8.close.call.gif 45.61 Kb |

9.too.much.gif 66.67 Kb |
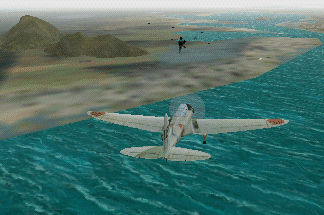
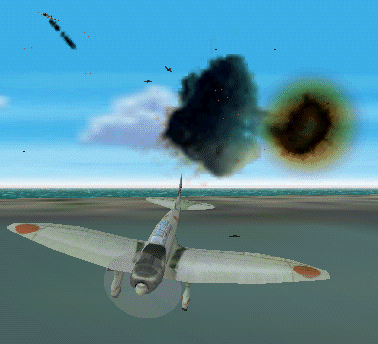
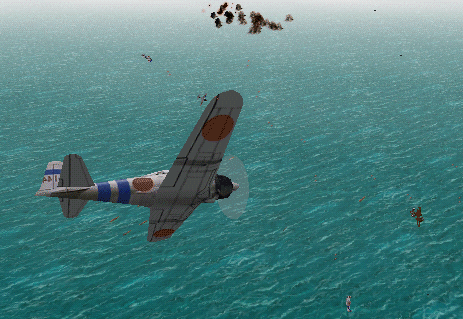
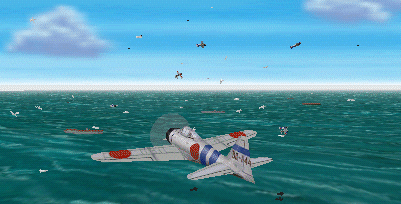
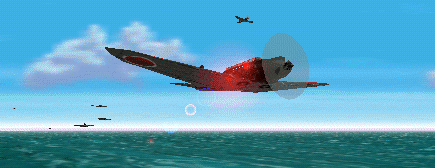
Frame 5:
Val05 Up 1Akagi to Ewa.
1.val6.to.ewa.gif 45.40 Kb |

2.diving.ewa.gif 63.38 Kb |

3.ewa.going.gif 28.52 Kb |
4.ack.and.f4fs.gif 46.97 Kb |

5.dropping.gif 71.59 Kb |
6.flaks.f4fs.gif 75.87 Kb |

7.zeke.cap.in.b35.gif 80.27 Kb |

8.pinging.b25.gif 63.68 Kb |
9.dying.b25.gif 94.05 Kb |
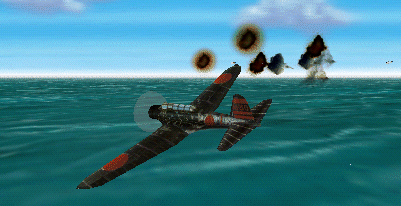
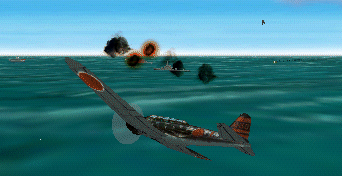
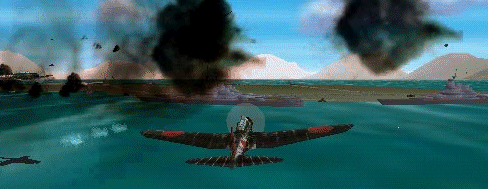
Frame 6:
Kate06 up 1Akagi to the Enterprise.
1.kate7.in.enterprise.gif 30.20 Kb |
2.enterprise.ack.gif 43.54 Kb |
3.cv.in.site.gif 30.27 Kb |

4.thick.ack.gif 40.03 Kb |
5.drop.gif 38.53 Kb |

6.fish.in.water.gif 42.61 Kb |
7.zeke.cap.gif 43.72 Kb |
8.thick.zekes.gif 54.87 Kb |

9.mighty.thick.gif 63.04 Kb |
![]()