| Using "Extract" to copy a picture onto another background! Photoshop_Home - Fred's_Photo |
|
|
|
Step 1: If you are using Photoshop 5.5 or later you have a new option available - - "Image Extract". It is available from Image on the toolbar. |
|
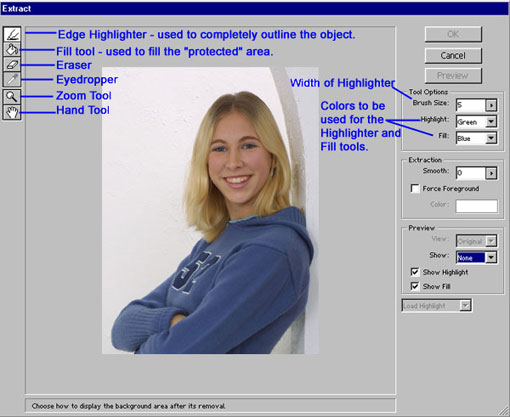
Step 2: When you select Image > Extract you will see this window. The tools will require some explanation.
|

|
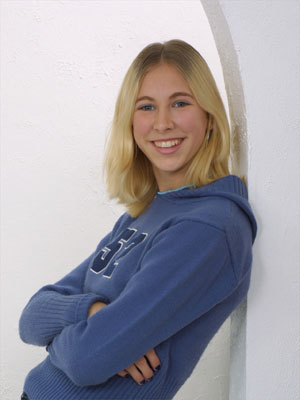
Step 3: With the brush size set to 25, I quickly (and quite carelessly) outlined the image of the girl. You will find this to be a very forgiving tool, however depending on the contrast between the subject and the background you may need to be more carefull with your lines to cover more of the white. The Eraser is also very helpful if you happen to select too much of the image. Experimentation with your own image is the best way to learn and understand the Extract process, since each image is different and making the correct settings is dependent upon your needs. Plus once again if you are using darker subject on a lighter background or visa versa you will find that the separation will be easier to do. |

|
Step 4: With the Fill tool selected, I clicked the a girl's image and it was automatically filled with blue, the color I had selected for "Fill".
Note the example on the left. |

|
Step 5: Clicked on the Preview button, and waited patiently, this is what was revealed. Note: the Preview cannot be "undone". Why they call it Preview is beyond me! You must click on the Okay button to return to the main Photoshop window and then undo the extract if you need to and if you are not happy with the results undo your picture in Photoshop and do it again in Extract. |

|
Step 6: After you clicked on Okay and returned to the main Photoshop window, add a layer under the image and flood filled it with blue or black as in our example here. To add a layer under your image layer you will need to make the background a layer. This is done by double clicking on the layer in the layer mode. You will then get another dialog box to tell you that the background will now be layer 0. Just click OK. You can now add a layer in a few different ways and move the new layer under the image layer then just fill it with the paint can or go to Edit> Fill. |

|
 Step 7: At this time you have several options. You can zoom in and using a small eraser, I can erase the unwanted white until the blue under layer is revealed. I can also "undo" my extract and try again.
If I choose to re-do the extract, I might also experiment with the settings to increase the softness, give my Highlighter a smaller dimension for greater precision, and best of all I can zoom in on the image to get a better view and improve my accuracy. |

|
Step 8: At this time you are ready to transfer the image on to a new background. To do this I usually just grab the inmage and drag and drop it unto the new canvas with the background image. Have fun! Experiment and learn and develop your own technique. There is no right answer. This task can be done several ways. |
All rights to this page reserved by Fred Meulemeester.