|
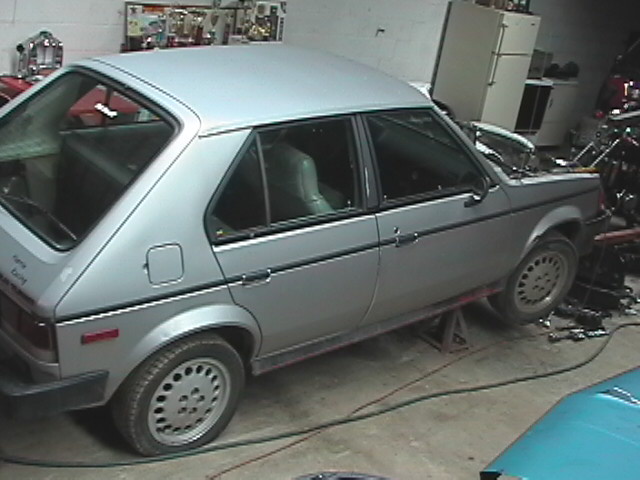
| 85 GLH Turbo Omni |
|
| This picture was taken right after i dropped the engine out. |

Shown above: The ever popular GLH factory decal created by Carrol Shelby. Which stands for "Go Like Hell"
Enter images and other content here
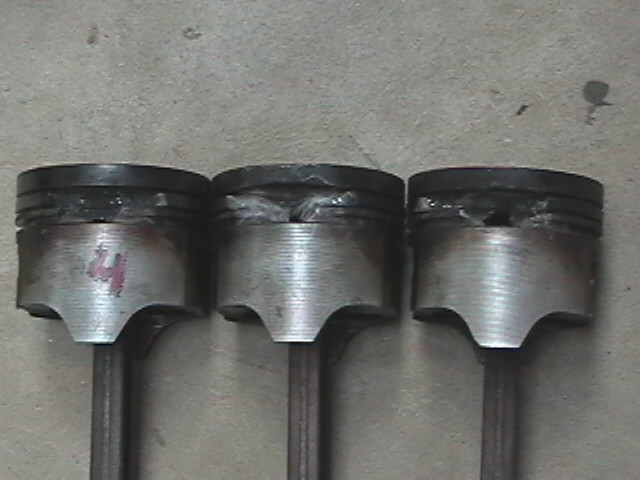
Shown above: This is the 3 reasons why i chose to remove the engine. However, even though these 3 look
pretty bad. They did get me home which was about 2 miles from where I burn these. However it costed me a coulle
quarts of oil. But it was worth it. I was dreading the walk home. This can just be a little reminder of what 30 plus
pounds of boost can do in about 4 seconds.

Shown above: This is the block that i will be using to build my new engine. There are several reasons while
i chose to use this motor. This is an 86' block instead of my 85'. The 86 has a larger diameter head bolt which
is a 11mm instead of a 10mm bolt. Larger is strongly recommended here. Later models had cross drilled holes for better cooling
, but i don't have one so i can use it, but the 11 mm headbolts are the largest available so i should be fine.

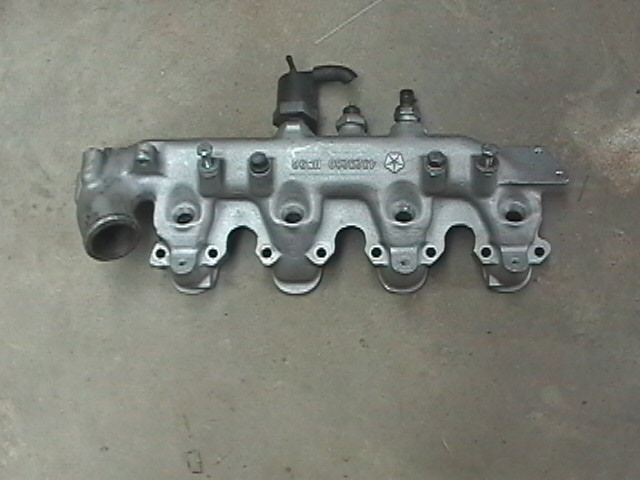
Shown above: This is the intake i chose to use for the conversion. It obviously has far better flow with
equal runner length allowing the same flow of air to each cylinder. This intake is good for whatever boost ya can push to
it. In addition i chose to clean the runners up to try to increase te air flow. Note i still have one more runner to do if
ya notice in the pic. This intake give ya the opportunity to use an intercooler and a blow off valve to get that sweet
sounding swoosh sound when ya shift gears. Also shown is the valve cover that is something that you have to have when
using this intake, this is one of the things that usually isn't mentioned in converting. Unfortunatly this isn't the only
item that is overlooked. By the way this intake and valve cover is from a turbo 2 , 1989 2.5 Turbo dodge engine.
i would have used the turbo from it but it is a smaller one , it is a mitsubishi turbo, and i like to stay with the bigger
Garrett.42 turbo, they are able to push more boost at a larger volume.
Not Pictured yet is the head and cam, I'm currently getting it cleaned and ready to bolt on. I chose to use the
Roller cam and followers from the 1989 2.5 engine. It is suppose to reduce the friction like 60 percent over the
stock one. And a great thing is that is a a direct bolt in, just beware of timing.
Watch for many more pictures to come very soon. I will be showing the fabricated parts
that i will be making and also the progress pictures of how everything is coming along. So watch for many more updates
to come soon!!!!!!
|
 |
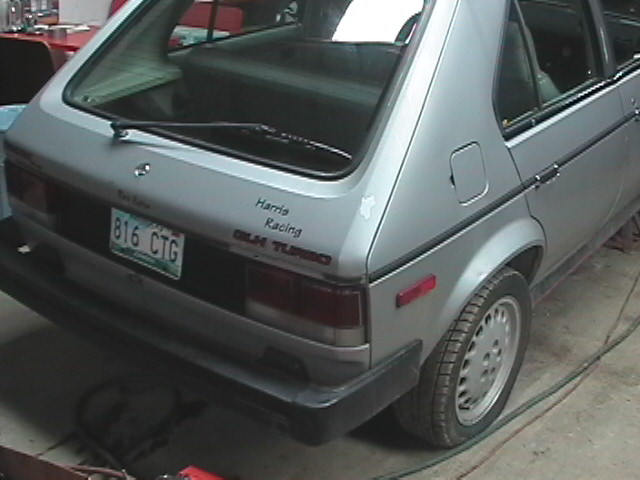
| The Rear View |
|
| This is just a pic of what most common street cars will see when back on the road. |
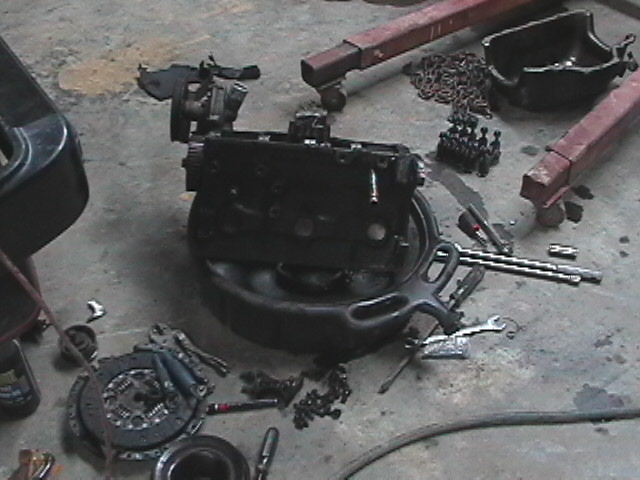
Shown Above: This is what the motor looks like when taken out and striped as you can see it was very oily due to a little
blow-by that it encountered the last few seconds of it's life.
Shown above: This intake style is known as a Log style intake. Which is very poor in flow. Due to the
huge turn at the #4 end of the intake it cause #'s 3,4 to run richer than #'s 1,2 because of how the bad curve flows the air
under pressure. Some dodge experts say that this intake is good till about 12-14 pounds of pressure. However keep
this style in mind because the new type that i choose to run blows this one away in flow and design.
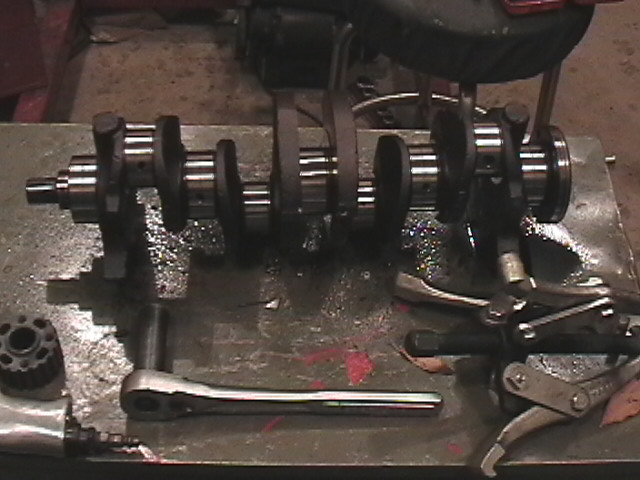
Shown Above: This is the cast crank that came out of the motor and due to that it is in so perfect shape i chose
to reuse it in the new motor, of course i will be using new bearings. This crank is a 6 bolt and there are also 8 bolt
cranks as well. I have an 8 bolt and 8 bolt is usually recommended, but since every thing looks so good on the 6 bolt and
i have the matching flywheel already witha new pressureplate and clutch for it i chose to stay with it.
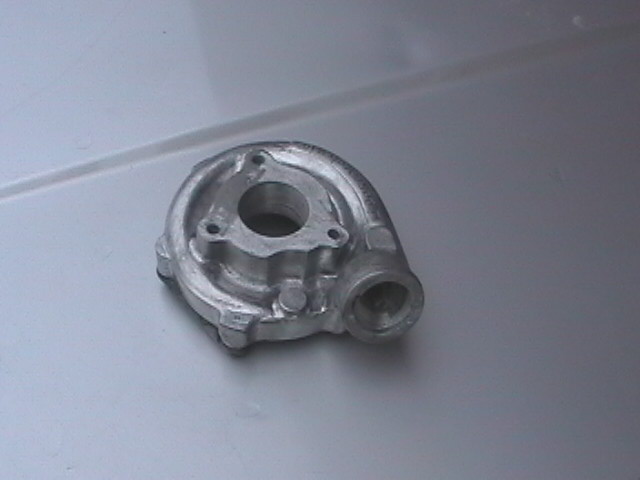
Shown Above: This is just what the turbo compressor housing look like after i tried to clean it up as good as i possibly
could. I will have to modify this part because the original use was for it to be a draw through style and i will be using
this turbo for a blow through style. So i have to loosen this piece on the turbo unit and rotate it 48 degrees forr
clearance reasons and also reposition the waste gate canister. Where ya see the three bolt holes originally there were
a nasty 90 degree turn right before the air entered the turbo i have to fabricate an new inlet piece so it can have a straight
shot for more flow.
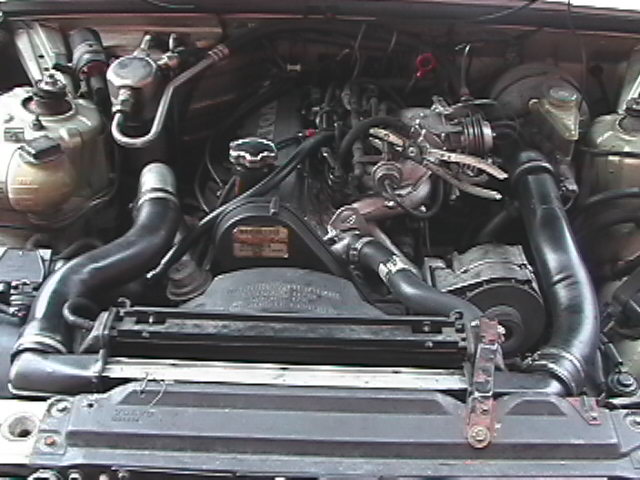
Shown above: Believe it or not this is not a picture of a dodge engine or even ford. This is the engine of a 87
turbo Volvo station wagen. There are a few pieces that i'm gonna "Borrow" from this to help my conversion on my dodge.
For example if i use the fuel pressure regulator it will let me use bigger injectors without changing my computer. This
is because it is 15 pounds less pressure than a turbo 1 fuel regulator. I can take out my size #27 injectors and use
turbo 2 size #33 injectors. This will give the engine more fuel so i can supprt more boost. Also i plan to use the Huge
intercooler and hosing from this car as well. It will also involve a few fabracated mounts and pipes but shouldn't be too
bad.
|