Hardtwist 3D | home
Poser 4 Tutorial
PART 1
Fog Effect
This tutorial is for Poserholics who know how to add characters and props to make a scene. If you need help with that, this tutorial may not help you. I urge you to look for some basic tutorials of which there are many. This tutorial is not meant to be the only way to do fog effects in Poser. It is just one way.
For this tutorial I have ask a couple of my friends to help out. Well actually they insisted. They said that the fog is where they live and if I were going to do anything with fog I would need their approval. So please welcome my two friends from Daz.
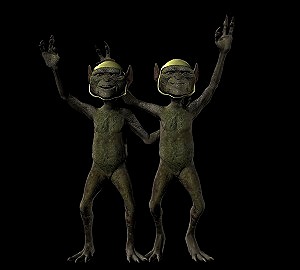
What! You know about Gremlins. You say they smell and are a nuisance. You would probably be right but this is a low budget tutorial and they work cheap. So with their help I will get on with the tutorial.
What you will need for this tutorial: Poser 4
The image that is included here.
Set up a scene that you want to work with in Poser or if you just want to experiment use a blank setup.
Set the background the floor and shadows to black.
Get the cylinder from your Props>Prop Types library.
 That's the one Grem.
I tried this technique on all the other prop types and the cylinder gave the best results.

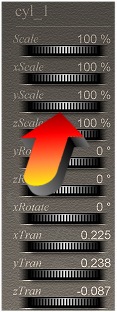
Ok now set the Y axis of the cylinder to "0".

Take it easy boys. It will be ok.
You need to scale out the cylinder to cover the camera view. Scale it to 1200. That should do it. You may have to move it around to make sure there are no areas that are not covered when rendered.