Okay...If you came here it must mean you are not familiar with the ICQ Plus
and skins. ICQ Plus is a very easy program to install...When you install
it it goes where it supposed to. After installing the ICQ Plus load your
ICQ program and then go to the ICQ button and click it and you will see a plus
sign with PLUS there. When you wish to change your skins you will need to go
here.
What does ICQ Plus and skins for your ICQ?

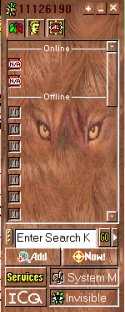
ICQ Before
ICQ After
1. Load you icq if it is not already then go to the ICQ button and click on the Plus.
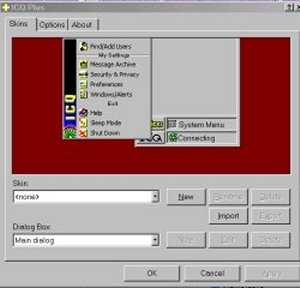
2. Click the import button here that you will see...then use your drop down arrow to search for the folder that you have downloaded your icq skin to.
3. Highlight the downloaded zip file for the skin you have downloaded and then click open.. ICQ PLUS will convert the file during this time and work to install it to icq. Make sure you click apply.
4.All skins that you have used this process for will always remain within the ICQ plus section and you will be able to rotate and change your skins as little or often as you like by using the drop down arrow by Skin and highlighting a stored skin and then clicking the apply button.
I hope that I have explained this so that it is understandable. Explaining things have never been my strongest suit...Lol