Style 29 Lesson 7
Full Sleeves and Cuffs
With photo's and instructions by
Marsha Olson
(printout is 2 pages)


I needed a wider cuff than the narrow one given in the pattern,
in order to have room for my trim, so I cut 4 of the cuff pattern.
If you are using the cuff as is, you will get a narrow cuff that
is attached the same and gets folded to the inside to finish.

1. At the hem edge of the sleeves
and lining, press the fabric to
the inside following the marked
lines on the pattern. This
becomes the sleeve opening.

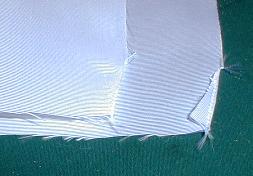
2. For the wide cuff press in the long
edge of the inside piece and stitch
the two cuff pieces together making
sharp corners.

For the narrow cuff, press in one
long edge on each piece.

3. On the wide cuff, angle trim the
corners.

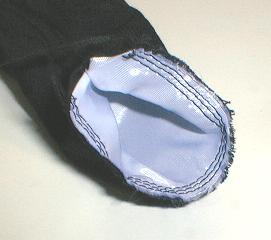
4. Turn the cuff and press. The
pressed edge will be to the inside.

5. Pin the sleeve and sleeve lining
together at the cuff edge and run a double
(or triple row if your fabric frays)
of gathering stitches around
the end of the sleeve.

6. Gather the sleeve down to fit
the cuff.

7. Pin the cuff to the gathered
sleeve and stitch together.
4. After turning the folded edge
to the inside, finish by hand around
the top folded in edge and the opening.
Finish the cuff with a snap or button.

End Style 29 Lesson 7


You are visitor number


HOME CLASSES CLASS 29 INDEX LESSON 1 LESSON 2 LESSON 3
LESSON 4 LESSON 5 LESSON 6 LESSON 7 LESSON 8