Perfect Patterns Style 39
Heirloom Sewing by Machine
~ Lesson 7 ~
Petticoat
With photos and instructions by
Marsha Olson
(printout is 5 pages)


1. Spray starch your voile fabric.

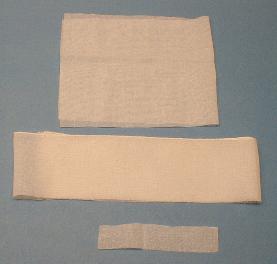
2. Cut out your pieces:
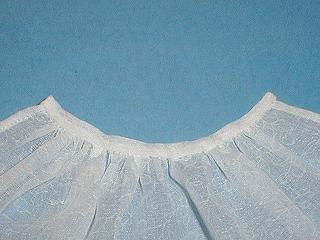
Cut 1 of Waistband B (6)
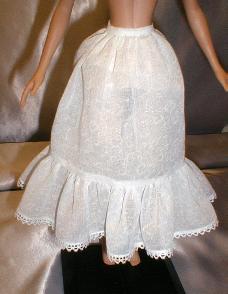
Cut 1 on Fold of Petticoat (7)
Cut 1 of Petticoat Ruffle (8)
Decide ahead of time how long you will be cutting your petticoat ruffle. The longer the ruffle, the fuller your skirt will look with the petticoat under it to hold it out.
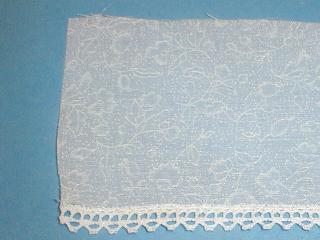
3. Finish one long edge of your petticoat ruffle.
Serger or Zigzag if you are going to trim the edge with lace.
Narrow rolled hem if you are not going to trim.
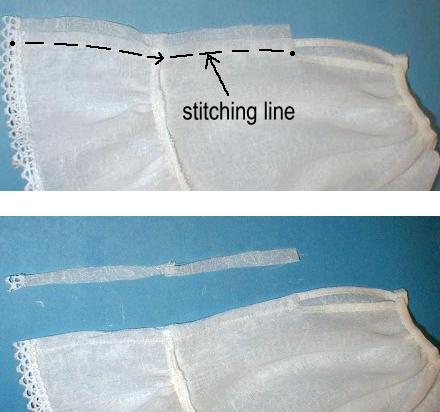
4. Butt the edge of the lace to the finished edge of the ruffle. Zigzag over the two edges the length of the ruffle. Stray starch and steam press.
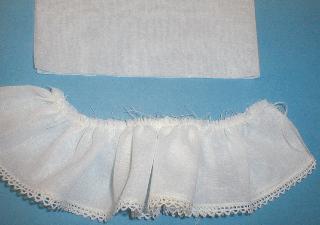
5. Gather the ruffle to fit the petticoat using 2 rows of gathering stitches along the top edge of the ruffle.
6. Sew the ruffle to the petticoat and clean finish the seam. Press the seam up towards the petticoat.

Note: At this point you may go on, or you may top-stitch the seam, trim with lace above the ruffle, or with several rows of lace if you want your petticoat lavishly trimmed.


7. Double fold above the back opening clip on each side, press, and straight stitch.
8. Gather the waist edge of the petticoat with a double row of gathering stitches.
9. Stitch the petticoat to the waistband and finish following the waistband instructions in Lesson 5.


10. To make the back opening of the petticoat overlap: stitch the center back seam mismatching the raw edges and using the inside edge as your 1/4" mark. Trim the excess and clean finish.
11. Finish the back opening with a snap or narrow ribbon ties.

End Lesson 7


This page can be printed out
or saved as complete webpages (including photo's).
Instructions For Making a Desktop Folder
and Saving Lesson Pages!


You are visitor number


HOME CLASSES CLASS 39 INDEX LESSON 1
LESSON 2 LESSON 3 LESSON 4 LESSON 5
LESSON 6 LESSON 7 LESSON 8 LESSON 9
LESSON 10 LESSON 11 LESSON 12 LESSON 13