|
|
|
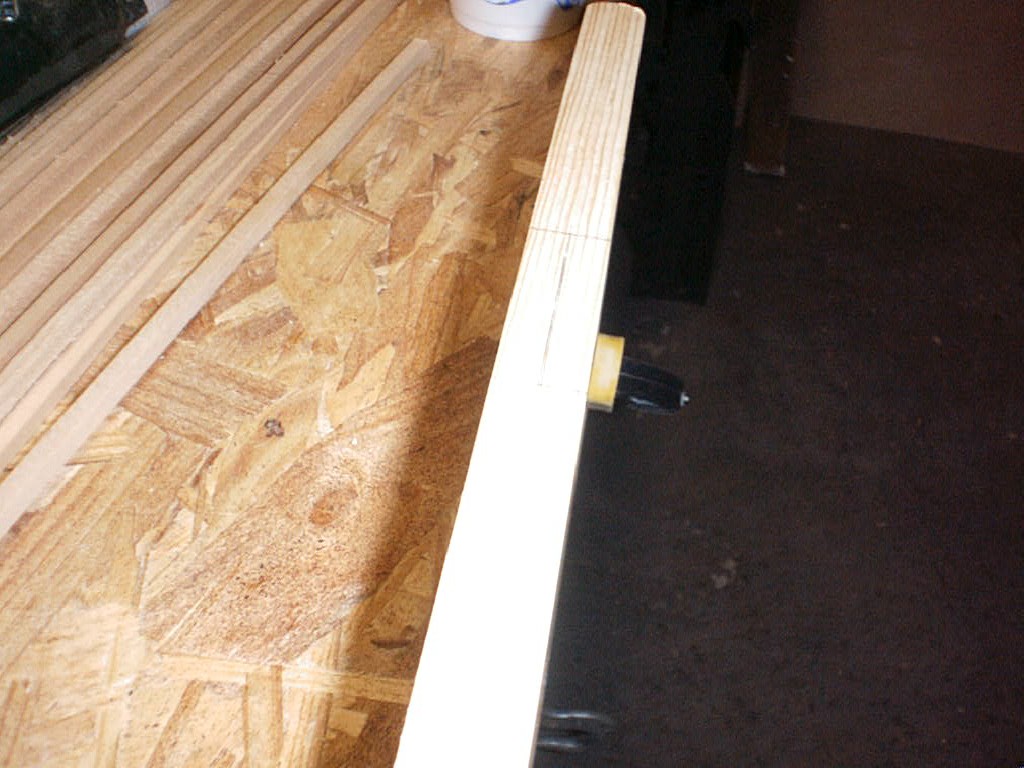
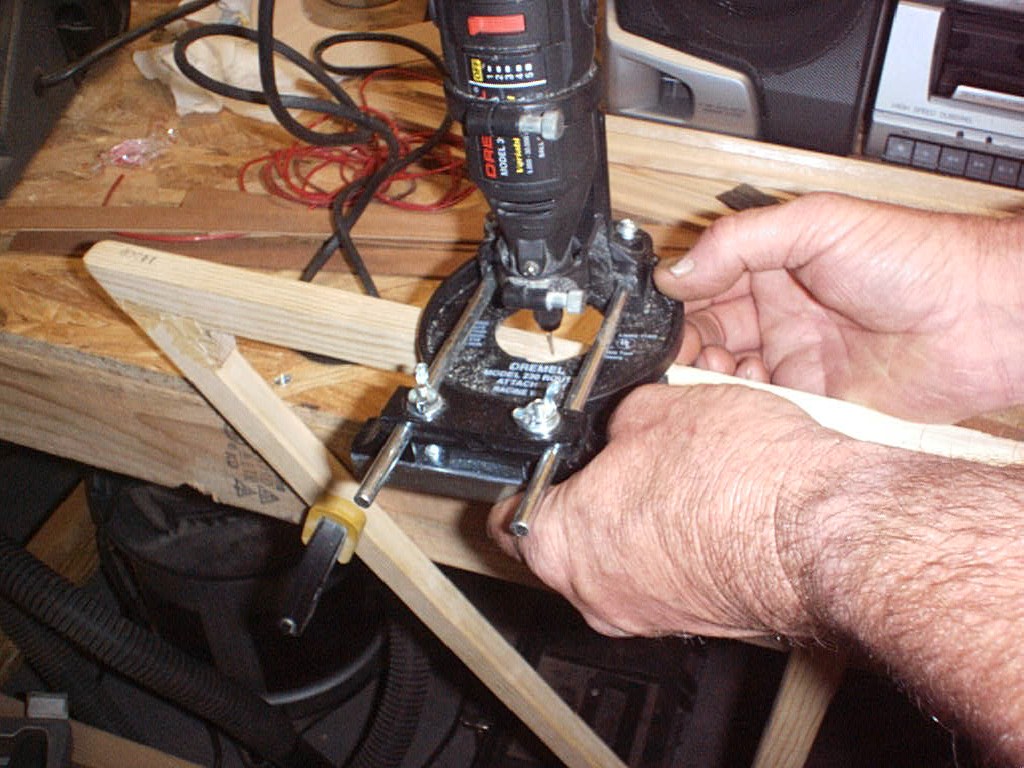
The plans for the RW1 tell you to drill the hinge slots with a 1/16 bit, then clean out the slot with a jig saw. My tail
feathers don't fit in a drill press and I can't drill straight with a hand drill.
So this is the way I did it.
|
| mark the center and length for your hinge |
| The one tool everybody should own |
|
| set the depth and fence, don't try to take all the wood out at once. |
We used a dremel with the router base attachment. The first pass we used a small cutter bit and cut the slot to about
3/16. Then changed to a 1/16 drill bit and made several passes to get to the depth we wanted for our hinge. Be sure to keep
the fence of the dremel snug up against the stock.
When I say "We" I'm refering to my neighbor David. If it wasn't for him, I'd still be scratching my head, looking at
the plans. In fact, lots of the tools that I use belong to him. If he ever decides to take all his toys and go home, I'd be
in trouble.
Thanks David.

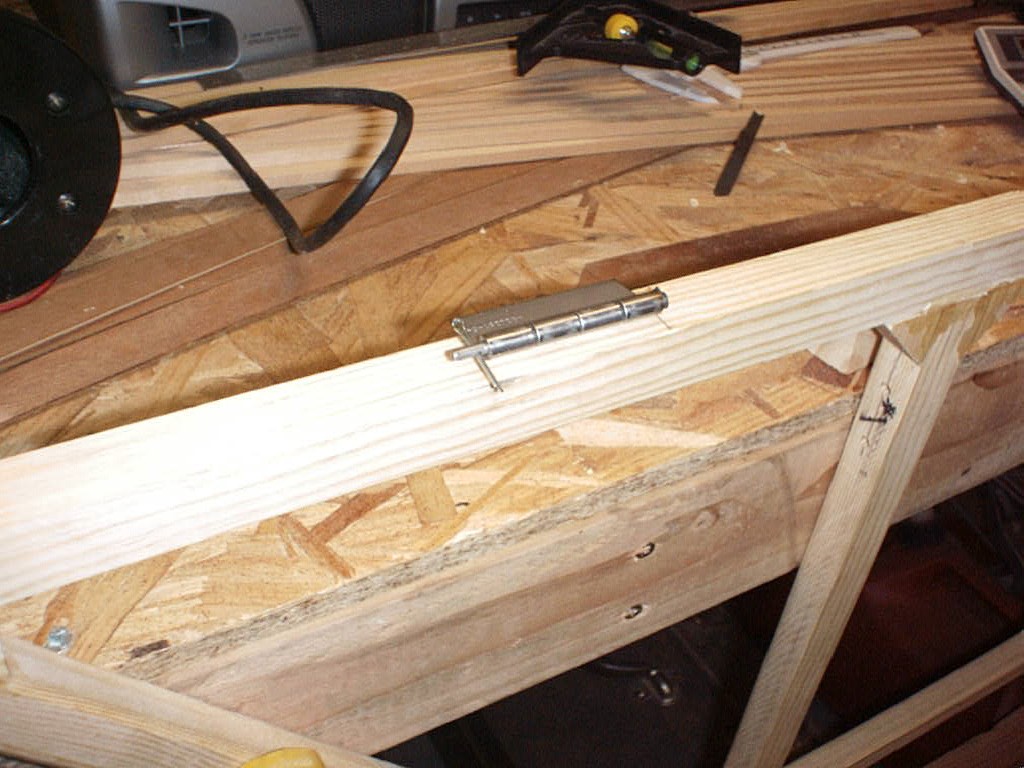
|
| clean out the cuttings from the slot.. |
| Amazing! |
|
| the hinge fits nice in it's new slot! |
| Practice makes perfect |
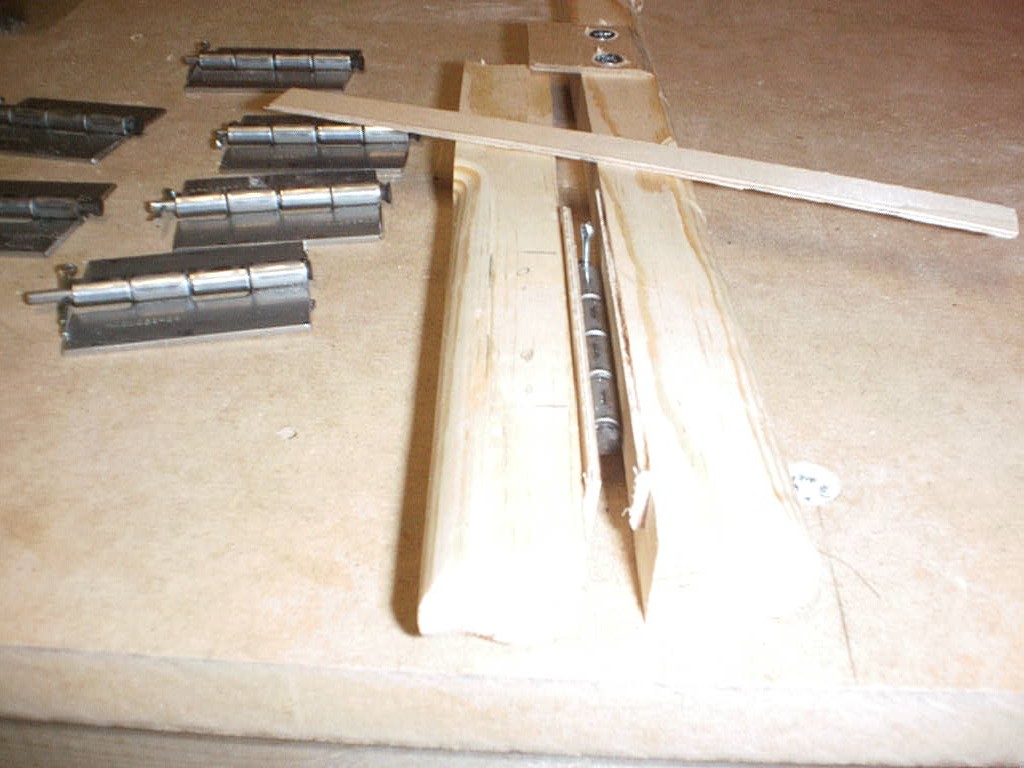
|
| we made a test hinge before hacking up an airplane part. |
We placed a piece of 1.5mm ply on each side of the hinge for nice even spacing. Now all is left is to drill the holes
and add the screws.
|