|
A Better Island Planter
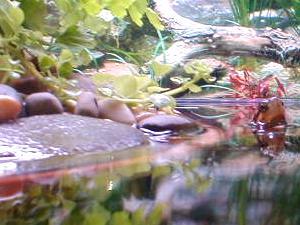
In Tour Two we show you how we use an aquarium for housing baby and juvenile water turtles. One item featured is a planter which is a favorite basking spot. While it works well, it requires the artificial log next to it for most of the turtles to climb onto the planter. Here is another way to make an island planter. We start with a 6" clay
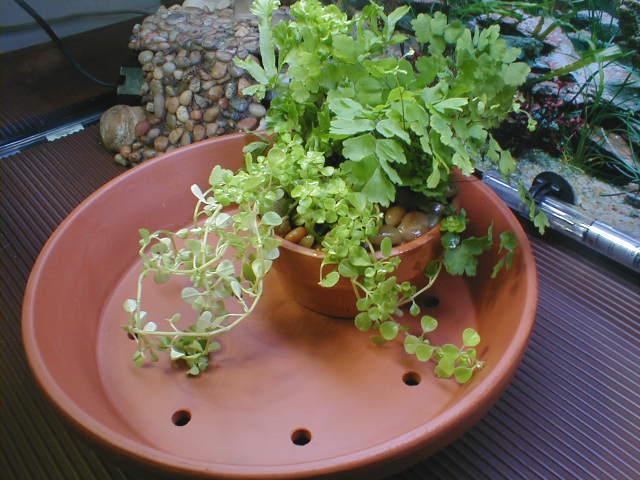
flower pot saucer placed upside down. On it we place an 11" clay flower
pot saucer with some holes drilled through the bottom. More on the holes
later.
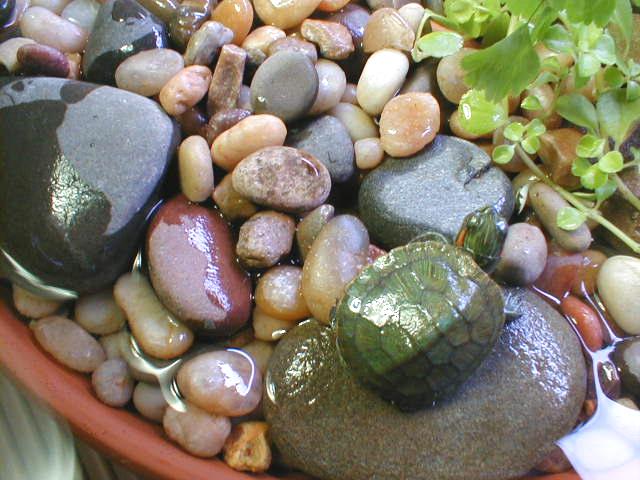
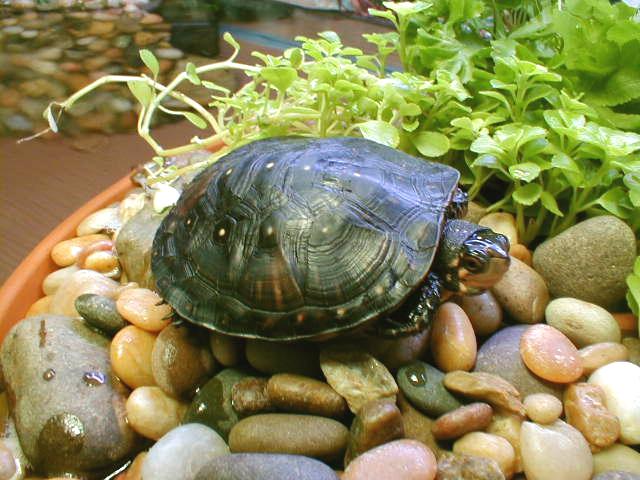
In the 11" saucer we place a higher clay flower pot planted with ferns and baby tears. The drainage hole in this pot was closed with hot melt glue. Aquarium cement will work well too. The plants are planted in potting soil covered with pebbles. We placed the planted flower pot to the back of the large saucer. Next the 11" saucer is filled with pebbles and stones creating a slope up to and over the lip of the planted flower pot concealing most of it. Some pebbles will be kicked off by the turtles. Large stones placed on top of the pebbles work well and are visually pleasing. | pic 6 | The water level covers the lip of the large saucer and some of the pebbles but does not cover the lip of the planted flower pot. Small turtles can swim onto the pebbles easily and do not have to climb over the lip. In this aquarium the water level often drops below the lip due to evaporation and dipping water out for feeding the turtles. The drilled holes in the saucer allow the water to be exchanged with the aquarium water rather than be captive in the saucer when the water level drops below its rim. Dirt in the pebbles may fowl the water. When makeup water is added to the aquarium, the water is poured over the pebbles to flush dirt from the pebbles. The holes allow dirt deep in the pebbles to wash out the bottom. So now we have a better island than the planter shown in Tour Two. We also have new area under the island for the turtles to enjoy. For turtles that like to run from us, they enjoy circling the island and we enjoy chasing and outsmarting them. We also get to pick up pebbles daily. Tinytwo our baby snapping turtle likes to wedge himself under the island. The space under the island is good additional space in an aquarium where space is very limited. The variations of this technique are endless. Plastic dishes and pots will work as well as clay pots. Pick sizes to suit your needs. Stack two or more support saucers if you need to make your island higher. You can also support your island on three small flower pots. Just make sure the weight of the island is heavy enough to be stable and that nothing floats. And if you are not sure about your arrangement, set it up in a separate container of water complete with turtles to test it before placing it in your aquarium. Some people like using ornaments and figurines in their vivariums and flower pots. There is no harm in using such items. We had a baby snapping turtle who liked to play fight with a ceramic snail. Imagine a little boat and hut on this island or a little boy fishing. Use your imagination and have fun experimenting! We hope you enjoyed our seventh behind-the-scenes tour.
|