|
The evolution of a 1994 4Runner into a Rock Crawler |
 |
|
Move mouse over images for details and click any image for a
larger. |
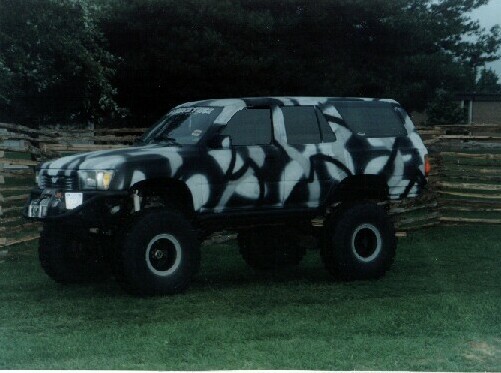
 STAGE 1 - need more clearance
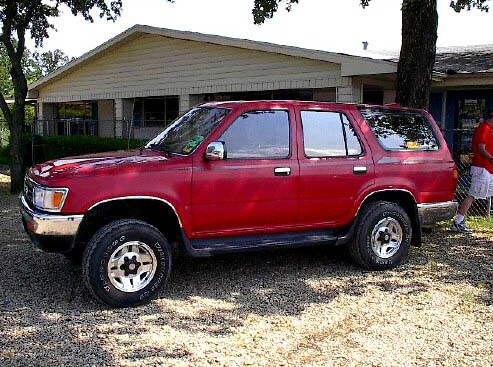
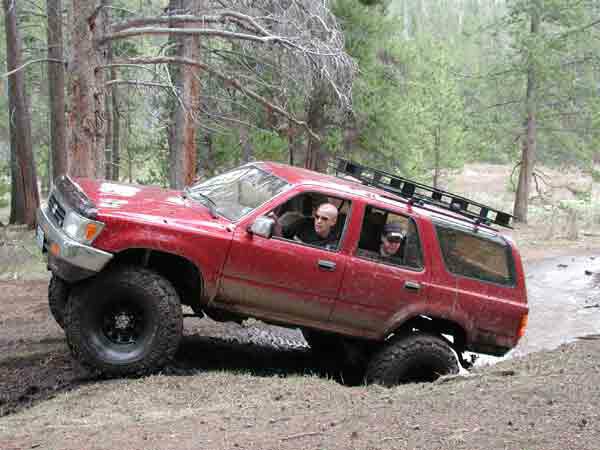
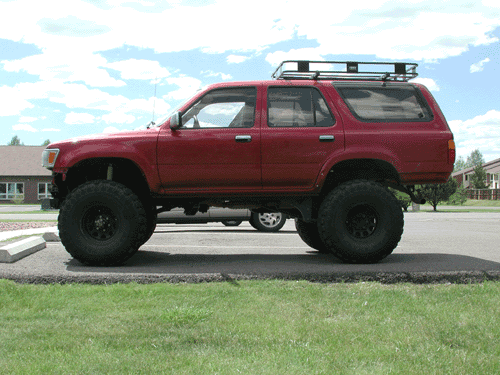
Added a 4" lift to rear and stock IFS(independent front suspension) and upgraded to 33" tires. The lift kit made the 4Runner look nice for a street machine but none of the lift kit was used on the final Crawler. (sometimes referred to as a 'Rock Runner'). A roof rack was added to carry more supplies.
Spring 2000
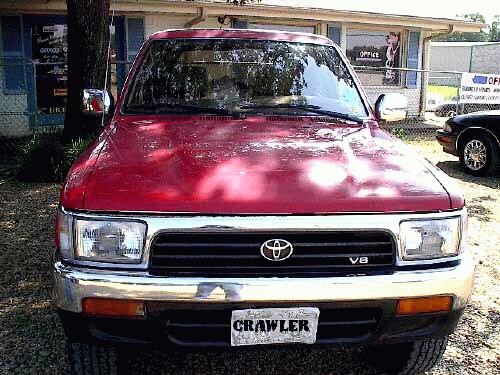
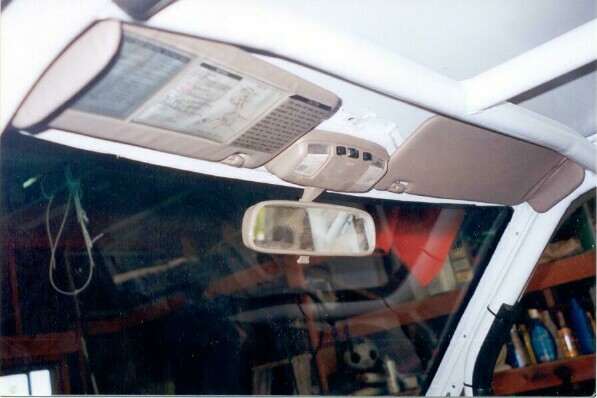
Stock 1994 Toyota 4Runner
Click for more about Super-lift kit
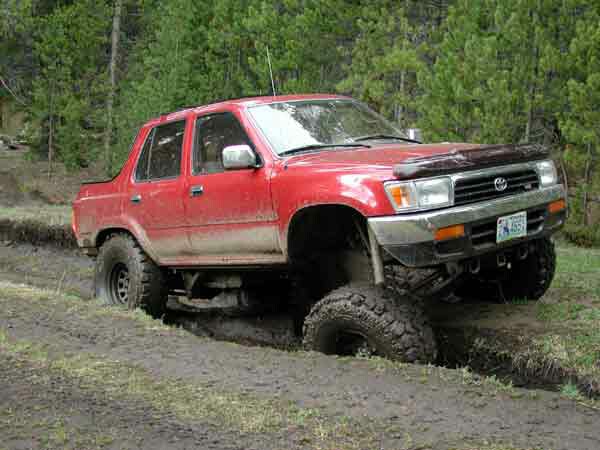
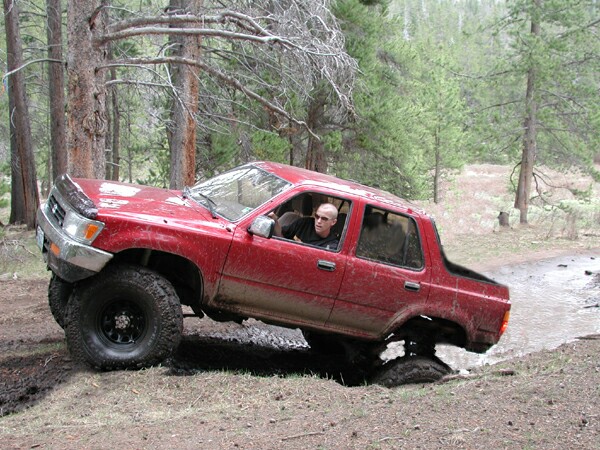
STAGE 2 - need more traction
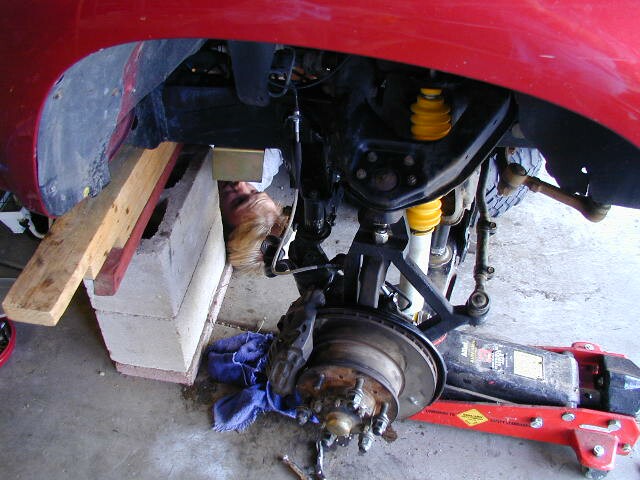
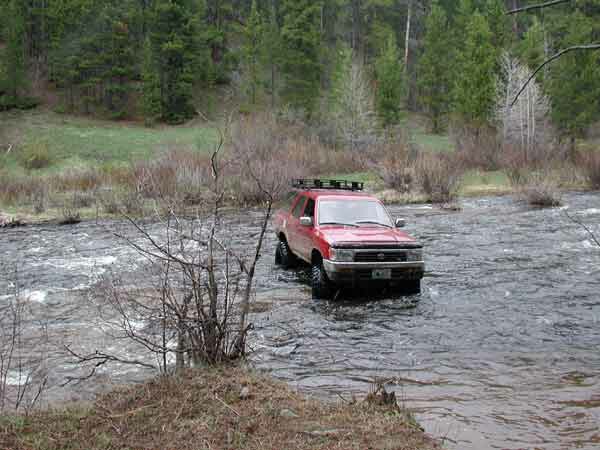
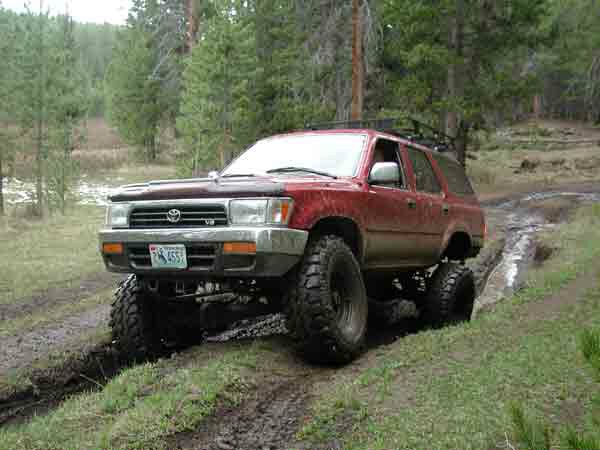
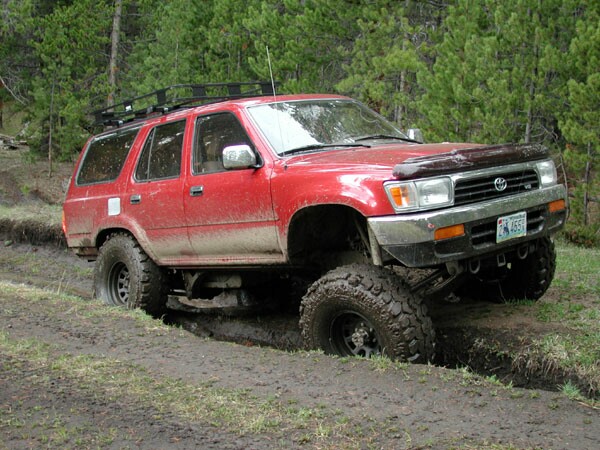
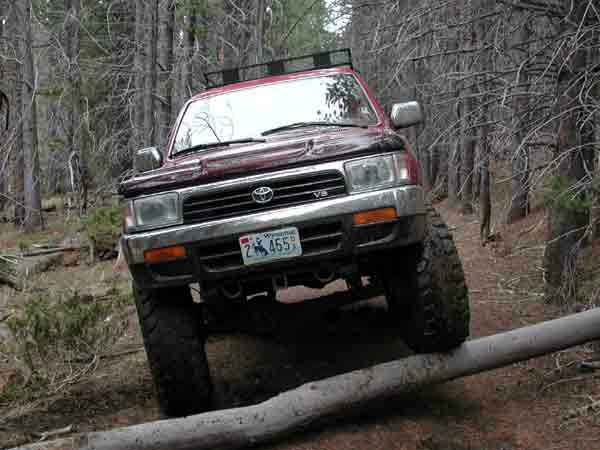
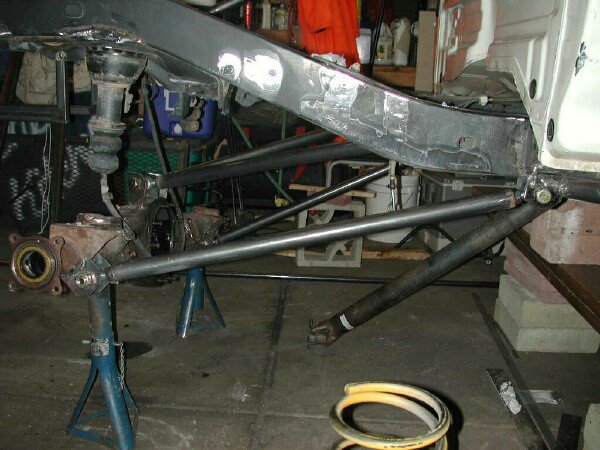
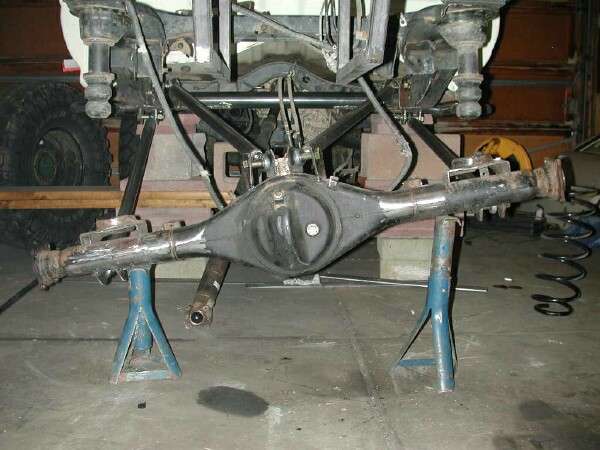
Changed IFS to solid front axle from 1983 pickup and used special leaf springs, mounts and shocks. Installed a cross-over steering system. Moved up to 35" tires. Added a locking rear differential. Which was later put in the front axle because they are to unpredictable and scary on the highway. Then went to have some fun in the mountains.
Click for more about crossover steering
-
Click for more on locking differentials
Fall 2000
See more Action Pictures of Mud and Rocks -
See some Misadventure Pictures
 |
NOW FOR THE BIG JOB |
 |
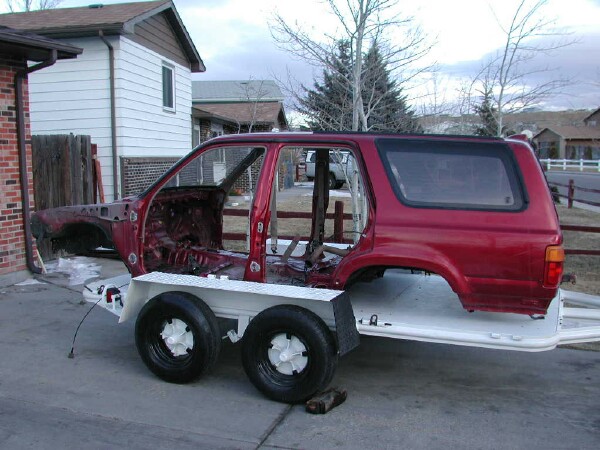
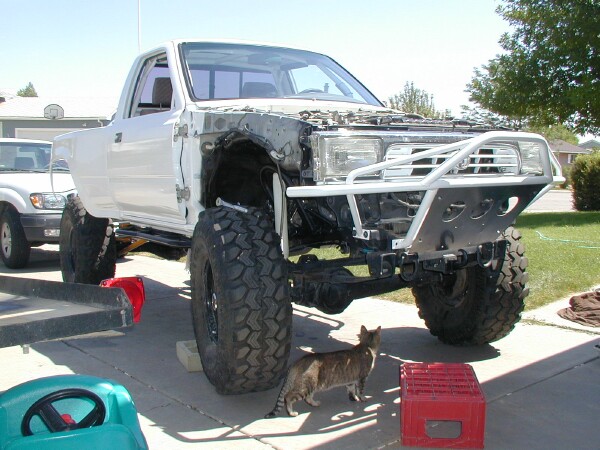
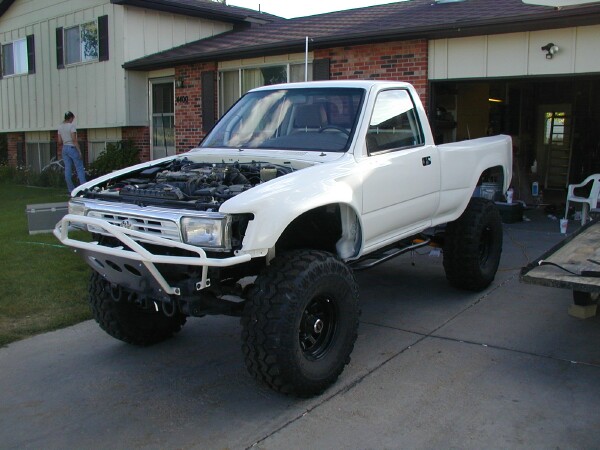
STAGE 3 - time to lose some weight
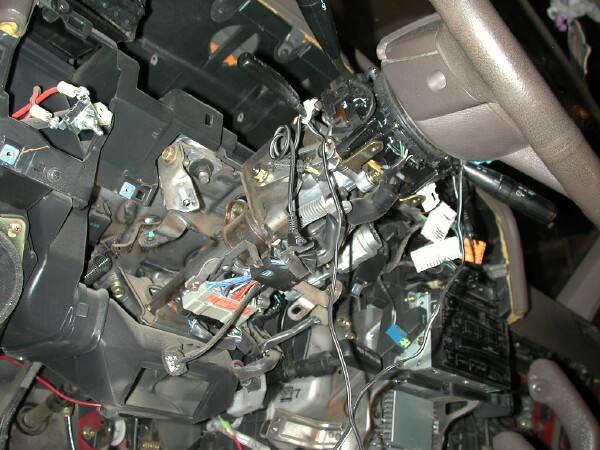
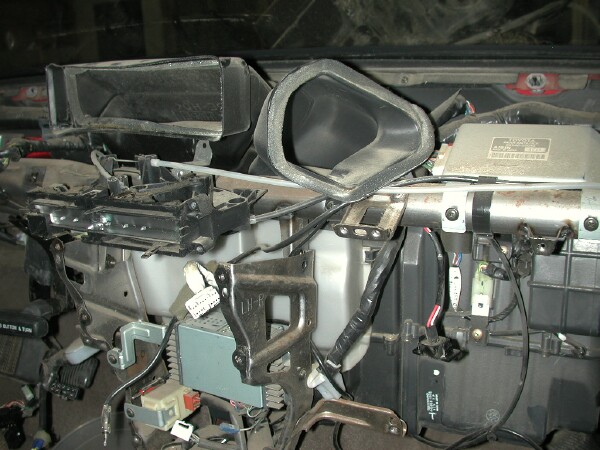
Decided the 4Runner's weight was to much for crawling rocks. It was also top heavy which would cause it to roll easily. SOLUTION: Change to a pickup body and lose several hundred pounds. Starting weight was 4415 lbs. Warning: Do not try this at home
 unless you take dozens of high resolution pictures
showing every part before removal. There are hundreds of different parts under the dash and hood.
It would be impossible to remember everything.
The body was removed by inviting 6 friends over to help with the promise of lots of beer.
unless you take dozens of high resolution pictures
showing every part before removal. There are hundreds of different parts under the dash and hood.
It would be impossible to remember everything.
The body was removed by inviting 6 friends over to help with the promise of lots of beer.
 Be sure to get the work done first. Even with the doors, tailgate, and interior removed it was almost too much to lift. Would have been easier to rent a crane.
December 2001
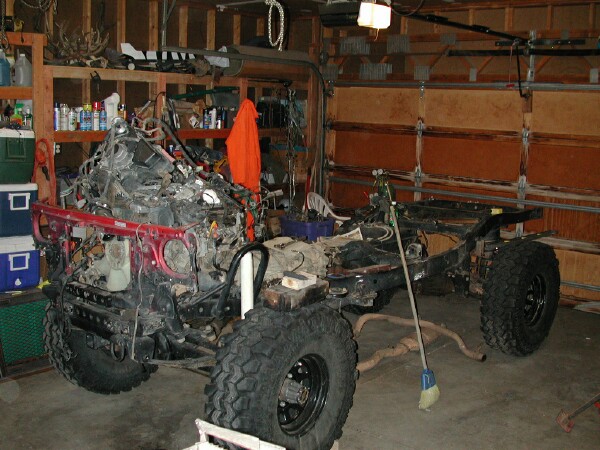
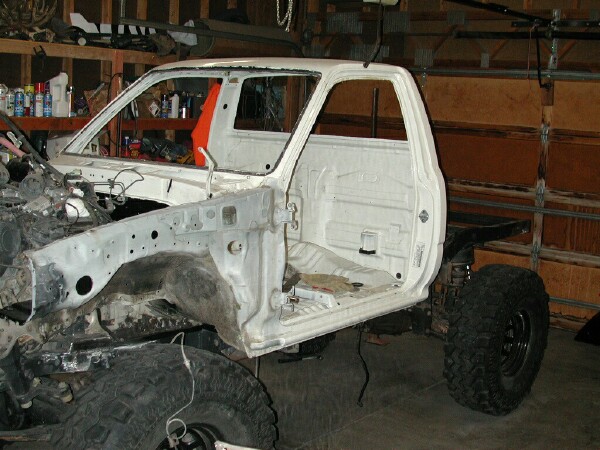
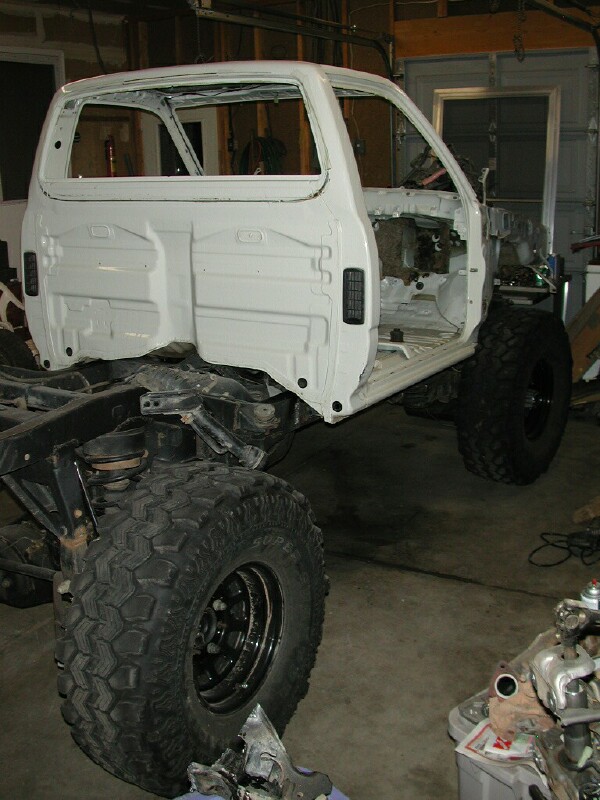
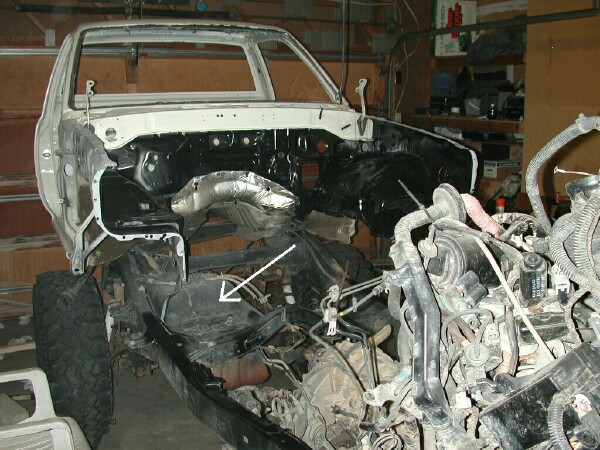
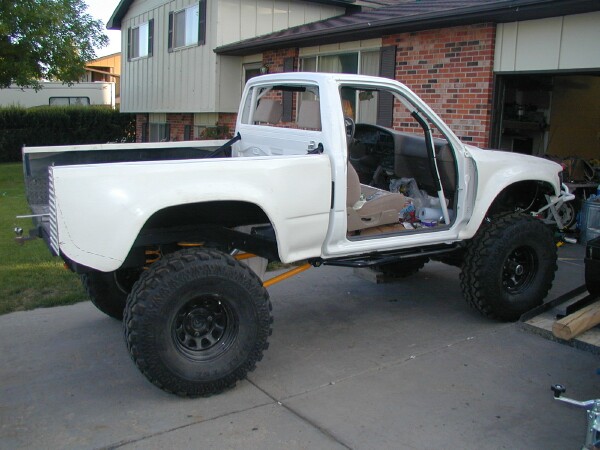
STAGE 4 - start putting it back together
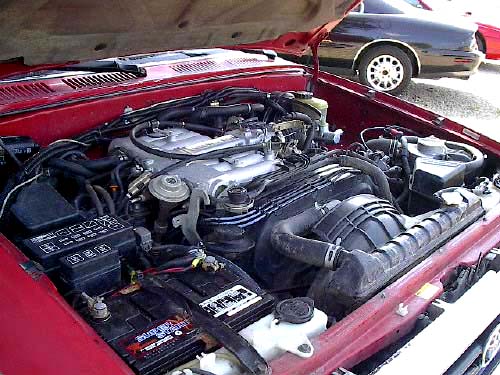
Sure glad we took all those pictures. All the dash and engine parts bolted up to the pickup cab with very few problems. But did spend a lot of time looking at the pictures. Once together, the engine was started to make sure everything inside the cab was working.
It took about 2 weeks to remove 4Runner body and mount the pickup cab working evenings and weekends.
All the dash and engine parts bolted up to the pickup cab with very few problems. But did spend a lot of time looking at the pictures. Once together, the engine was started to make sure everything inside the cab was working.
It took about 2 weeks to remove 4Runner body and mount the pickup cab working evenings and weekends.
January - February 2002
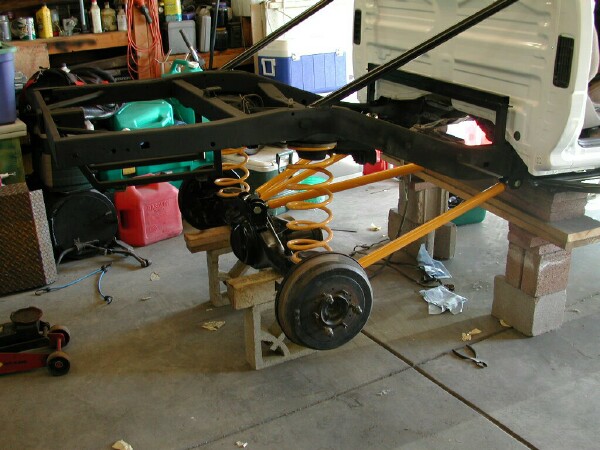
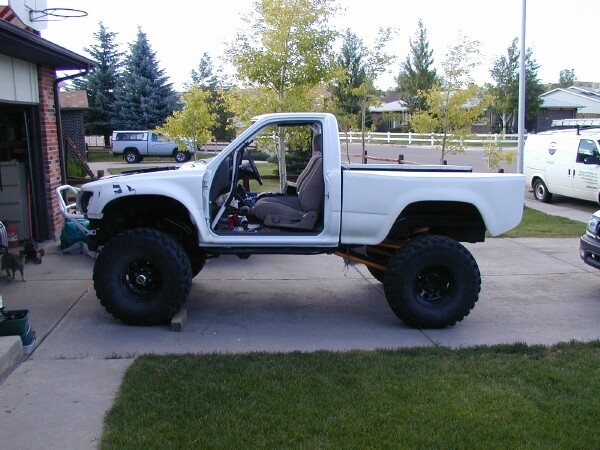
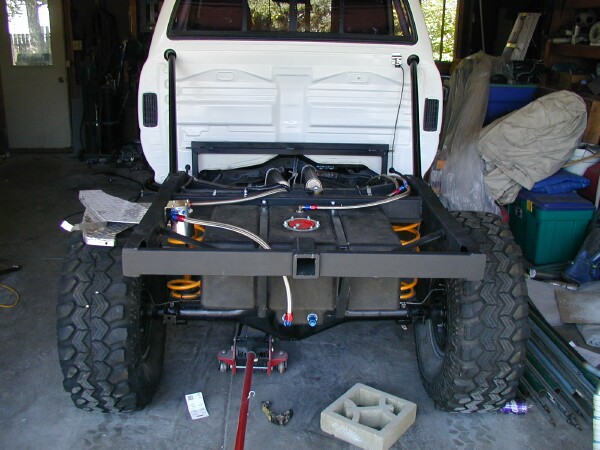
STAGE 5 - need more articulation and a new fuel cell
The front suspension was as good as it would ever be using leaf springs. But the rear would gain more articulation with a 4-Link system. The links were made by welding nuts into the end of steel tubing and using hiem joints and a second nut for locking.
The stock fuel tank was removed to make room for the new suspension and exhaust system.
The exhaust was changed from a single 2" to a dual 2 1/2" with headers.
The rear of the frame was shortened about 6 inches and reinforced for a hitch/winch receiver. The wheelbase was not changed.
Click for example of great articulation
March - May 2002
The old fuel tank and the new fuel cell
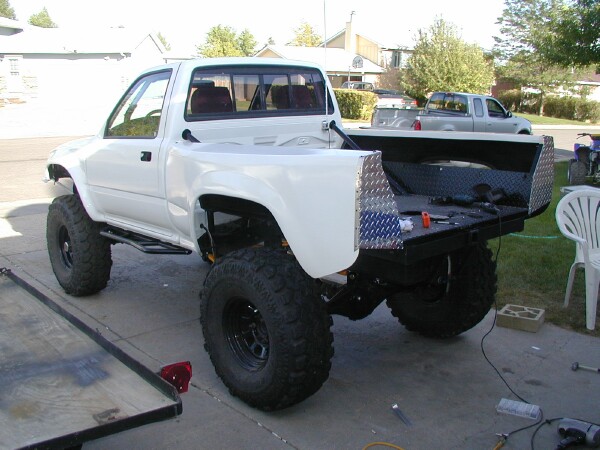
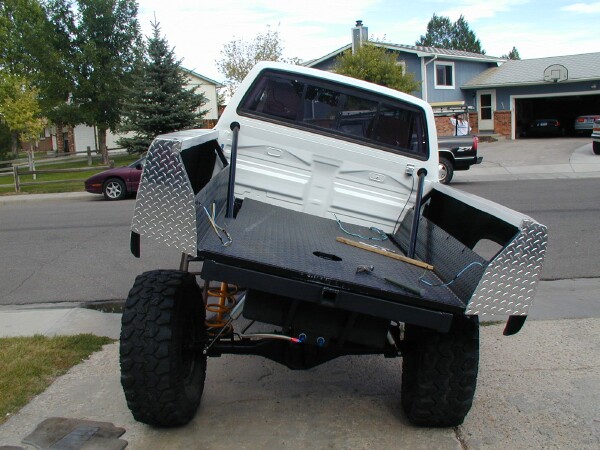
STAGE 6 - the work continues
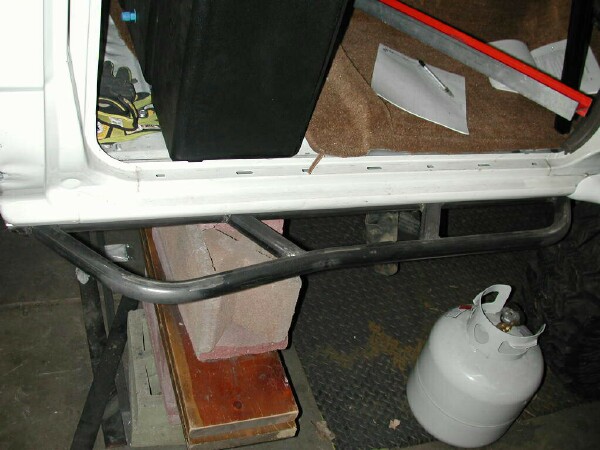
Nerf bars were finished which will provide some body protection. The front bumper
and flat bed were almost complete. The body was fitted with fiberglass fenders. The rear fenders were shortened about 12 inches.
June-July 2002
 This is all I want for Christmas (or a pit in the garage floor)
STAGE 7 - starting to come together
This is all I want for Christmas (or a pit in the garage floor)
STAGE 7 - starting to come together
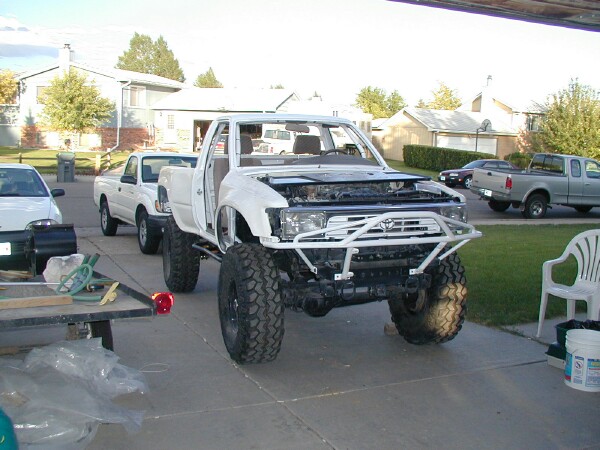
The only body parts used from the 4Runner were the plastic grill & headlight assembly and the hood. The grill was painted white instead of the stock black color. Wanted the front of the truck to retain the 4Runner look. Connecting the fuel system was done after all welding was completed for safety reasons. The original 4Runner had amber turn lights, so the wiring had to be changed from a 3 wire to a 2 wire circuit so a single red stop/turn light could be used.
1st week of August 2002
2nd week of August 2002
STAGE 8 - major problems arise
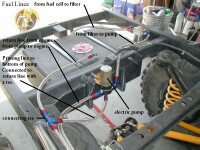
1st - Learned that the fuel pump and filter connections had to be at or below the outlet on the fuel tank to work properly. Since the fuel tank was mounted in the only place it would fit except on the bed, which we did not want, the pump and filter had to be lowered. This also forced a complete rebuild of the rear skid plate that was designed only to protect the fuel tank. Now it also had to protect the pump and filter.
2nd - The battery was not being charged. The battery and alternator were checked and found to be good. But we weren't getting 14+ volts across the battery when the engine was running. We had a large voltage drop from somewhere. After 4 days of checking and testing, the 50 cent fuse (the first thing we checked and it looked good) was replaced and the charging system worked fine. Don't even ask because we don't know.
3rd - Rear drive shaft had a worn out u-joint. Since Toyota was one of the trucks that make their drive shafts with non-replaceable u-joints, the shaft had to be replaced. Guess they like selling them. Instead of buying a new one for $800 or a used one from a salvage yard for $160 (which might go bad at anytime) we had one made at a local machine shop that has replaceable u-joints. We felt this was the best way to go since 4x4's are hard on u-joints, especially when the drive shaft angles are larger than factory specs. And also a lot cheaper than a new one.
4th - Windshield wiper blades don't park in the same place each time. Still working on this problem.
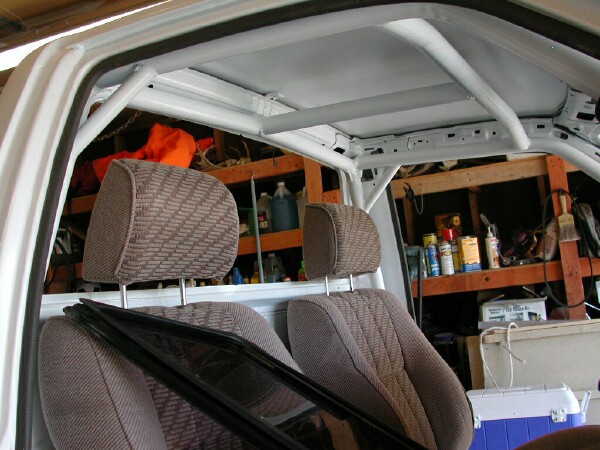
Rear spring holders were made and attached. New rear Bilstein shocks, front lights and safety harnesses were installed.
Then it was time for the ramp test to check clearances. Everything was fine and ready for the alignment shop.
3rd - 4th week of August 2002
STAGE 9 - the finished product
The total weight went from 4415 lbs to 3200 lbs. A loss of 1215 lbs. Willie now has the largest all wheel drive ATV on the block.
?? 2002
STAGE 10 - the Crawler in action

A few pictures of the best part of the project: DRIVING IT
Helpful links during the project -
More Action Pictures -
Misadventure Pictures
Some fun stuff created by Willie
Wonder which style would look best?
A little rendering magic (compare to pictures in stage 2)
Just can't believe everything you see these days
Different Paint Schemes
END OF STORY FOR NOW (will be updating)
If you have any comments or questions about this project email
Willie
Copyright© 2002 - William Fowler