 The leading edge blocks on the left have been radiused and drilled. Other than needing a coat of varnish, they are ready to use. The trailing edge blocks still need final smoothing and the radius of the forming edge.
The leading edge blocks on the left have been radiused and drilled. Other than needing a coat of varnish, they are ready to use. The trailing edge blocks still need final smoothing and the radius of the forming edge.
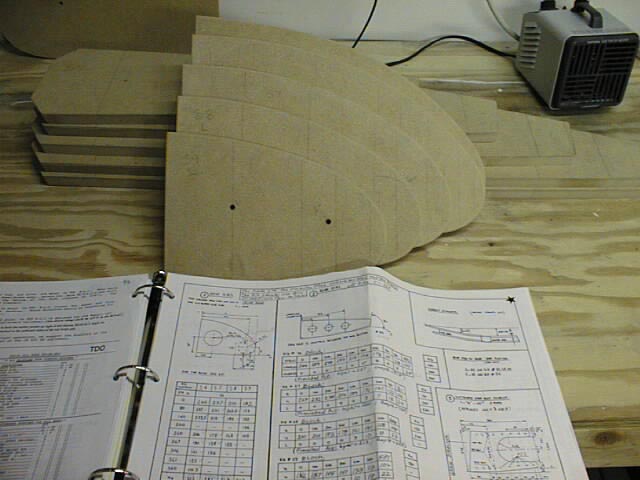 This is one of those "publicity shots" showing the plans and the nose rib form blocks created from them. Note the small electric heater. Yes, it gets cold even in Texas!
 This is me using a wood rasp to quickly knock down the edge of the S6 rear rib form block to the specified 1/8" radius.
 The circled area shows the small cut at the rear of the upper surface of the rear form block. Each rear rib block will have the same cut. This forms a joggle in the rib flange that will allow the rear "Z" to sit flush with the rest of the flange.
 Using a jig saw to cut a nose rib form block. Note how close you can cut to the line if you use care. Not readily apparent is the 10 degree tilt of the saw "foot" that provides the back-cut on the form block. This back-cut is necessary to allow for spring-back when forming the flange.
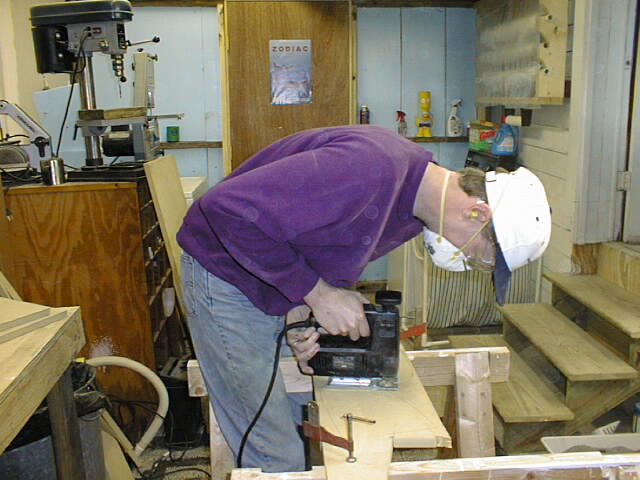 Me again. This time I'm carefully cutting a form block with the jig saw. Here you can see the use of adjustable C-clamps to hold the MDF sheet steady for cutting. Note the small workshop, the protective gear and the obligatory Zodiac motivational poster on the door.
 Finally! All rib form blocks are cut. The darker colored ones have already been varnished.
 Blocks on the right have been radiused and varnished. Blocks on the left are freshly cut and not yet sanded.

 At last, the rib form blocks are sanded, varnished and ready for use. The edge radius and rear rib joggles took as long to do as the cutting! Now it's time to bend some metal.
 What did I do after finishing the blocks?

![]()