Radio Control a two wheel robot...
from your PC
(or convert a TOPO to pc control for under $100)
Well, it took some time and a few failed attempt, but here it is. A neat project that lets you control two wheels or tracks from your PC serial port with no wires attached. I have it working at 2400 baud and that is about as fast as I can think. We assume you have a PC, so what else do you need? First a Basic Stamp. I am using the Stamp I, but a Basic Stamp II would be much better for later expansion. Next you need a transmitter and receiver. The best deal (and they work too) are ones made by Ming available from Circuit Specialist. The next piece of magic is from Acroname (built by TI). This H bridge chip takes care of two motors. I have mine running up to three amps by stacking them and adding cooling wings to the ground pins. Now we add a couple of 7805 regulators, a 74HC14 inverter, a resistor and a couple of capacitors and that's all we need. Well, we need wire, a fuse, batteries and of course a two wheeled platform, but that's another issue. You may want to add a power on light and a speaker but for now they are optional.
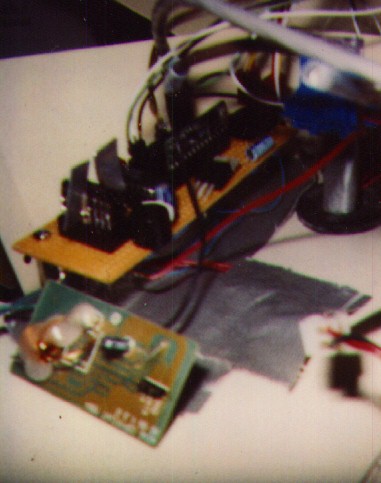
Fig. 1( wiring diagram on the proto board)
Now we just plug in the parts on the proto board as shown.
The 7805 takes our 6-12 volts and brings it down to 5 volts. Add some caps to keep thing clean.
The Basic stamp is our brains. Pin 0 is our serin connection. I used pin 1 to drive a little speaker as explained in the PBASIC sound command. This is nice for troubleshooting the design. Pins 2-5 control our motors. Six and seven are left for other functions, like a bump sensor or a IR sensor, etc..
The SN754410 is a great little chip. I just soldered them on top of each other until I had enough to handle 3 amps. The heat from this chip is transferred out through the 4 ground connections in the middle. I just cut out a piece of sheet metal and soldered it to both sides between the ground pins like vertical wings. Holding both motors stopped they get warm. Motor power goes to pin number 8. I am using a 3 amp fuse, should keep things in range. If your robot is smaller, one chip may be just right.
The 74HC14 allows the use of only 4 bits. It also lowers the amp draw on the Stamp. With a motor you get two choices, forward or reverse right? So if you need an extra bit you could cut it down to 3 bits, but you could not stop just one motor.
Logic for a single motor is a 1 puts the motor forward, a 0 is reverse. Then you bring the enable high and that is the direction you get. With this design you get a small jump when you start the robot. To prevent this you need to invert your bits in software and add another 74HC14 to correct this.
The only thing left on the proto board is a power on light( a led and a resistor) and a three pin header to program the stamp.
TOPO has a button on his head, this I connected to the reset. Handy when he quits listening to you!
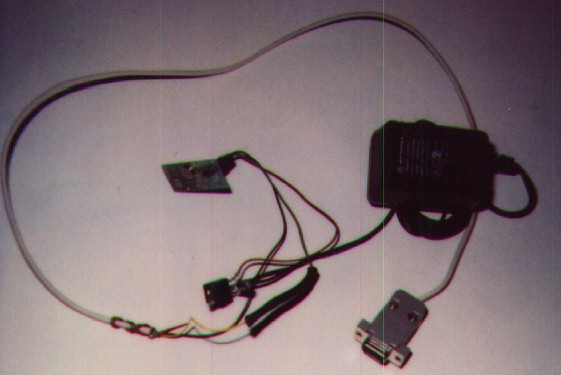
Fig. 2(serial cable)
Now you need to build the serial cable. The Basic stamp manual covers this well under the SERIN command. All you need is a DB-9 or DB-25 depending on your computer, 3 jumper wires and a 22k resistor. I added a diode to prevent a negative swing on the serial wire, but it appears to work fine without it. For the first test you can connect this up direct to the Basic Stamp. Later after everything is working, you can install the RF modules. Just connect the PC serial out to pin 0 and connect the grounds.
The PBASIC stamp program is listed. This uses about half the memory so there is room for expansion still. Run this program on the Stamp then go to QBASIC and run the QBASIC listing. The 10 key pad allows you to control the robot's direction.
Okay, got the robot on a block of wood and the wheels spin the way you want? Just reverse the motor wires, or change the logic in the PBASIC program if it is not correct.. Lets turn him loose now. Cut your ground and serin wire to pin 0. On the robot run these and 5 volts to the receiver connector as labeled. On the PC side, you need either batteries or a 6-12 volt DC transformer. Sorry, no 5 volts available from the serial port :( . Get one to match your robots batteries so it can charge them and then power your transmitter too. I used a transformer hooked to the 7805, soldered the wires and caps direct. Then attached the serial wire, ground, and 5 volts to the transmitter as labeled. Threw it all in a plastic box. And now the robot runs without any attachments. I even added an antenna to the box. It's not connected, but it lets everyone know what the box is :) .
Please, improve on everything here, but let me know.
see3peoh@ix.netcom.com
Sources for parts:
- www.cir.com
Transmitters and receivers( you just need the Daughter boards RE-66 and TX-66 or RE-99V3.0 and TX-99V3.0) Click on Electronics, then Modular RF Decoder or Encoder.
- www.acroname.com
click on robotics, the TI chips are listed on top.
- www.parrallaxinc.com
Basic stamp, this site will get you up to speed if the Stamp is new to you. Visit all the links before buying. I bought the starter kit, but you can save a lot if you do your homework and build your own cable. You can even download the manual and read while you order is on the way.
Everything else is very common, even Radio Shack has the rest. But Circuit Specialists has everything, might as well get it from them when you order. Or Jameco (www.jameco.com) sells the Stamp and has a great selection of cable ends, crimp tools, grab bags, etc.....
Back To the Androbot Page...
Good luck, and of course the usual disclaimer, use at your own risk, your mileage may vary, no guarantees, no warrantees. Buy extras, we need more smoke :)
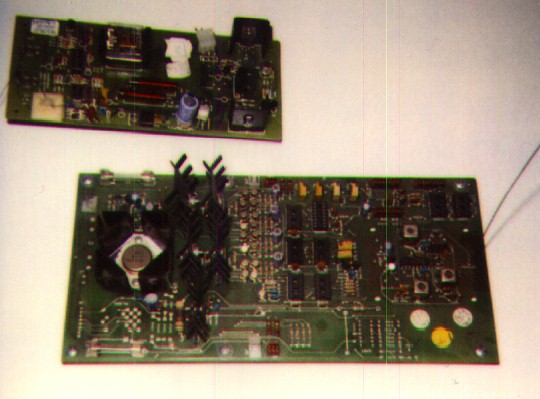
This is what Androbot used in 1984