Pelican GS Serial # 1. This aircraft was never completed
by the original owner. It was donated to a local college and
sat in storage for a number of years before I got my hands on it.
After studying the incomplete documentation that came with it, I decided
the original design although good needed some changes. My planed
changes include a new rudder pedal mounting design, custom 10 gal header
tank, no flaps, spring actuated spoilers on top of the wing,
aileron control cable reroute, new placement of the control stick and BRS
chute installation. I have decided not to use the ROTAX engine because
of the cost. I think you can put 100 hp under the cowl for under
$7500. Call me crazy but I thought the whole homebuilt craze was
spawned by the outrageous cost of aircraft and parts. Seems to me
that the kits and engines are creeping up pretty fast in price and complexity.
If I could afford a production airplane then I would be flying one.
THERE ! I feel better now. Progress is slower than I
thought and I expect it will take another year to finish the project.
But, that's the way it goes when you have to stop work to go to Sun-n Fun
and Oshkosh every year. I really hate that!
Engine: After alot of thought I have decided to use the C-85 engine.
When stroked with an O-200 crankshaft, the engine produces about 95-100
hp. The following is my rational for this engine choice:
1. parts are readily available almost anywhere in the world
2. they are cheap ( I expect to pay about $5000 for a half time
engine with logs)
3. maintenance in simple
4. the weight doesn't break the bank (<200lbs)
5. A cub engine mount can be used? (I hope)
6. TBO of at least 2000hrs
7. The 5-6 gph fuel burn works well with my 22 gal capacity
Click here to email Craig
Click on the Pic!
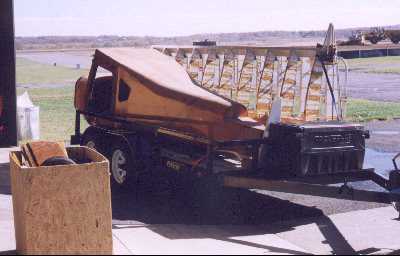


Pic 1. Picking up the airplane
Pic 2. Gear is painted and ready for installation
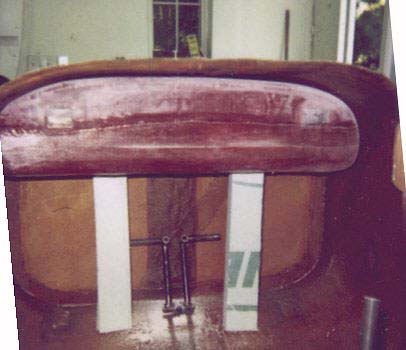
Pic 3. New rudder pedal and stick design
Pic 4. New aileron design installed
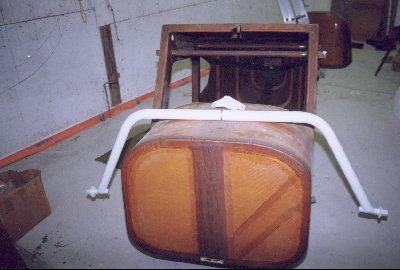
Pic 5. Fuel tank plug take shape
Pic 6. Bottom half of tank pulled from plug
Pic 7. First Tank pulled and glassed together (capacity 14 gallons)
Pic 8. Tank after a 2.5 inch section was removed (capacity 10
gallons) Note: notice steel plates used as reinforcement for
aux tank lines
Pic 9. The 10 gallon version being fitted
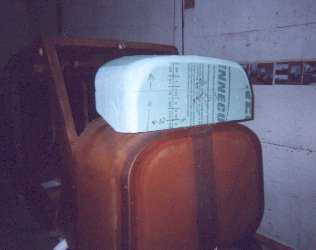
Pic 10. Fuel Cap location (Note: bobber type fuel qty gauge)
UPDATED on 5/10/99