 |
|
Transparent Text
For Version 6
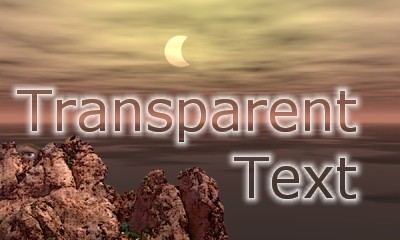
Finished image
As with just about any tutorial, methods used to illustrate
the technique can vary. This particular tutorial requires the use
of a plug-in from Alien Skins
Eye Candy 3.X collection. Specifically, the "glow" filter
is used in this tutorial and, unfortunately, the demo version won't
allow you to apply the "glow" filter to an image. If you
have the full version then great and if not, well, you can use another
effect to create the outlined look.
- Open the image that you wish to apply this effect . Note: Since you will be working
with layers, either use an image that has a color depth of 24 bit
or increase the color depth to 24 bit .

Original
image
- Create a new raster layer . Or, you can use the layer palette to create
the raster layer.
- Select the "Text" tool and add some text. Note: Make sure
you select
within the text entry dialog box. Additionally, the color of the text
doesn't matter since it will be transparent as the final result.
- With the selection still selected, position the text where you want
it. Now save the selection as an "alpha
channel" or you can save your selection to disk .

Text added to image and selection saved to
alpha channel
- Apply the "glow" filter from the Eye
Candy filter list . Note: You can leave
the selection selected or deselect the selection , it doesn't really matter. In this example, I used
filter settings of:
-
- Width = 10
- Opacity = 100
- Opacity Dropoff = "Thin"
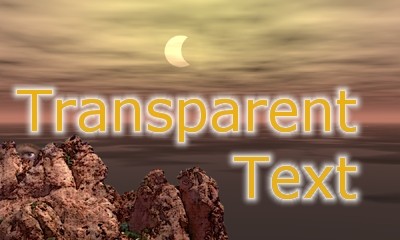
Eye Candy "Glow" filter applied
- Now all you have to do is load the previously
saved selection , press
the "delete" key and then deselect the selection .
Final image after performing step 6
|
|
|


