

Although the process is a bit time consuming, the end result is worth the effort, especially if you're looking for cheap skulls. From these basic skulls, you can add whatever final details you wish. For outdoor use, I would recommend a few coats of water resistant polyurethane.
Click on Images to Enlarge.
Figure #1 Figure #2 Figure #3 Figure #4 Figure #5 Figure #6
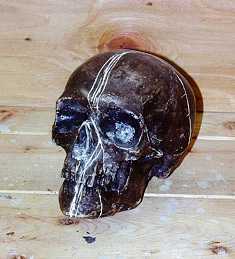
Start with a skull mold.
I used a plaster casting skull prop
that I got for Halloween one year.
Cover the mold with aluminum foil.
It will prevent the papier-mache
from adhering to the mold.

Apply a few layers of
newspaper strips on the mold.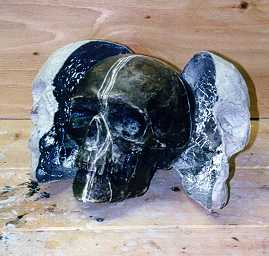
It takes approximately 36 hours
to dry enough for removal.
Use an X-Acto knife
and cut through the paper coating
all the way around the mold.
Tape the 2 halves back together.
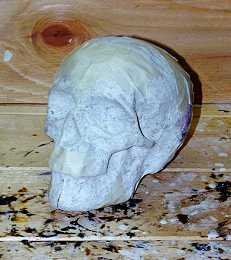
Reapply a couple of layers of
newspaper strips. A final layer of tissue paper
will conceal the edges of the newspaper strips
as well as create a textured surface
on the skull.

