Xtinction's Tutorial
Ok! I've finally done it. You all asked fer a tutorial and i went and made one. :)
This was made with Adobe Photoshop in mind but could be useful for those who have another imaging editor too.
Lets just cut to the chase shall we?
The first thing you do is render your pic. (I always render 2 of the same pic with different lighting. You'll see why.)
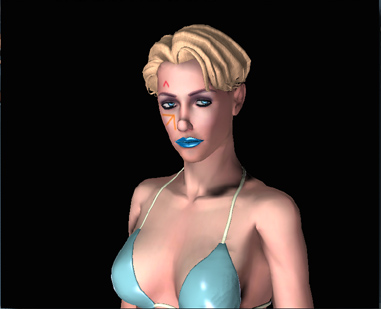
Boy does that ever look snazzy, huh? As you can see I used the regular hair that comes with poser and gave it a good hair texture (but any will do).
Next: Open up Adobe PS, then your pic or pics in my case.
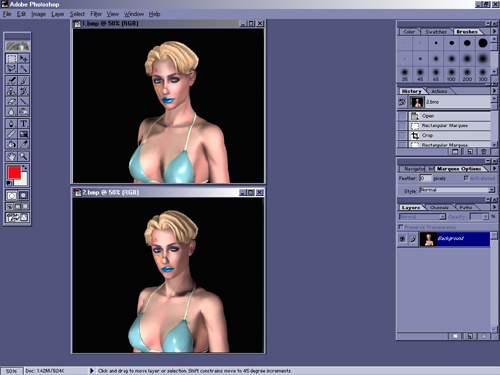
You can see the different lighting i used. one has it more to the right, the other to the left. Then i copy one of them and past onto the other and take the opacity down so that i get a more even light surrounding the picture.
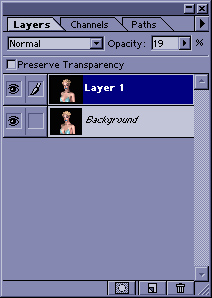
Then i merge the 2 layers down. Now i copy the murged pic and place an identical copy on top of it as another layer.
Next i take top layer's opacity all the way down to one so that i can see what i'm doing on the background layer. I select the background layer,
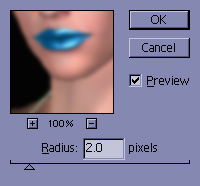
go up to my filters, choose Gaussian Blur (in the blur section) and blur the bottom pic. I tend to use 2.0 as the Radius.
I now have a fuzzy background pic and an untouched top layer. Next i go back to my top layer and bring the opacity back up little by little until i get a nice soft look. (This also helps cover some of the sharper lines that Poser likes to produce after render) Merge down.

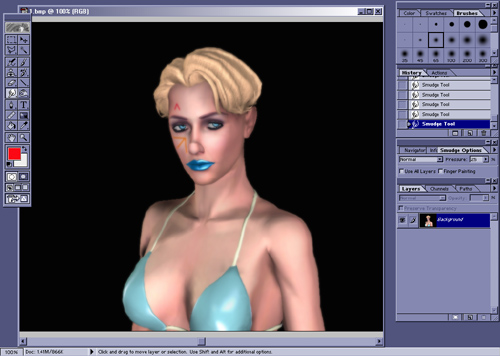
Now... Some of the sharp edges didnt get fixed with that technique so we go to our smudge tool
 And set the pressure
at around 20-30
And set the pressure
at around 20-30 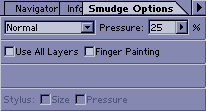
Now take one of the small softer circle brushes and go over all the lines that arereally sharp and stick out too much. Now you should have a softer outlined figure
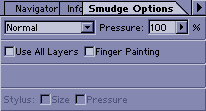
Next comes those famous Poser bumps. The ones that look like your character was in a horrible car accident and has let the brokem bones set themseves. (Ie: Elbow joint, Knee joints, neck, shoulder) We can fix that up easily. we take the smudger again and jack up the pressure to 100%
Take one of the softer circle tools and push in those bumps to form a nice normal shape of the body part. Here is a before and after shot. (I've highlighted the areas that i fixed so you can compare:

Okay now that we got a good figure to work with...we can make some magic. :)