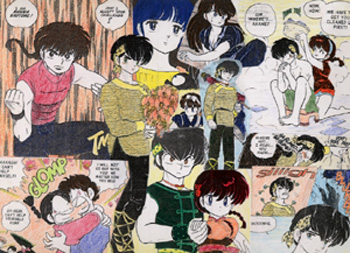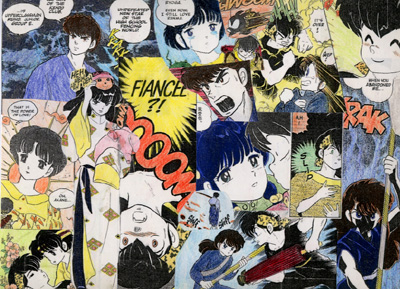
It's easy! Ok, so you don't have to use them as placemats. That's just what I call them. Really, they're just collages of your favorite pictures from Ranma 1/2 (or you could use any series, or any random pictures for that matter). It's artsy-fartsy-craftsy, and you can look at them any time you want.What you will need:
photocopies of manga images and/or color copies of pictures from the internet
colored pencils, markers, crayons, etc.
scissors
glue stick or double-sided tape
drawing paper or construction paper
a laminating machine or clear contact paper
Here's what you do:1. Decide on which pictures you would like to use. For a more colorful, personalized design, pick pictures from the manga and make photocopies of them. That way you won't have to cut up your (or someone else's) books. You can also print off color images from websites, or use any other pics you already have in color.
2. If you are using black-and-white manga pictures, color them with colored pencils, crayons, markers, or whatever. I personally prefer colored pencils because they give the picture more of the watercolor-y feel that you get with the original colorized manga. It's also easier if you color these pictures *before* cutting them out, so you're not trying to color along all the edges.
3. Cut out your images! I've found that cutting along the straighter edges of the panel makes the pieces easier to fit together on the collage surface. Round pieces are ok , but if they all have odd shapes it will be much harder to overlap them successfully if you do not wish to show any bare space on your finished project.
4. Decide how you want to arrange the pieces onto the paper before you glue them down. I've found that drawing paper works nicely for this project because it is thicker and more durable than notebook or printer paper; construction paper is also a nice touch if you are using color copies and don't want the entire space to be filled. Glue sticks work best for glueing, although double-sided tape could also work (but it's expensive!) Regular liquid glue may crinkle the paper. DO NOT USE SUPERGLUE!!!!!!! Believe me, I have found this out the hard way: when some of the original glue was wearing off, I thought I could touch it up with superglue, and now Mousse has a big stain on his shirt and the little squeakie pig.
5. You can stop right here and say that your project is finished once you have everything glued down. However, if you wish to make it more permanent and less susceptible to tears, stains, bite marks from the cat, and wearing-off of the glue, read on.
This is how your collage will become a "placemat":
The easiest way to do this is if you have access to a laminating machine. These are typically found in schools, teacher supply stores, and perhaps in libraries. You'll probably have to pay for your laminations, but this is usually something like a few cents each, so it's much cheaper than using contact paper, and more lightweight for wall mounting. Get someone to show you how to use the machine. After you learn the trick, it's easy to use, but they like showing you so they don't feel bad about total strangers going in to use the equipment.
If you don't have access to a laminating machine: you can buy clear contact paper and cover your collages that way. I personally have not done this but it should work just as well, if not thicker than laminations.
The result is that your project will last longer and you can enjoy it longer. I call it a placemat because the plastic coating will protect it from food stains, and in reminiscence of my old childhood laminated Bert and Ernie placemats.And there you go! Now you can mount your pictures on the wall, eat off them, or what have you. Homemade Ranma paraphernelia. Enjoy!
Back to the Odd Curiosity Shop