| |
|
 |
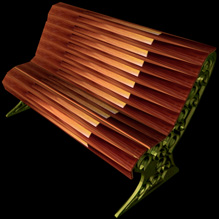
Making a quick bench-
This tutorial will make the following bench (Or one like it)
The first thing you will need to do is to open an image editing program such as photoshop. There are several free ones you could use over the internet as well. The following is done in photoshop: |
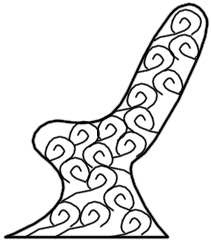
| 1. Make an outline of the shape of the side of the metal support for you bench as you can see below with the pen tool. Then go to paths and click the stroke subpath button at the bottom left of the window. (It should be a white circle)
2. Make a swirly pattern or whatever you want in a new layer. 3. Copy that layer several time while flipping them horizontally or in whatever way you want. By now you should have something like this:
4. Now make sure to make a new layer. Take the rectangular marquee tool and make squares of the same size that run along the top part of the side of the bench, where the boards would be. Make sure to leave a little bit of space between each rectangle. 5. Hide all of the other layers except for the rectangles and export them as a pict/bmp. Then hide that layer and show all of the others and export that as a pict/bmp. Open up your 3D program and import the side. Extrude it a little bit like seen in the picture up at the top. Make two of them and add a texture. Next, import the squares and extrude them across the length of the two sides. It might be a good idea to make them a little bit longer. Then, you should have made a little bit of spaces between them, make a bevel for the squares to round them off a little bit and so there is almost no spaces left. Add a texture (The texture I used is the same wood texture availible in the photo section of the textures. Your done, isn't it pretty? If you have a tip you want me to post or want to know how to do something then please send it to me at car__s@mailcity.com |