LOW COST SUN NVRAM BATTERY REPLACEMENT
Objective is to replace the battery that has died in a 48T02 chip. The procedure is from the Frequently Asked Questions about Sun NVRAM/hostid
I wont deal with the reprogramming of the NVRAM here. This is only the procedure for attaching a new battery.
For the reprogramming of the NVRAM go see : http://www.squirrel.com/squirrel/sun-nvram-hostid.faq.html
I can't be held responsible for what happens here. DO THIS AT YOUR OWN RISK!!! This will surely void your warranty...but we are talking about old SUNs here so...
You will need: Fine point soldering irong, a 3VDC battery, some fine solder, sharp hobby knife or Dremel type tool.
1. Turn off the sun and find the NVRAM chip.
2.Remove the NVRAM chip. Should be easy to spot. Usually a bar code, white or yellow sticker on top. The FAQ mentionned above has a table with the locations (UXXXX) for different models if you cant spot the thing and are not sure...
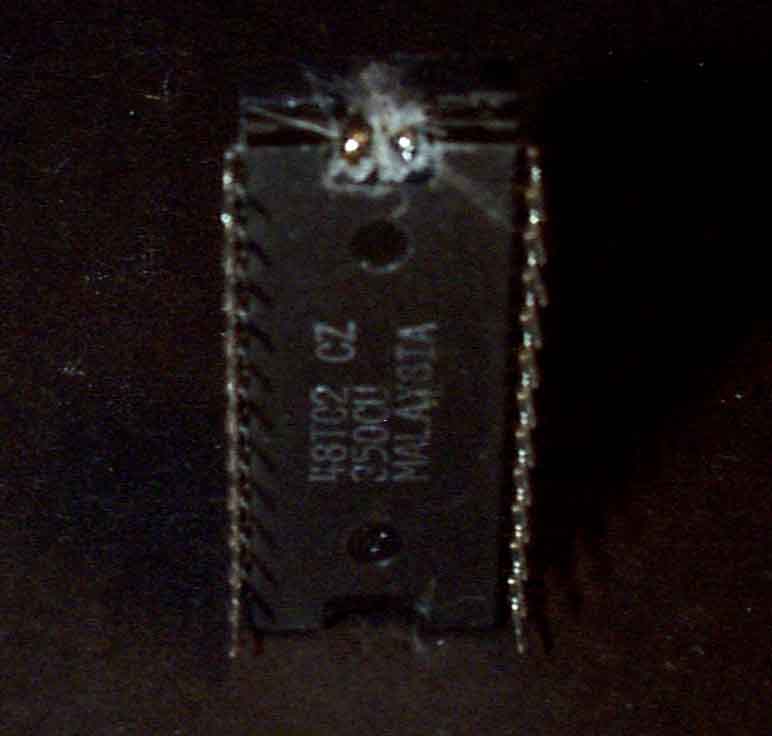
3.Start slowly scratching and digging away at the epoxy blob at the opposite end of pin 1 of the chip with your favorite tool. Remember pin 1 is where the dot ( o ) is looking at the top of the chip. Go slow under a bright light. When you start to spot two bright metallic looking spots, these are the wires to the battery. Scratch just enough to get a tack solder attached to there.
4.Get the soldering iron and tack on a bit of solder to the exposed mettalic pad/wires in the epoxy...See the two shinny spots...these are the wires with a bit of solder tacked on.

5.Get your new 3VDC source ready and tin the wires. Check polarity with a digital VTVM of spots on chip and your source. You wont see 3VDC on the spots if the battery almost dead but with a few volts, you will at least double check the polarity.
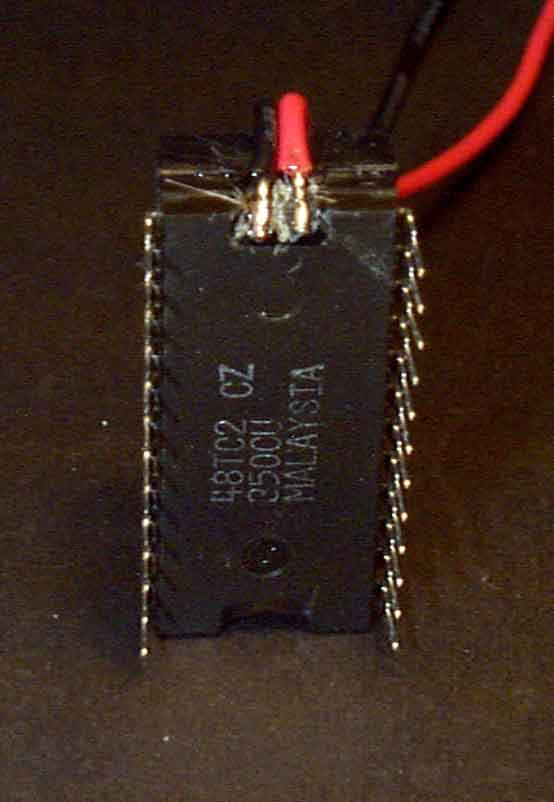
6. Attach the wires by soldering them to the exposed tinned pads on the chip. If you tinned both wires and pads right this should be easy. A steady hand and a fine point low wattage soldering iron makes it a easy job.

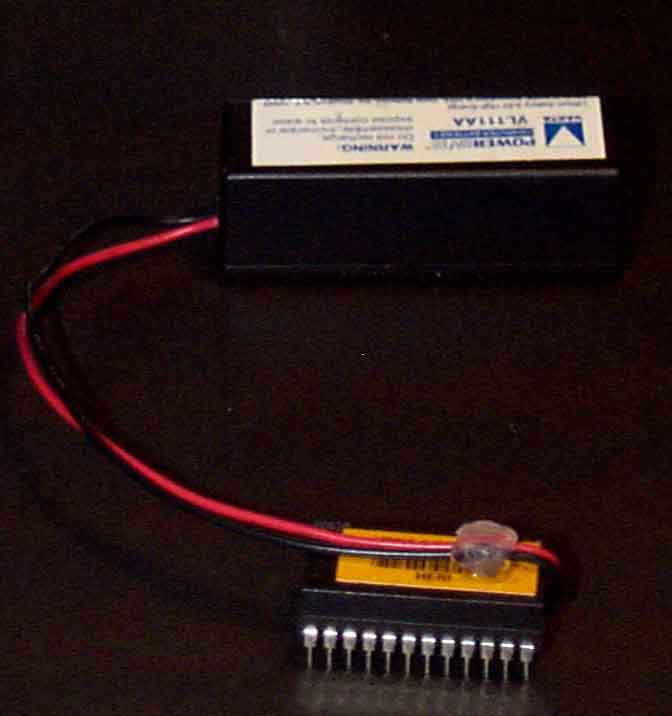
7. The prevent stress on the tack solder, I used hot glue to cover the soldering and attach the wires to the top of the chip.

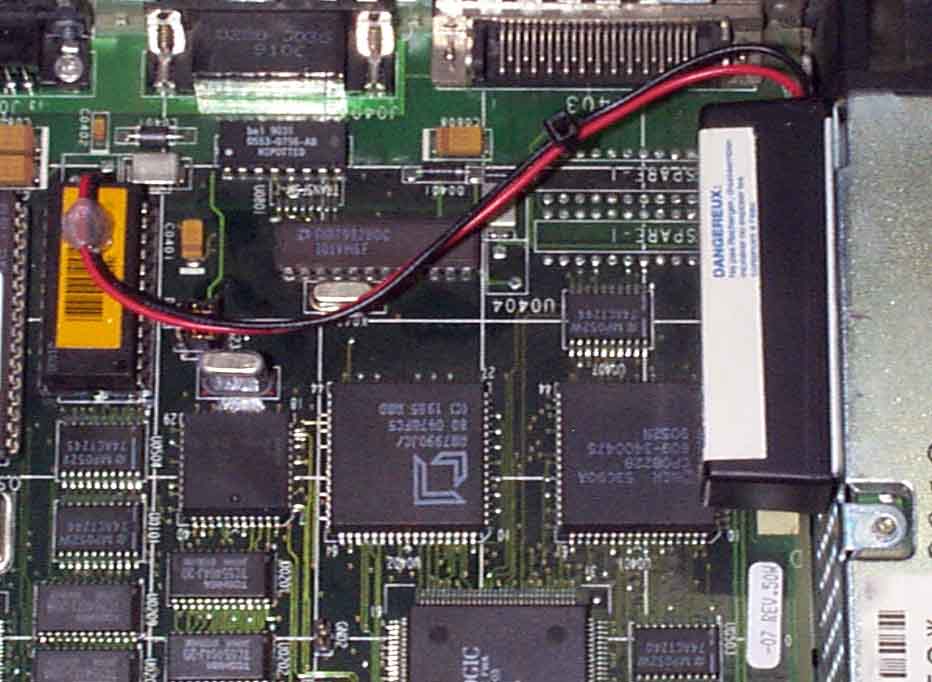
8. Put the chip back in the SUN. Doublecheck orientation before putting it in the socket. I used a big lithium cell (still at 3.3 Volts) I had lying around here and just attached it to the power supply with double sided tape. I don't think the airflow restriction from the battery attached there will do much arm to anything...

9. Turn the SUN back on. I got a TOD stopped error at power on and even after I had reporgrammed correct NVRAM values. Went away after reprogramming NVRAM, reset and a power On/Off. Seemed all normal. Go see the NVRAM FAQ link mentionned above and enjoy your old SUN again.