
Layers are one of the most powerful features of PSP. Version 8 adds some new twists. You can now group and link layers in endless possibilities.
 |
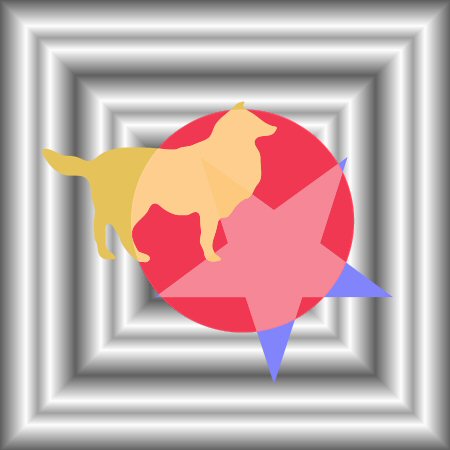 |
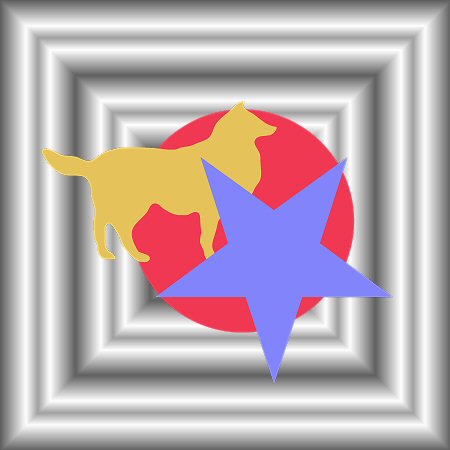
| Each of the 4 images is on its own layer. The red and yellow images are linked, so that both move together independently of the blue layer. | A copy of the previous graphic, but how different it looks with the blend modes changed. Yellow = screen. Blue = luminance Red = normal. |
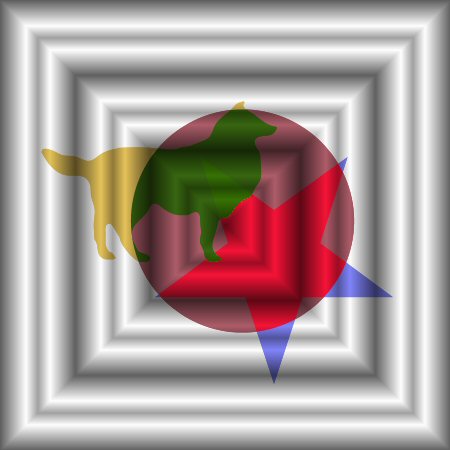 | |
| The 3 colored images are now in a group, which has its blend mode set to multiply. Blue = saturation Yellow = difference Red = soft light. |
I'm thrilled with masks in version 8. They are soooo much easier to work with.
 |
 |
| Image from the lesson. | Another image we were given to work with. They had to be color matched first, so that the water was the same color in both. Then the ships were selected using the new edit selection tool and copied into the first image. |
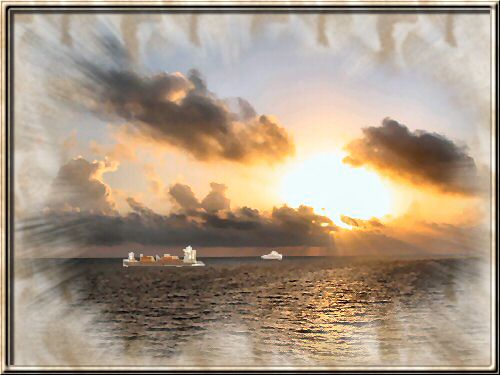 | |
| Here's the finished image. A mask was added to the outside to allow a patterned layer to show thorough on the outside edges. |
Stumbled across Selection, Modify, Remove Specks and Holes while I was doing this section. This is much needed and a real time saver. Horray, Jasc!
 |
 |
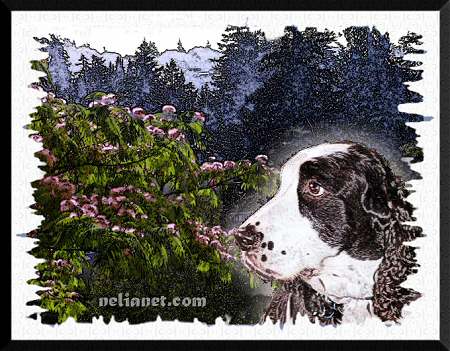
| I did a lot to this to use the mask as matting. Unfortunately, this was when PSP crashed, so I don't have what I did
written down. I did combine two images - Clyde and a view from my back deck, both FocalBladed to add a woodcut look. I added a glow around Clyde. |
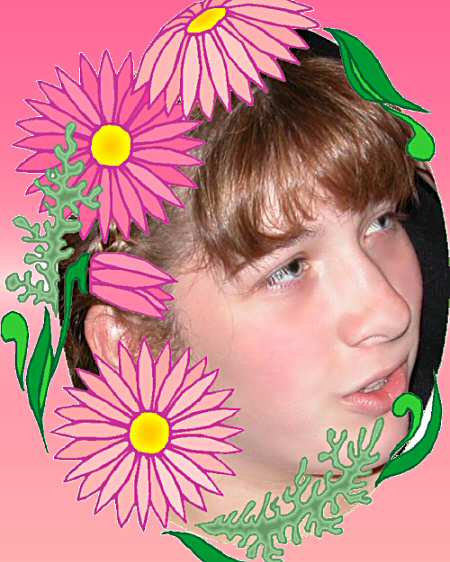
Done by the lesson. This is much more complex than it looks, but well worth the effort. |
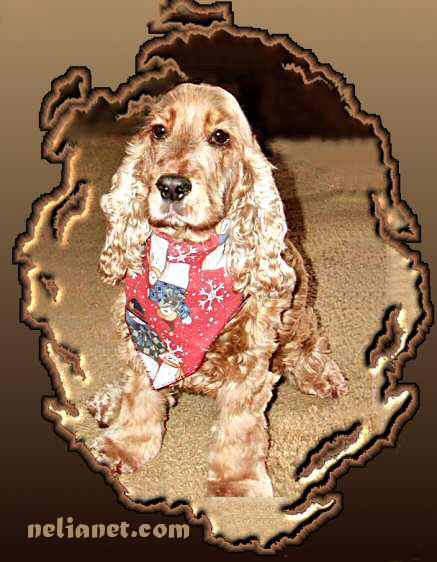 | |
| Another image of Murphy with masks. Lots of stuff done to it - including inner beveling and chiseling. |
Copyright © 2003 NeliaNet.com. All rights reserved.