We learned all about the basic functions of Painter this week. We were to read the chapter in the manual and complete all the exercises.
 |
|
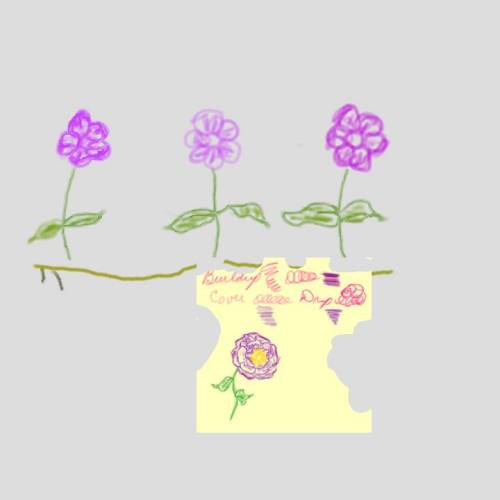
Choose paper color yellow. Draw with #2 pencil and erase errors. (My eraser got more use than my pencil!) Try out the various eraser types. Back to #2 pencil and show the difference between the Methods. I've shown Buildup, Cover, and Drip. Save the image in at least 5 different formats and notice the file sizes. Be sure to save the image in the native Painter format - .rif. Close the image. Open it again and notice the preview that .rif gives. |
 |
|
Open a new canvas. I did this with the gray paper color. Place the previous sketch on the new image and change the scale. Show erasing on the placed image with both Preserve Transparency checked and unchecked. You can see this on the top edge of the yellow layer. Play with arranging the layers in different orders. Understand the difference between resolution and zooming. |
Open the image you made in Exercise 1. Learn how to zoom using both the magnifier and shortcut keys. From now on zoom in to paint details. Learn how to use the Grabber to move the canvas and the Finger to move things around on the canvas. Investigate other tools - Rotate Page, Information, Rulers, Guides, and Guide Markers.
 |
|
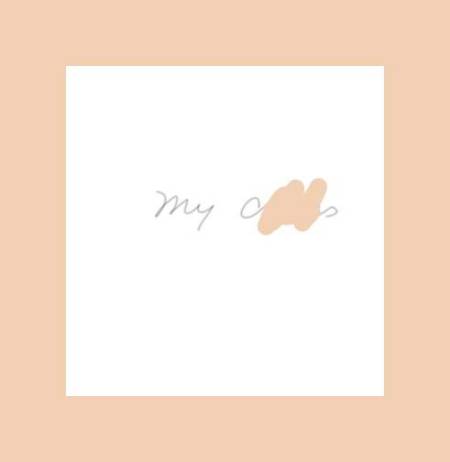
Open a new 10 x 10 inch canvas and write "My Canvas" on it. Resize it to 6 x 6 inches via Canvas, Resize with Constrain File Size unchecked to preserve 72 dpi resolution. Go to "i" to verify that the size really has changed. Add 1 inch of canvas around the edge by Canvas, Canvas Size, and adding 72 pixels to each side. Verify both the unit of measurement and the original white paper color. Crop the image. Resize the image, Canvas, Resize, Constrain unchecked to exactly 5 inches. In my case I needed to subtract 207 pixels to get to the 5 inch, 360 pixel size. This maintains, not the height:size ration, but the pixel per inch. Change the paper color to beige and add 1 inch to all edges. When using the Eraser on the text, the underlying paper color is shown. It's beige, as that's the last color we used in the Art Materials, Colors palette. |
Open image one and a new canvas. Make sure image one is active, Ctrl-A to Select A and choose the Finger tool to drag the flower image onto the other canvas. Very cool!
Copyright © 2002 NeliaNet.com. All rights reserved.