
 |
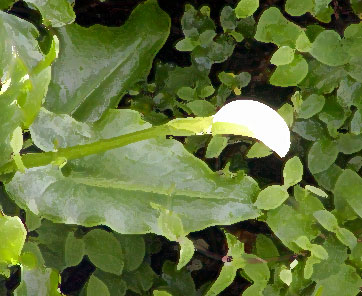
Unfortunately I wasn't feeling great this week. I did my assignment earlier and took notes. I have no idea what some of the notes mean now. (sigh) I did 2 effects on this one. On the lower layer I did "accented edges" and then put a Dry Brush layer on top. What are "accented edges?" you ask. I have no idea. (grin) I do remember trying to bump up the edges a bit, as the dry brush effect had the leaves fading into the background.
 |
This is a very cool effect. I pretty much followed the lesson here. I put the top layer into Color Dodge blending mode. I then did a watercolor edge to reveal the thatched paper on the layer below. I added a frame around the whole thing.

|
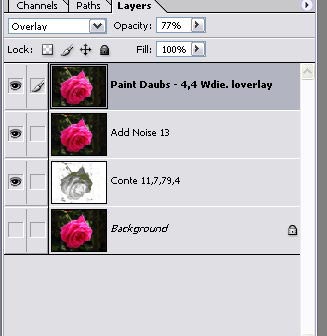
See the screen shot below for the layer settings. As you can see, my spelling/typing is no better in Photoshop than it is in other programs. (grin)

|

|
I was really stuck here, until I realized I was trying to use the Art History Tool instead
of the Art History Brush. Let me tell you that they are NOT one and the same. (grin)
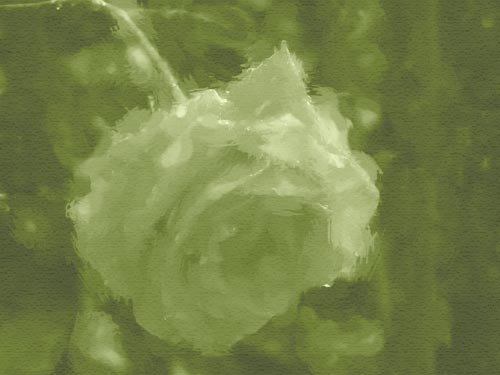
My notes here are skimpy to nonexistent. I did one layer using an Art History brush size of 9 and set to the same
Dab settings as the lesson. I did a layer on top of this with a dry brush and did the Tight, Short option. I set this blending
mode to lighten. Or this may have been another layer. Can't tell from my notes. I then sandwiched my image layer, which
was set to luminosity mode, between two texturized layers. The bottom one is set to luminosity and top one to screen with
a lowered opacity. This latter changed the color from pinks of the original photo to the green of the texturized layers.
Somewhere along the line I did a merge visible to merge my image layers.
Copyright © 2004 NeliaNet.com. All rights reserved.