|
Please do not copy this tutorial
to any web site without my written permission as I, Copyright 2000 ©
Kanded Kreationz, all rights reserved, own this tutorial. I don't mind
if you share in online groups to learn PSP as that's what I write them
for ~ Enjoy If you have any questions please email me at Kanded
Kreationz©
Creating Candy Cane Text In PSP 7
1. Open up a New Image 425 x 150
transparent

2. Next Click on the  on the Toolbar. on the Toolbar.
Place the Cursor in the center of your New Image.
You will get a box like this
See Picture Below:

3. Type in whatever text you would like in the BIG box.
Then you can go back and highlight your text change the colors the fonts
and see what looks best.
I Used a Bell Bottom Font and the Size is 72.
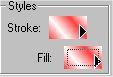
4. Next click on the little Black Arrow in the STROKE Box
See Picture Below:
You will get a picture like this  . .
5. Click on the little box next to the brush that is the GRADIENT BOX.
Then Go Back and Click on the inside of the color box, as you can see
mine is red and white  right now yours will be the color of whatever your foreground color is.
The Following Box will appear. right now yours will be the color of whatever your foreground color is.
The Following Box will appear.
See Picture Below:
6.Click on The Little Black Arrow That is next to the Current Gradient
See Picture Below:
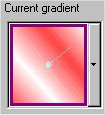
You will get a Box That appears
that looks like the one Below:
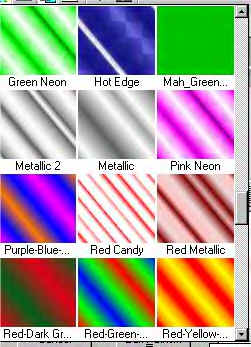
7. Click on the Arrows until you
get to the one that say RED CANDY click on RED CANDY.
Then Click OK.
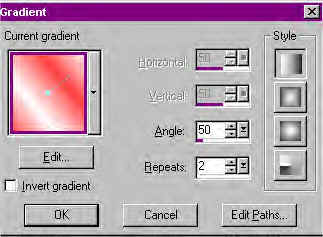
Now you are back to this:
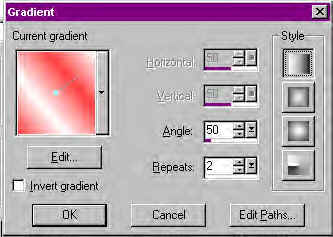
On The Right Hand Side on the
Picture Above under STYLES you see 4 little Boxes
if you click on each one it changes the pattern but keeps the same
colors. Play around with it and see what pattern you like.
I Clicked on the very top one for mine and used the following settings
to get my Effect. ANGLE 50, REPEATS 2. (See picture above)
8. Then Click OK then You are Back to the Text Screen.
While on TEXT Screen you also need to do the FILL BOX that is LOCATED
UNDER the STROKE BOX.
See Picture Below:

9. REPEAT STEPS 4 through 8 for
the Fill BOX.
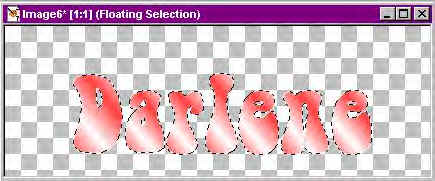
This is what mine looks like
yours may look different depending upon the settings you used.
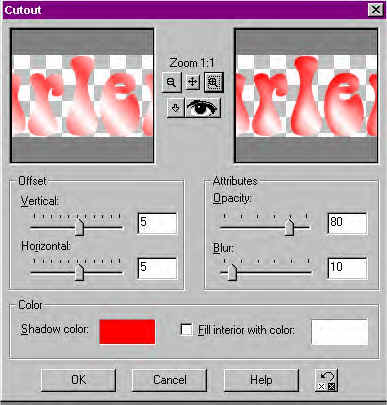
10. Next I went to EFFECTS, 3D, CUTOUT.

I used these settings: VERTICAL
5, HORIZONTAL 5, OPACITY 80, BLUR 10 and UNCHECK FILL INTERIOR COLOR.
Click OK.
But again play with the different settings to see what you like.
See Picture Below:
11. Repeat STEP 10 one more time
with the exact same settings.
12. Then I repeated STEP 10 one more time changing the OPACITY from 80
to 100.
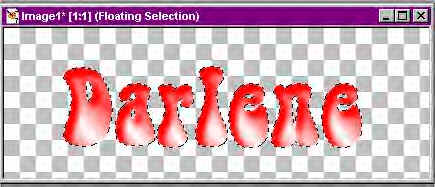
This is what I have after completing this process
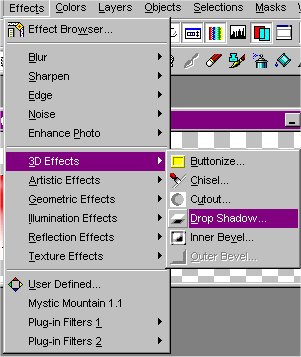
13. Now I am going to add a DROP
SHADOW to my tag.
Do this by going to EFFECTS, 3D, DROP SHADOW.
(See Picture Below)
Again you can play with the
settings to see what you like.
These are the settings I used:
(See Picture Below)
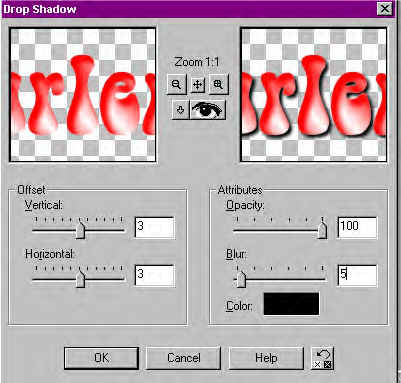
Click On OK.
Then go to SELECTIONS, and SELECT NONE.
Now you can DECORATE it up with Tubes or whatever you like.
Do not Forget to Merge ALL Layers when done.
This is my Finished Tag:

Enjoy!!!

All Web Graphics And Design By:
Dazee's
Attic of Treasures©
Copyright 2000, Kanded
Kreationz©, All Rights Reserved.
|
