|
Please do not copy this tutorial
to any web site without my written permission as I, Copyright 2000 ©
Kanded Kreationz, all rights reserved, own this tutorial. I don't mind if
you share in online groups to learn PSP as that's what I write them for ~
Enjoy If you have any questions please email me at Kanded
Kreationz©
Making A Doodle Tag
Tutorial
1.
Open up a new transparent image any size you want for this tutorial I did
a 400 x 400 and then will resize at the end.
2. Go to your SELECTIONS TOOL  . .
Set it on CIRCLE.
(See Pix Below)

3. Draw a circle in the middle of your image box.
(See Pix Below)

4. Go back to your SELECTIONS TOOL  . .
Set it on the one that says RECTANGLE.
(See Pix Below)

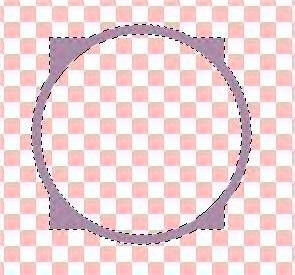
5. Hold down your SHIFT KEY and draw a RECTANGLE starting a little
bit outside the circle in the upper left corner.
(See Pix Below):

Try and make it as even as possible so that all four corners overlap the
circle as evenly as possible. If you do not like it and want to redo
your rectangle just let go of the SHIFT KEY and RIGHT MOUSE CLICK. Your
rectangle will disappear and you can try and redo the rectangle part.
Here is what mine now looks like:
(See Pix Below)

6. Next what you want to do is FLOOD FILL your Frame with the color of your choice.

7. Click on your SELECTIONS TOOL AGAIN  ,
again set it for CIRCLE and draw a CIRCLE inside of your Doodle
Frame. ,
again set it for CIRCLE and draw a CIRCLE inside of your Doodle
Frame.
(See PIX Below)

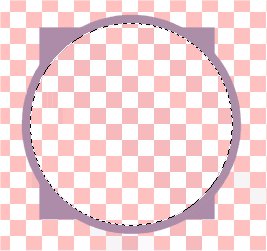
8. Next you want to hit the DELETE key on your keyboard to remove
the inner part of your Doodle Frame.
You should now have something that looks like this:
(See PIX Below)
9. Next click on SELECTIONS and select NONE.

10. Click on your MAGIC WAND  select the outside of your Doodle Frame then hold down your CTRL KEY and
select the inside of your frame. You should have marching ants
inside and outside the frame now. select the outside of your Doodle Frame then hold down your CTRL KEY and
select the inside of your frame. You should have marching ants
inside and outside the frame now.
(See PIX Below)
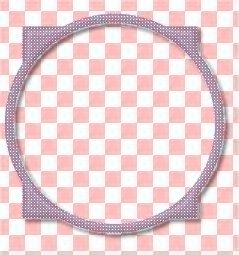
11. From here on out your you can use BLADE PRO, EYE CANDY, whatever
your heart desires to make this frame complete.
On mine I used EYE CANDY 4000, WEAVE.
(See PIX Below)

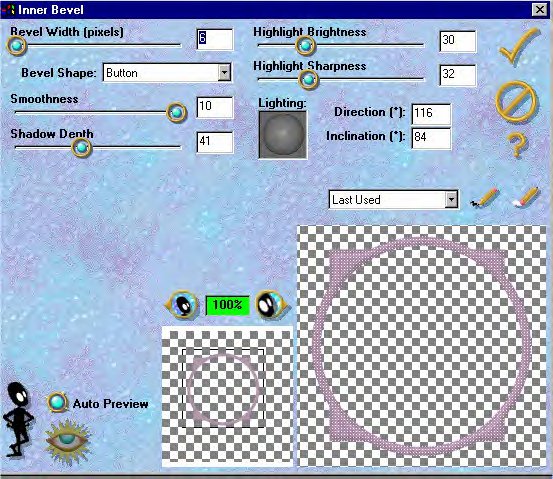
12. Next what I did is I used EYE CANDY 3 and inner beveled.
(See PIX Below)
13. Then I added a DROP SHADOW and this is what mine now looks like:
14. And this is what my finished frame looks like all decorated and
all.

I hope you have enjoyed this TUTORIAL if you have any questions please
feel free to e-mail me. :)

All Web Graphics And Design By:
Dazee's
Attic of Treasures©
Copyright 2000, Kanded
Kreationz©, All Rights Reserved.
|
