(printout: 8 pages)


General Sewing Tip:
When working with such small pieces of fabric, it is important to know which is the right side and which is the wrong as fabric has an automatic 'curl' that can be taken advantage of in finishing these small garments. When pulled slightly on the bias, fabric will 'curl' towards the wrong side. This 'curl' helps a great deal when you are making french seams, finishing raw seams by hand, or hemming. Even fabric that looks exactly the same on both sides has a right side and a wrong side, get into the habit of checking to make sure which is the right side. Sewing on this scale is hard enough without fighting with the fabric. Think about trying to make a narrow rolled hem with the fabric fighting to curl in the wrong direction.
This rule will hold true for almost all woven fabrics.
General Sewing Tip:
When lockstitching any seam, place the lockstitch 1/4" in from the edge where the seams will meet as some seams get trimmed and you may lose your lockstitch if it is too near the cut edge and your seam may start to come apart.
General Sewing Tip:
After stitching any seam, trim the ends off at angles. This eliminates unnessesary bulk and makes for a neater finished appearance.

1. Cut 1 Bodice Band.
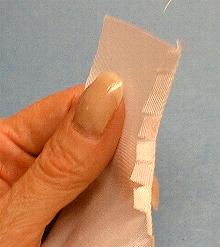
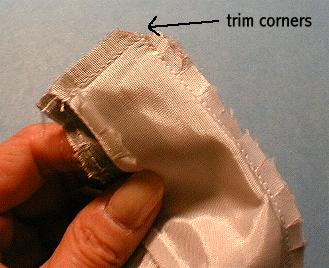
2. Fold in half the long way. Stitch the two short ends, lockstitching at the top and bottom. Trim corners at the top and bottom of the stitching.
3. Turn, squaring the corners sharply. Press the short ends and folded edge, matching the raw edges. Staystitch the long open edge.

4. Iron the light weight interfacing to your bodice fabric.

5. Layer your lining fabric and interfaced bodice fabric.
Check to make sure your layers are RIGHT SIDES TOGETHER!
6. Pin the Bodice pattern to the layered fabric. Cut out both at the same time.
(Note: I decided I wanted to use my sheer petal fabric as a bodice overlay also, so that is also layered in at this time. That layer would be wrong side to right side between the bodice fabric and the lining fabric.)
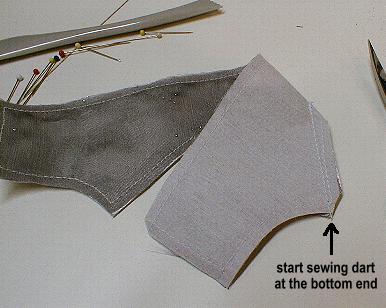
Ignore the measurements of the stitching lines printed on the pattern piece and use the 1/4" written directions for all seams. The printed stitching lines were just a visual guide to show you how you are to stitch the darts.
(Note: If you choose to apply the overlayer to your bodice, staystitch the two layers together (bodice and overlayer) about 1/8" from all the raw edges.)
7. Fold the dart openings and stitch darts, starting from the bottom end of the dart and lockstitching at the top and bottom of the dart seam. Follow the stitching guide lines on the pattern.
8. Stitch the lining darts.

9. Press darts towards sides.
(Note: To gain a better fitting bodice, press the darts on the bodice out towards the sides, and the darts on the lining in towards the center. Pressing the darts in opposite directions eliminates bulk and makes for a smoother appearance.)

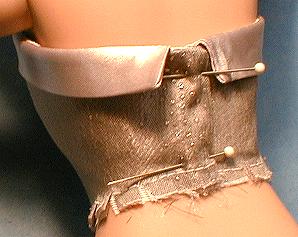
10. Find the center point of both the bodice and the bodice band by folding them in half and making a small clip, or marking with a pin. Pin the bodice band to the long upper edge of the bodice. The band will be shorter than the edge of the bodice to allow for the seams when you stitch on the lining.
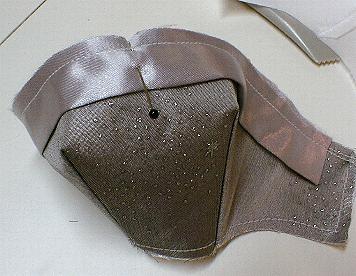
11. Stitch the band to the bodice slightly less than 1/4" from the raw edge so there won't be stitching lines showing that may have to be pulled out later.
12. Staystitch the lower edge of the bodice lining.
13. Clip to staystitching and press along stitching to inside.

14. Stitch lining to bodice leaving the bottom edge open.
15. Trim corners and clip curved top edge.
16. Clip waist edge of bodice. This is an important step, the bodice will not fit and overlap if you don't clip that edge.

17. Turn and press back opening edges.
18. Press top edge, and press bodice band down.
19. Try it on the doll. The overlap should be about 1/4" or a bit more.

Bodice done!
| HOME | CLASSES | CLASS 18 INDEX | LESSON 1 | LESSON 2 | LESSON 3 | LESSON 4 | LESSON 5 |