|
This concept is very simple, but also very confusing at first. So hopefully I can help you understand exactly what to do to put more than one texture on an object. This is pretty much neccessary for realistic textures.
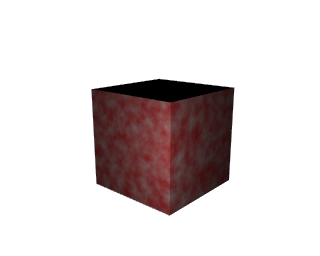
Start by opening up blender, and deleting the plane. Add a cube. Go to the materials buttons (F5). Add a material to the object. Go to the texture buttons (F6) and make sure you have a texture set to that object. Now change your texture to whatever you want. I used clouds for this demonstration. I then changed the color completely to red, giving something like this:
Next is where things get tricky. So let me explain basically how the material buttons (F5) work while you look at the picture below. Notice the buttons circled with red. These are the buttons that show what textures are associated with this material. The first button says "Tex", which is our cloud texture. Notice how I've divided the screen in two with the blue line. Every button on the right is used to modify the texture that is being viewed. Right now, "Tex" is being viewed, so those buttons will modify it.
So then, how do you put two textures to one object? Simple, it all lies within the buttons circled in red (and green) below.
If you hit the dash, it will show you all of the textures. To add a new one, hit the button circled in green. There is no texture assigned to that button. So, go to the buttons circled in red, and hit the dash. It shows all of the textures. Either assign a texture or hit ADD NEW. This texture is now also associated with the material. Your screen should now look like this:
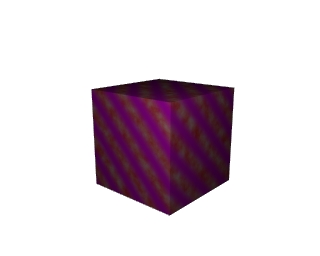
Now go to the texture buttons (F6) and change the new texture to whatever you want. I made it wood so you can see what's going on here. Here's the picture now with two textures applied to one object:
|


