
FIG. #1 Cut a 10' section of 1 1/2" PVC into 1/3's, which will give you 3'4" posts. Make 2" x 1/4" notches at the top and bottom. Make sure you cut the notches on the same side of the PVC section.

FIG. #2 Disassemble the Pumpkin by unscrewing the bottom of the plastic base and temporarily removing the lightbulb fixture and cord.

FIG. #3 Drill a small hole in the center of the plastic base underneath where the lightbulb fixture seats. Drill another hole in the center of a 1 1/2" PVC End Cap.
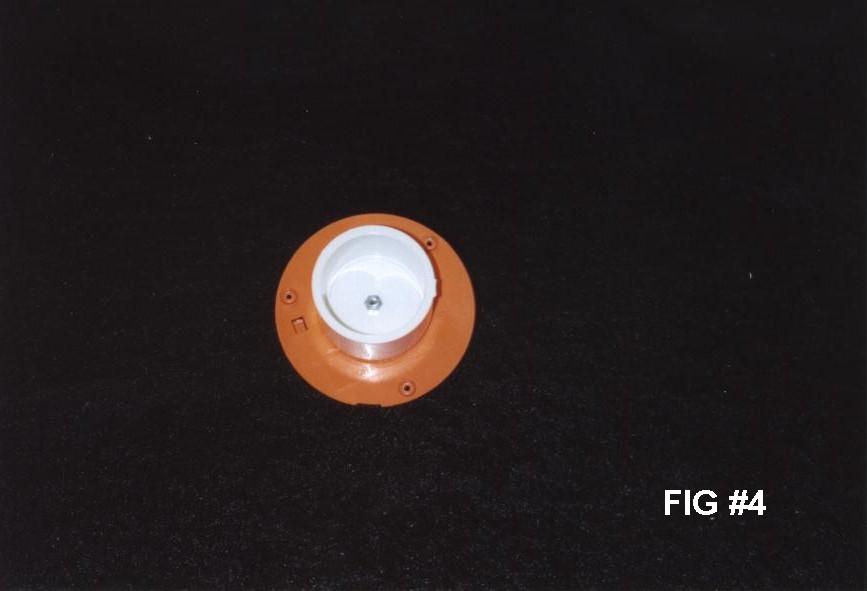
FIG. #4 Secure the PVC End Cap to the plastic base with a small nut and bolt. This shows the bottom of the plastic base and inside the End Cap.
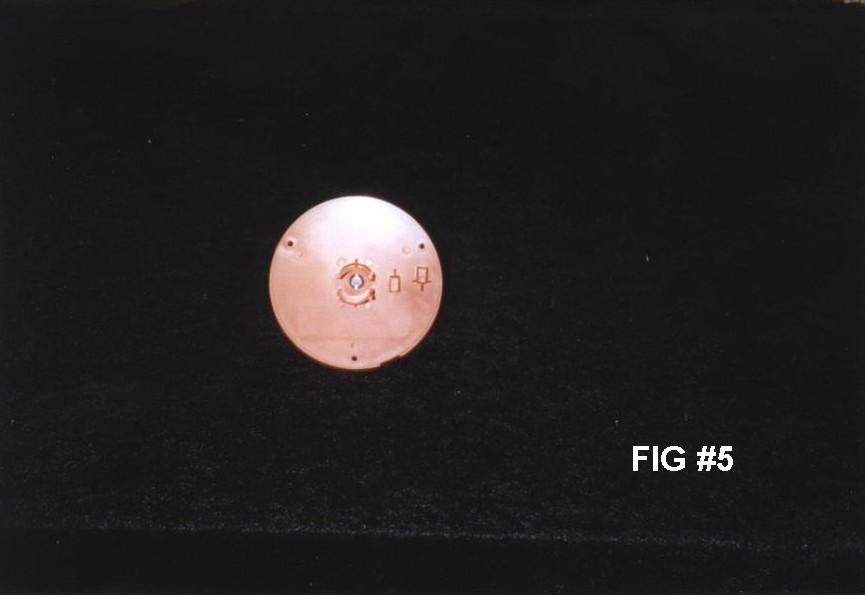
FIG. #5 Top view of the plastic base showing the head of the bolt in the center of the lightbulb fixture seat.

FIG. #6 Reseat the lightbulb fixture and power cord on the plastic base. After several attempts at securing the Pumpkins to the posts using various glues, I eventually found this method to be the most reliable year after year. At this point you can screw the Pumpkin back onto the plastic base.

FIG. #7 Screw a 1 1/2" PVC End Cap to a wooden base.

FIG. #8 Feed the power cord from the Pumpkin down into the PVC post and through the notch on the rear of the post. Attach the Pumpkin to the top of the post with the PVC End Cap.

FIG. #9 Feed the power cord through the notch on the bottom of the post and secure the post in the PVC End Cap on the wooden base.

FIG. #10 Your post is now ready for painting. To secure them to the ground, drill a hole in the wooden base and use 6" nail spikes. For hard surfaces such as wood or cement, place small blocks or bricks on the wooden base.
