|
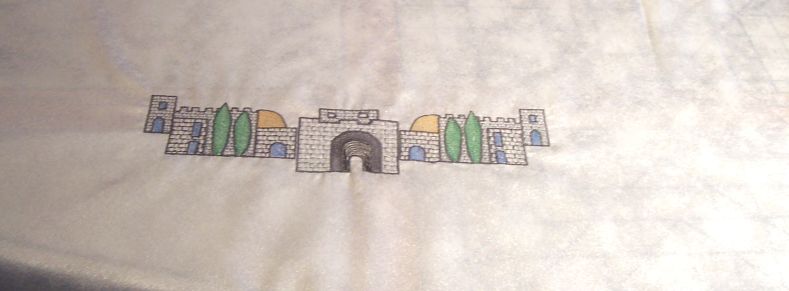
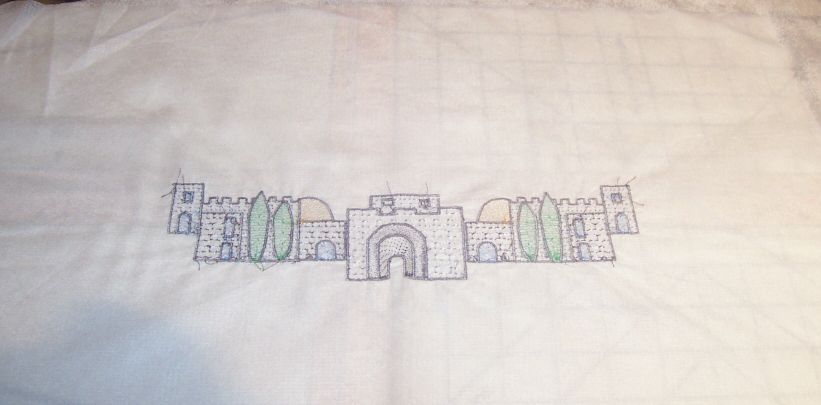
Front of Tallit with Embroidery
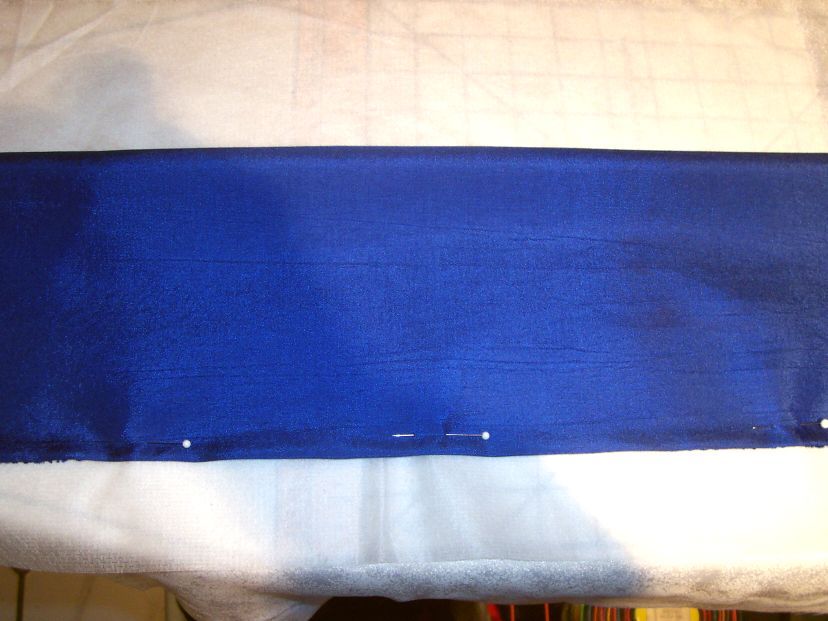
Turn Tallit to the wrong side.
You should cut your stabilizer to the height you want lined.
(I didn't do that in the pictures because I'm not ready to finish this tallit!)
Your Lining should be the full width of the Tallit
Place your lining (which should be the same fabric or very similar to the rest of the tallit) with the RIGHT
side of the fabric DOWN, against the back side of the Tallit above the embroidery. You will be folding it down, hiding
the seam in the next step.
I just used a line of yarn to indicate where you should stitch. I recommend about a 1/2 inch or so
away from the edge of the lining fabric.

Flip your lining over to cover the back side of the embroidery
Turn up the lower edge of the lining fabric and press so you have a finished edge along the bottom, below
the embroidery.
Stitch along the line where the pins are. Do it close to the lower edge of the lining, but not so
close that you go off the lining fabric.
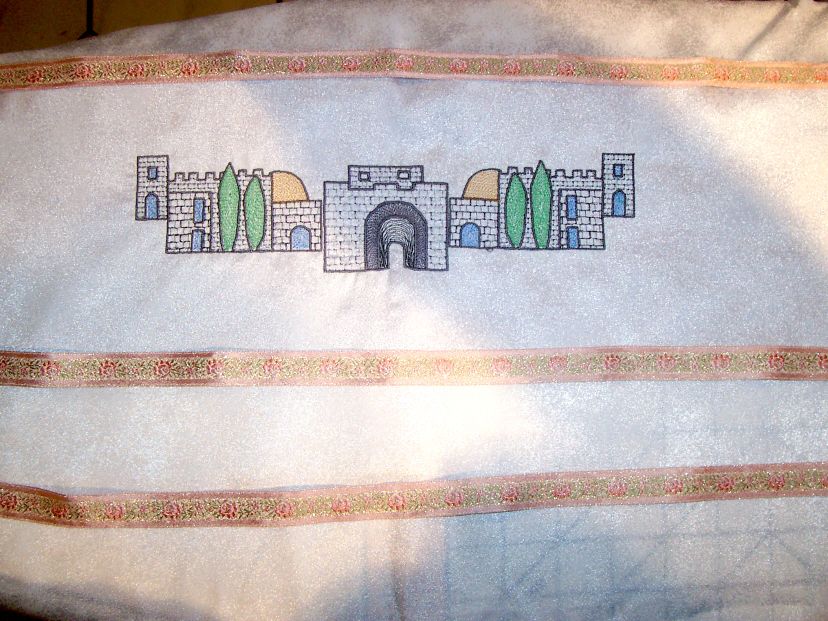
Turn the Tallit over to the right side and use the stitching lines made when you lined the back as your
guide for adding ribbons as stripes
(Trust me, I would never use this ribbon with this embroidery design - but it was all I had near me and
I wanted to post this before Shabbat! LOL)
|
