|
Decorating Vivariums with Turkey Tails
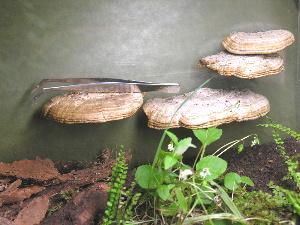
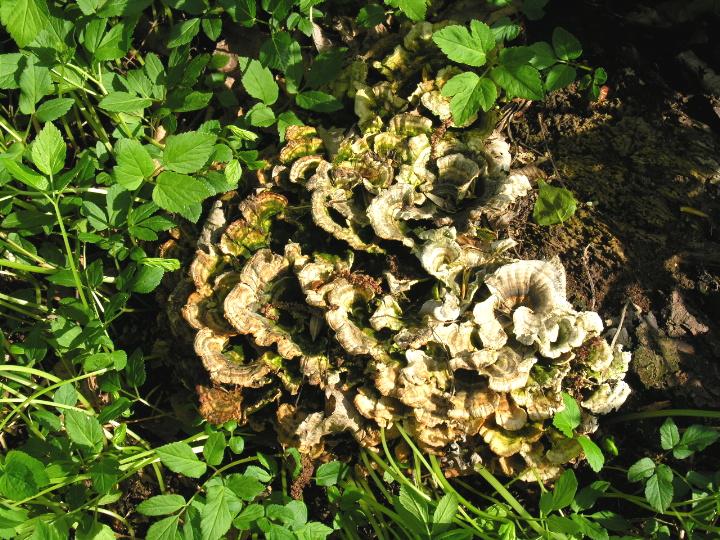
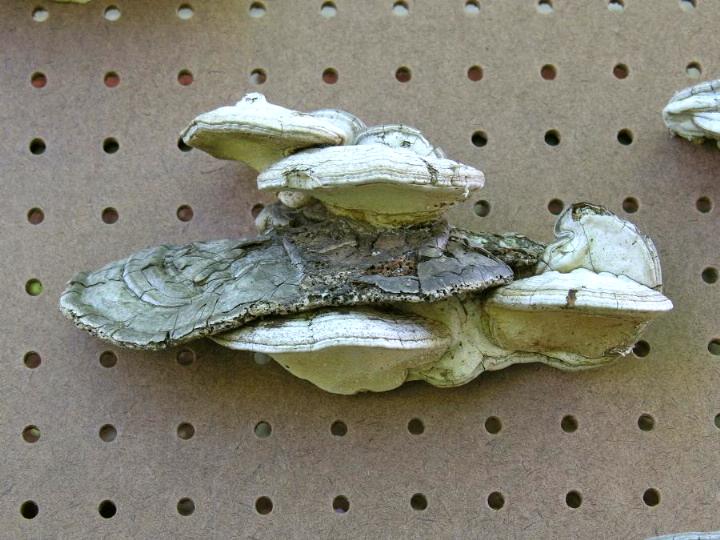
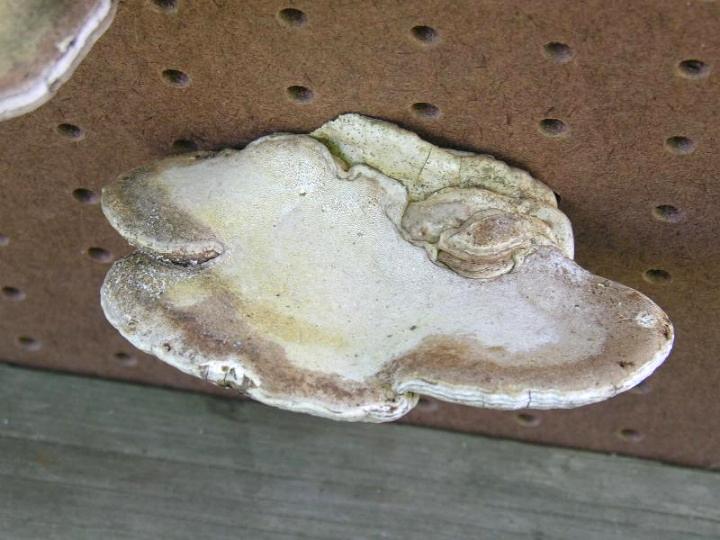
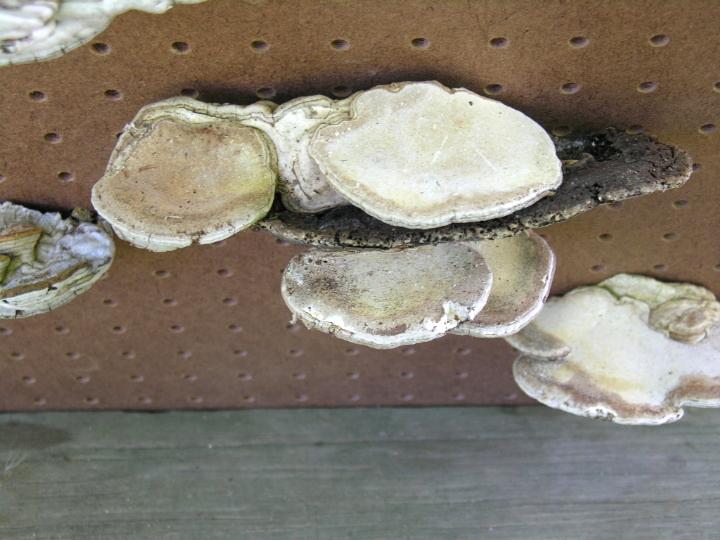
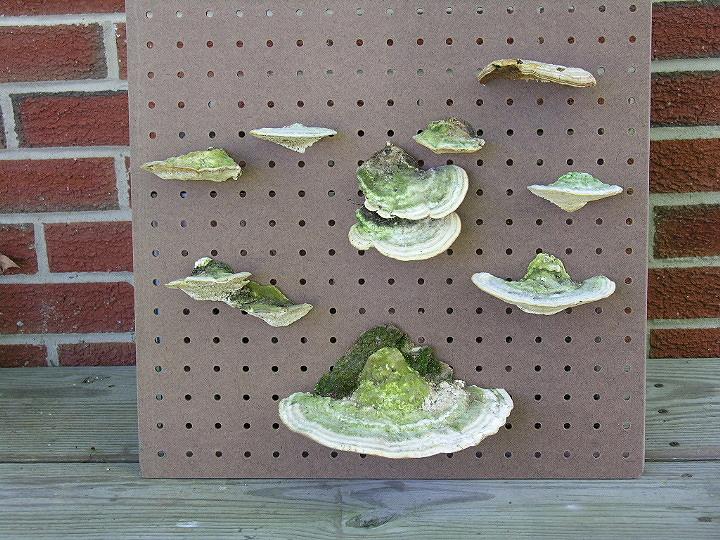
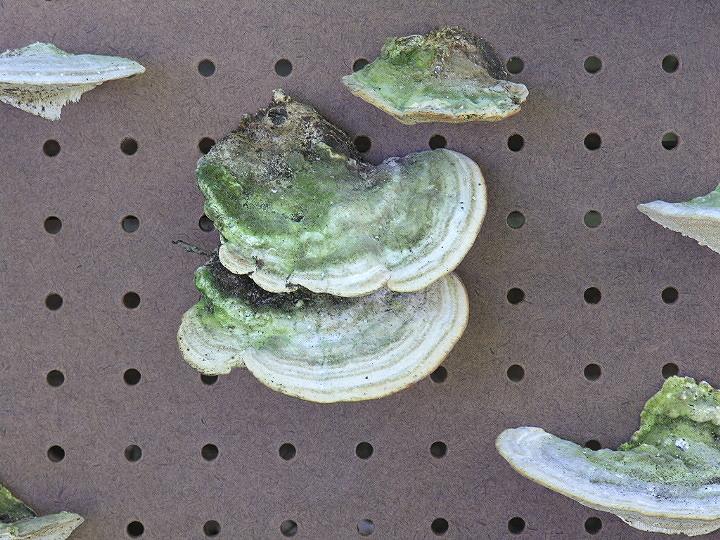
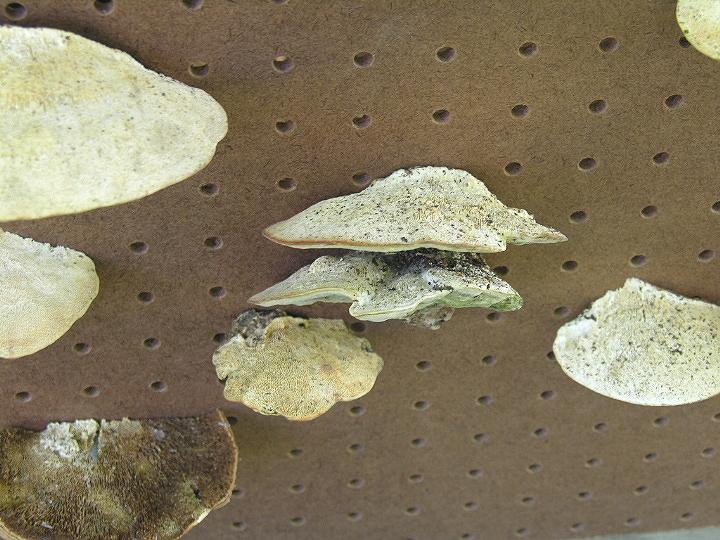
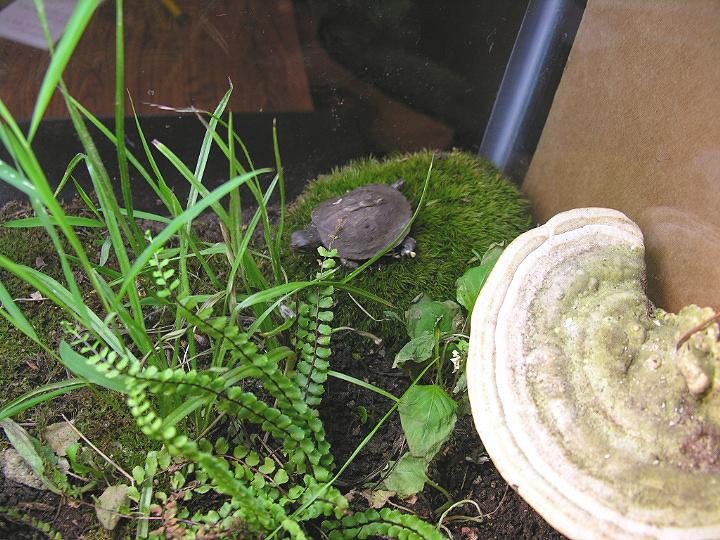
Why turkey tails you ask? In Tour 13: Using Brass and Copper we described how we wanted to use more of the volume of aquariums without filling them with water. In that tour we created hanging baskets for plants above the water. While hanging baskets of plants also work well in vivariums, the volume of vivariums can simply be filled with plants and other earthy items. In this tour we will show you how to use turkey tails to decorate vivarium walls while keeping the floor of the vivarium open for the turtles. Turkey tails can also be used like cork and bark for landscaping. This is one of those techniques that will also work very well for other reptiles and amphibians. Lizards perched on them immediately comes to mind. In turtle vivariums, turkey tails on the walls will do more to satisfy your sense of creativity than to serve the needs of your turtles. However, turkey tails mounted just high enough for turtles to hide under, especially in corners, will serve as hide boxes. In the picture above you can see we use one as a utility shelf. The process is very simple. Take a walk in the woods and collect some turkey tails or any fungi you think might work. For us that means we are out herping. Simply pry them loose by hand or use a knife. Some bark or wood might come along with the cap. The cap is the flower of the fungus which is growing in the rotting wood. It is an organism that helps break down the wood so do not expect to extract a solid piece of wood with a turkey tail. Some fungi you find will not work, but you can sort them out after you are home and the fungi are dried. After you get them home, lay them out to dry in the sun. If you have caps of the right fungi, they will be very durable. Getting wet will not harm them. If they are not the right kinds of caps, they may disintegrate or crumble. We set a tray of caps aside over winter and many crumbled. It was easy to see which ones were good and which ones were not. The right ones will be firm and durable. Once you collect a few, you will quickly learn which ones you want. | pic 4 | After they have dried it is a simple matter of creating relatively flat surfaces on them for attaching them to the walls of vivariums. We have a band saw which makes this very easy to do. Most saws will work. If only a little flattening is needed, lay a piece of sand paper on a flat surface and rub the turkey tail across it. Perfection is not required. You can also cut them to fit in corners. If your vivarium is glass or plastic, attach the turkey tails with aquarium sealant. Support the turkey tails while the sealant cures. Aquarium sealant is easily removed with a razor blade when the time comes. If they are not heavy, you can attach them with rubber cement. For our display boards below we mounted the turkey tails with drywall screws which gives you an indication of how solid some are. If you are not sure you want to commit to attaching them with sealant, you can hang them from the top of the vivarium with copper wires. |
pic 7 |
pic
8 | pic 9 | pic 10
| pic 11 | pic 12
| pic 13 |
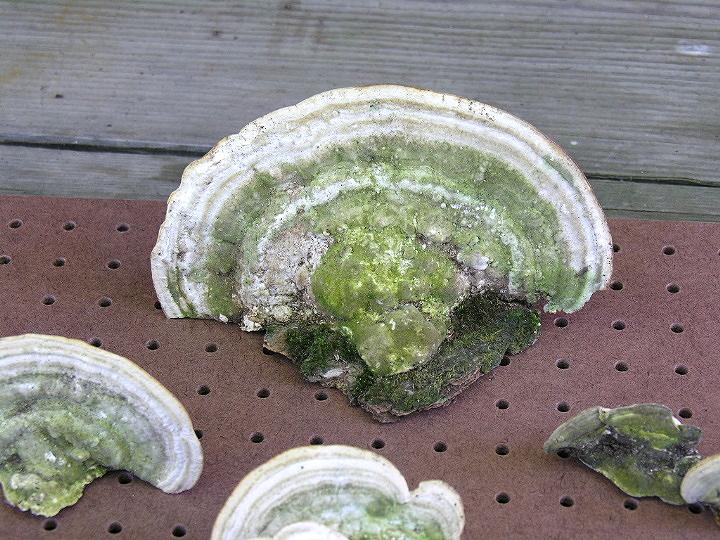
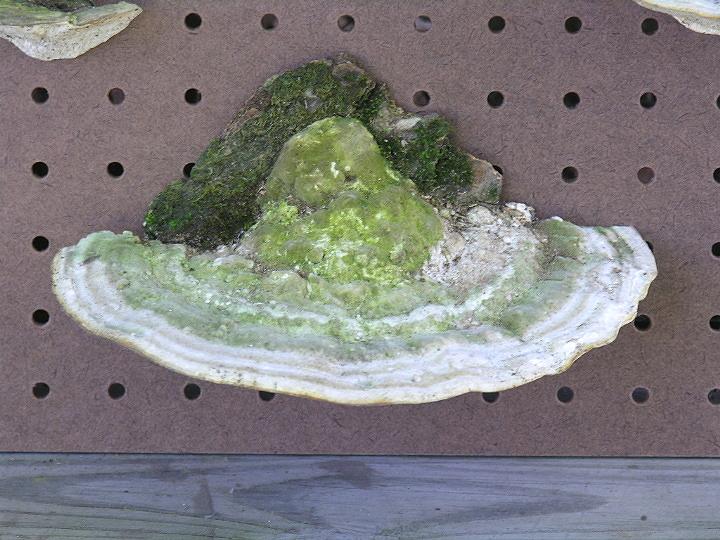
From here it is a matter of collecting and letting your creativity run wild. Use a few or use many. Build a cave or hide box with them. Build a "rockscape" that will not scratch turtles as they climb over it. The cost is right and the supply is endless. You can even incorporate them in your copper and brass creations or attach them to your homemade hide boxes. | pic 24 | pic 25 | pic 26 | pic 27 | pic 28 | pic 29 | pic 30 | There are many treatments you can use to achieve different looks. For a deeper wet look, the tops can be oiled with linseed oil. For deeper browns apply wood stains. For a shinny look apply several coats of polyurethane or varnish. And for color paint them or adorn them with colorful ornaments. No matter what you do, each one will be unique. We hope we have stirred your imagination again and that you enjoyed our twenty-fourth behind-the-scenes Raising Baby Turtles tour. Also visit the Backyard Turtles page for more tours.
|