As I previously stated, I wanted to keep the water-cooling set-up
completely internal. My next consideration was powering the system, fans,
and peltier. The peltier I chose would draw too much power from my current
power supply, so adding a second power supply to my case was a viable option to
me, since my case is a full-tower, giving me plenty of room to spare.
The first step was to trace an outline on to a piece of paper of the current
power supply. With this template in hand, I simply placed it where I
wanted the second power supply to be and outlined it on to the case with a magic
marker. After I had the general outline drawn, I attached a cutting wheel
to my trusty Dremel tool, which cut through the aluminum like butter.
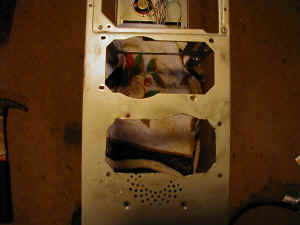
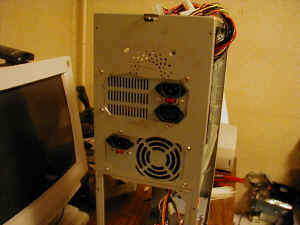
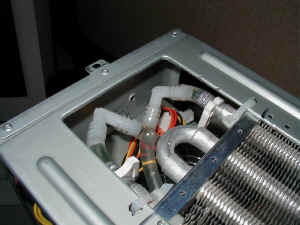
Mounting the radiator to the inside of the case proved to be challenging
also. I could have either drilled into the radiator and screwed the
radiator into the frame, epoxied the radiator to the frame, or attach the
radiator to the case using nylon ties. I choose the nylon tie method.
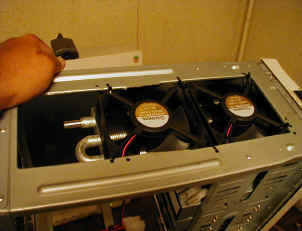 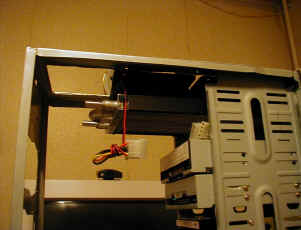
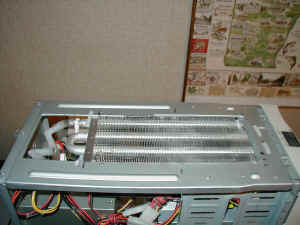
Here is the radiator mounted in the case. This is a 12" x 5"
aluminum automobile transmission cooler cooled by 2 120mm Sunon fans. Note
that I changed my ming during the final mounting. I found it better to
push air through the radiator rather than to "suck it off" (no offense
intended). Pushing air through decreased my overall CPU temp. by about 1-2
degrees F.
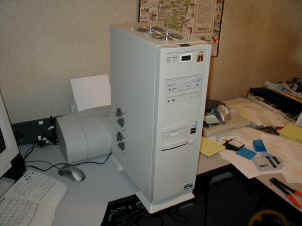
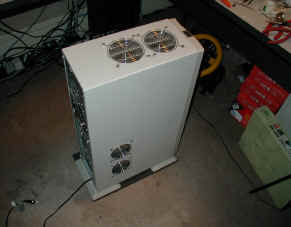
For the exterior of the case, I used a 80mm circular drill bit to cut
openings for my two 80mm blow-hole fans. My cats were starting to lose
their whisker's, so I attached some grille guards just to be safe. Pictured
here, I have two 120mm blow-hole openings on the top of the case, I later choose
to cut one large rectangular opening instead.
Once the two power supplies were installed, the next task was to wire them
together so they would both turn on at the same time when the computer's main
power button is pushed.
page 3: Wiring Two PSU's
| 
