Style 29 Lesson 8
Skirt Slit and Finishing
With photo's and instructions by
Marsha Olson
(printout is 3 pages)


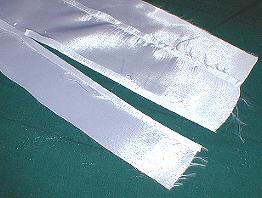
1. Choose and mark with a clip,
where you want the skirt slit to start.

2. After stitching the front seam
down to the clip, press the edges
of the slit to the inside on both
the lining and the dress.

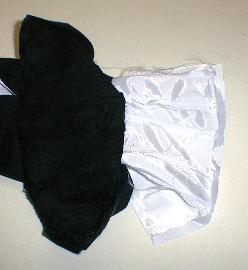
3. After sewing the dress together
throughout, press the hem edge
of the dress in 1/4", mitering
the corners as illustrated below.

Do the same with the lining, but
press the hem up slightly more
than on the dress.

Miter each corner by folding
the corner in at at angle and
pressing firmly.
Miter all corners on both the
lining and the dress hems.

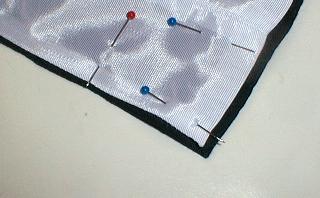
4. Pin the lining to the dress,
matching seams as much as possible.
The lining will be slightly shorter
than the hem edge of the dress so
that it won't show from the outside.
Pull the lining edge in very slightly
along the edges of the slit.

5. Stitch the lining to the dress,
removing the pins as needed.

The lining is pinned away from
the edges just enough to provide
room to sew and creates a nice
looking finish.


The Finished Gown
Click Pictures to see full size photo's.

End Style 29 Lesson 8
End Class Style 29


I hope you enjoyed the class and learned something new!
Thank you for participating!
Marsha Olson


You are visitor number


HOME CLASSES CLASS 29 INDEX LESSON 1 LESSON 2 LESSON 3
LESSON 4 LESSON 5 LESSON 6 LESSON 7 LESSON 8