Visitor Number:
I decided to have a little extra fun with this and added a heart shaped applique to the jacket back.

1. Press in a small pleat on each front shoulder, or if you prefer, run a line of gathering stitches instead of a pleat.
As long as the front and back shoulders are made equal it doesn't matter which you choose.

2. Sew the jacket front to the back at the shoulder seams. Press the seams open. Staystitch and clip the neck and armholes.

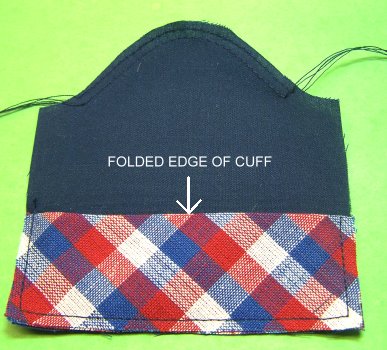
3. Press the cuff in half lengthwise. Sew the raw edges of the cuffs to the hem edges of the sleeves.
Tack the sides in place within the seam allowance.
4. Run two rows of gathering stitches along the cap of the sleeve.
5. Pin the sleeve in place pulling up the bobbin threads to fit the armhole. Sew the sleeve in place. Clip the underarm curves. Press the cap seam towards the jacket.

6. Assemble the lining.
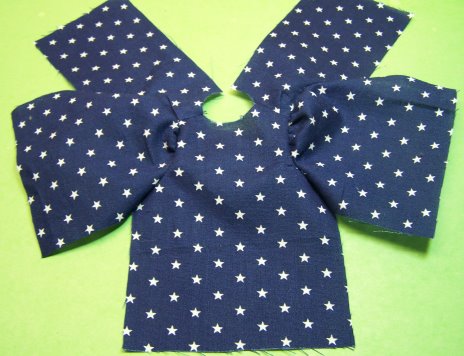
7. Sew the lining to the jacket along the neck, front opening edges, front hem edges, and the sleeve hem edges. Sew the back hem edge leaving a 2" turn opening in the center. (White lines indicate sewing.)

8. Through the side seam/sleeve seam opening, pin all the seams right side together, taking special care to match all the joining seams, especially the sleeve hem seams and the jacket hem seams. Working in a circle, sew all the seams. Don't forget to clip into all the underarm seam allowances.
It was a little hard to get a good picture of this step, so I have taken one picture of what it should look like after pinning all the seams together and another picture showing the 'circle' of sewing. I hope this step is understood by all, because this method of sewing in the lining can save hours of work on these small garments plus it works on any jacket or coat pattern. This is one method you will want to use over and over again. It's a huge time saver by eliminating almost all of the hand sewing other than finishing up the turn opening.

9. Press the sleeve and sleeve lining seams open as much as possible. Clip the neck seam and trim the seam down to 1/8". Clip and trim the rounded front opening corners and the corner of the neck opening.
10. a. Turn the jacket right side out through the turn opening.
b. Pull out the sleeves. The sleeve linings will be pulled into place. The seam of the cuff will be inside the sleeve about 1/8".
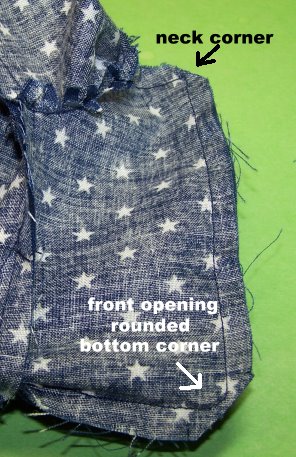
c. Using a corner pushing tool, push out the neck opening corner on each side and make sure the rounded corner at the bottom edge of the front opening of the jacket is nicely shaped and the seam pushed out all the way to the edge.
Press all the edges well including the sleeve hems.
Finish the turn opening by hand.
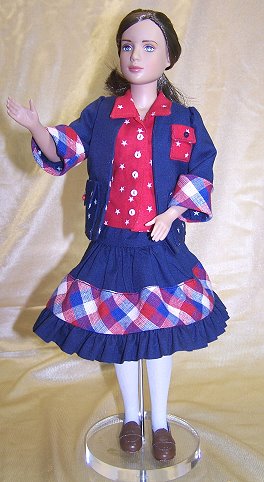
I also added small colored buttons to all my pocket flaps for some added interest and to hold the flaps down instead of tacking the corners.
(LEEANN is wearing my 10" Ann Estelle tennis shoes which fit nicely!)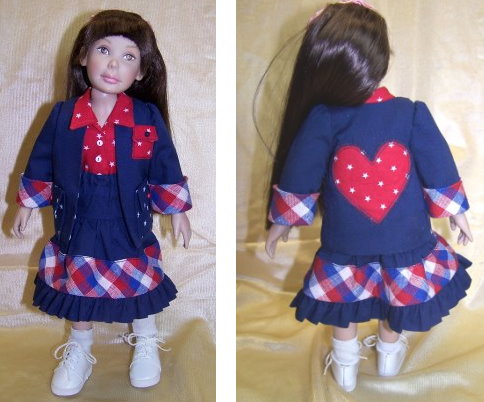
By the way, this pattern fits Marley like a glove! The sleeves are 3/4 instead of wrist length, but the fit of the entire pattern is perfect.
I'll be selling this outfit at the Tonner convention on Marley.
| HOME | CLASSES | CLASS 86 INDEX | LESSON 1 | LESSON 2 |
| LESSON 3 | LESSON 4 | LESSON 5 | LESSON 6 | LESSON 7 |