
- Return to the front page.
- How to make an animation.
- How to change the speed of an existing animated gif.
- How to composite two animations or remove a specific frame from an animation.
- How to morph from one image to another.
- How to composite (overlap) two images together.
- How to crop (cut out) part of an image.
- How to annotate (write on) an image.
- How to resize an image.
- How to emboss (relief) an image.
- How to rotate an image.
- How to flip (turns upside down) or flop (reverse) an image.
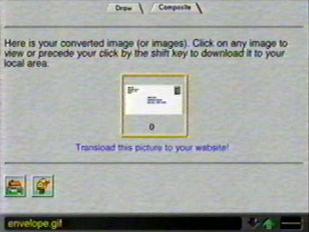
- *NOTE* ImageMagick only stores the rendered images on their system for 24 hrs. Always transload your results to your homepage account.
You can either click on the rendered image to get the URL or click on the transloader link below the rendered image and be transported there automatically. If you choose to click on the transloader link the temporary URL of the rendered image will already be entered in at Starblvd.

- Put the url of the image you want to annotate into the text field where it asks for the URL and hit the view button.

- On the next page you will see your image as well as the width x height of your image displayed in the status bar at the bottom of your screen. *Write these numbers down* Go to the top of the screen and click on the Annotate tab.

- On the next page fill in the following:
- Text
Type your text here.
If you are wanting to place the text on a specific part of the image select NORTHWEST on the pulldown menu. If you select this all you have to do is specify how far to the right and how far down to place the text using +'s. For example this would move it to the right 150 and down 75.If you wrote down the size of the image it makes it easier to place the text where you want it. If you'd just like to place the text in a corner or against the middle of one of the sides choose a direction off the pulldown menu and leave the location and gravity box empty. Location and gravity
+150+75 - Font: by clicking on the word font you can view a list of the available styles. Select the one you like and put a check mark in the corresponding box.
- Text color: by clicking on the words Text color you can view a list of colors for your text. For example this would make the text navy.
navy or #000080 - Box color: this will create a colored box around the text itself. This is optional. You can leave it blank if you'd like.
or yellow or #ffff00 - Pointsize: This determines the size of your text.
12 - Now go back up and click where it says Press here to (annotate) your image or (reset) the form.

- On the next page you will see your image with the text. You may choose to annotate some more or if you're done go to the top of the screen and click on the Output tab.

- On the next page fill in the following:
- Format: choose the one that best depicts your image.
- Storage type: click on the radio button labeled single image.
- Click where it says Press here to (output) your image or (reset) the form.

- On the next page click on your rendered image and get the url so you can transload it to your homepage account.