|
Hide Boxes for Turtles
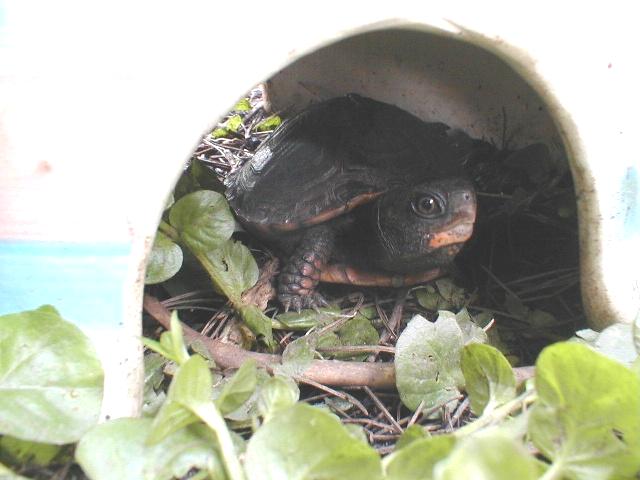
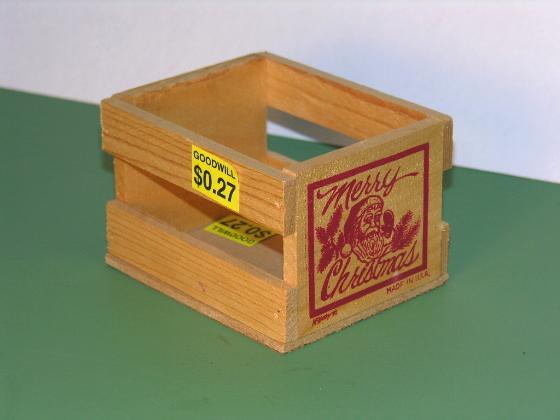
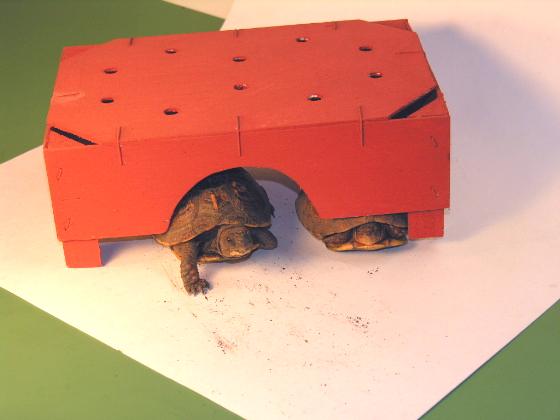
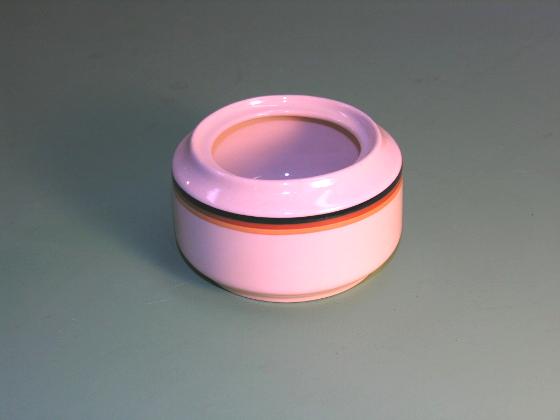
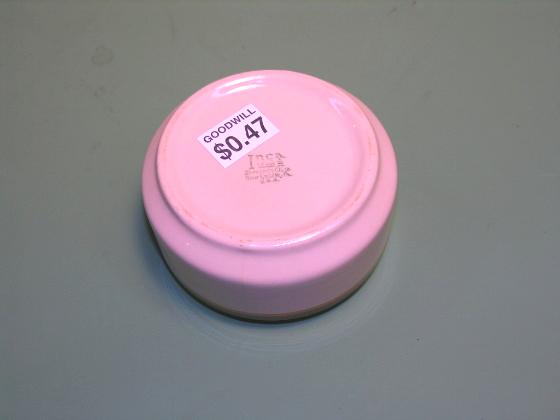
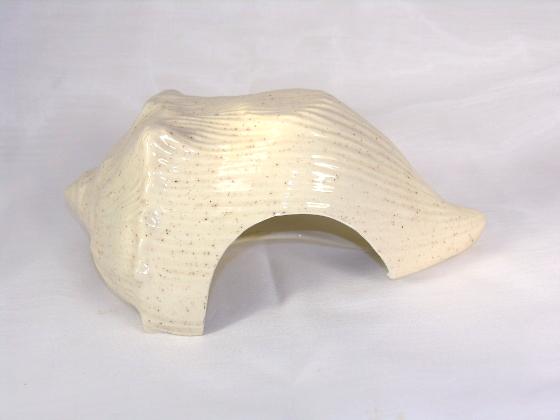
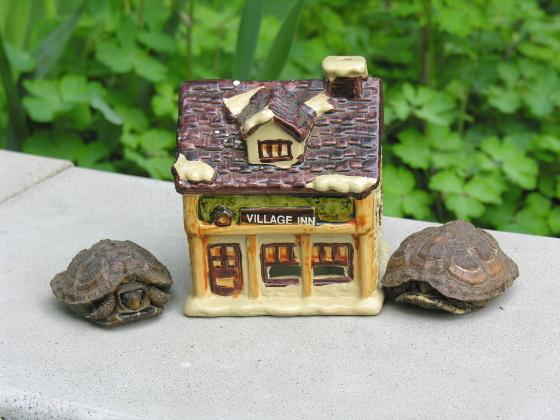
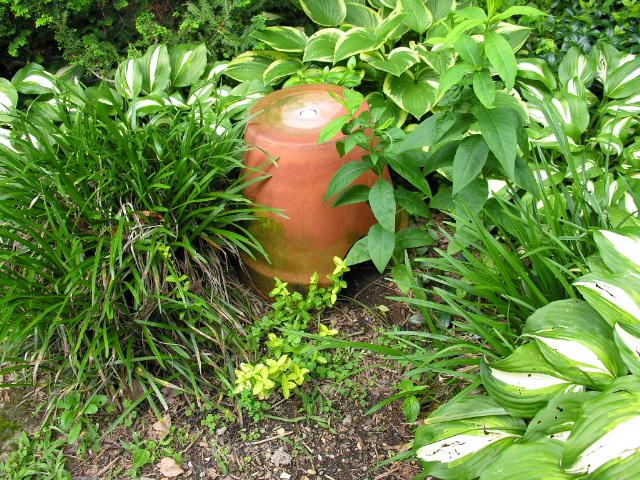
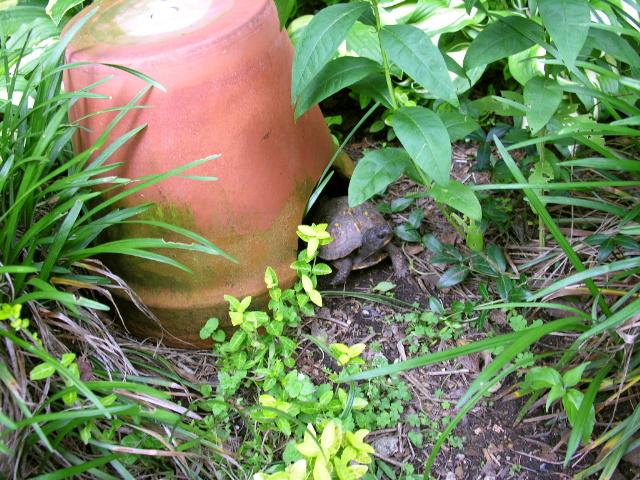
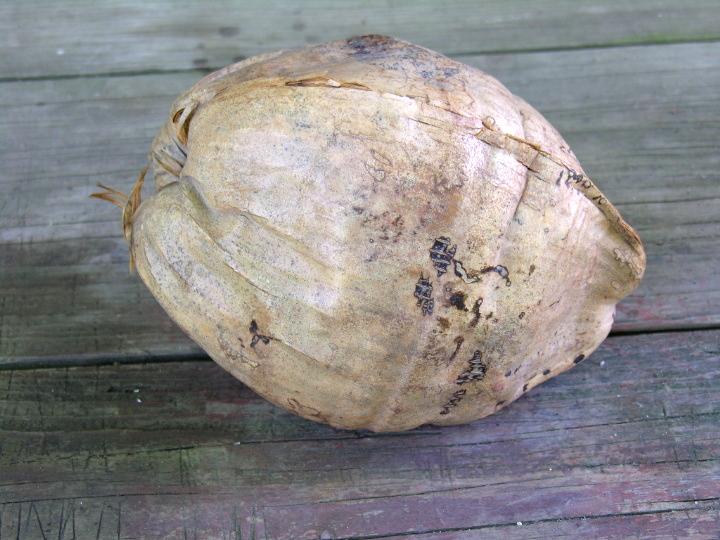
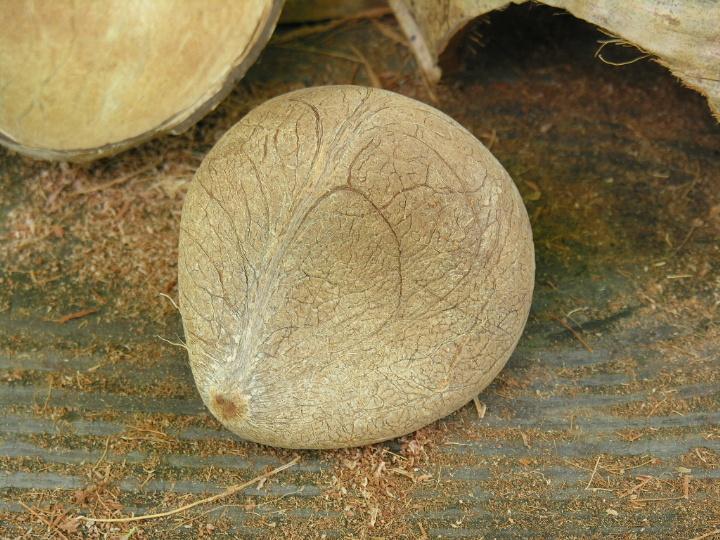
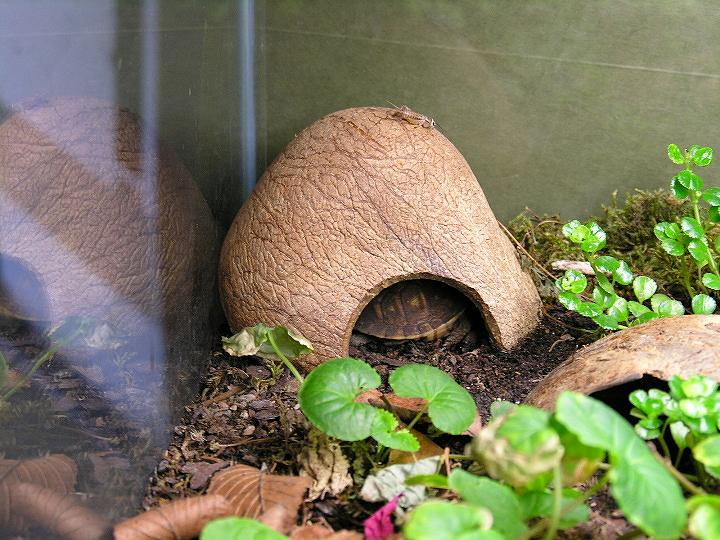
In Tour Nine: Summer Box for Juvenile Box Turtles Outdoors we show two hide boxes being used. Each was made by making holes in the sides of flower pots. The clay pot has one hole and the white ceramic pot has two holes. Ceramic and clay pots work well outdoors where they are exposed to the elements. They give the turtles some protection from the elements as well as places to hide. In Tour Twelve: Many Uses for Concrete we covered the clay pot shown above with concrete for use as a combination basking rock and hide box for water turtles. It is very versatile. It remains just as useful for box turtles. And yes water turtles may use submerged hide boxes. Do turtles need hide boxes? Not all turtles will use them. They would rather have good soil to dig in and bury themselves. We receive email from people asking how they can stop their turtles from burying themselves all the time. We advise them to give their turtles lots of leaf litter or a hide box. In a turtle enclosure with limited space, a hide box is one way to give turtles a place to hang out or hide. It is a bit of variety in their space. We like to give them soil and leaf litter. For those turtles who use hide boxes, we provide hide boxes too. In this tour we will explore the infinite possibilities for making hide boxes from common items we may have around the house. They are easy to make and we think they are as attractive as the artificial caves we see in pet stores. If we do not have items to use, we purchase them at thrift stores and yard sales. In fact we get many ideas while shopping. We have fun making our hide boxes for little or no money. We think you will enjoy making your hide boxes too. For durability ceramic items are probably the best. Some ceramics are harder and tougher than others. They are surprisingly easy to work with once you learn how to and get a little practice. Since they are used upside down, we choose items with bottoms reasonably attractive to look at. Wood is probably the next most common material and much easier to work with. Wood is not as durable because it will set on moist soil but wood will still last a long time. Of course wood will not work well in water. Lets begin with the simple wooden hide box made from an ornamental wooden crate. We just pulled one side piece off and put it on the other side. It could not have been easier. And these crates come in all sizes. Old wooden salad bowls make good hide boxes. They are attractive and available in many sizes. Their shapes are natural looking and reasonably turtle goof proof. We used a sanding cylinder in our drill press to create the holes. The bottoms of the bowls were removed. A little sanding, staining, and polyurethane and they look like they were originally made as hide boxes. While searching a thrift store for ideas, we found an ornamental bird house. We initially passed over it. Then we decided to give it a try. We removed the bottom and cut the hole in a side rather than in the front so it still looks like a bird house. There was no need to close the hole or remove the perch. Besides being interesting, it also sets flat against the side of a vivarium where space is limited. The last of our wooden hide boxes was made from a citrus fruit crate. We cut an opening and gave it a coat of red paint. It is the least attractive looking, but it is very popular with the turtles who use it. The next hide box was made from a bamboo basket. It was picked more for the clean appearance of the bottom. It turned out to be the perfect basket to use. First the handles were removed. Then we cut the hole by using the sanding cylinder on our drill press. This basket had been glued and coated with a clear finish which held it together throughout the process. The exposed edge of the opening was sealed with polyurethane. Ceramic items come in all shapes and sizes from clay flower pots to fancy glazed planters and bowls. The choices are endless. We picked up a variety of items to illustrate this tour. The technique was about the same. We used a cutoff wheel in our 4" grinder, our bench grinder, and a grinding stone in our drill press. Some ceramics grind away faster than wood and others take much more time. All were actually reasonably fast to cut openings in. The first was made from a high quality sugar bowl. It was a good buy because the lid was missing. This ceramic is very tough but workable. It will last forever. The ceramic of this little bowl was very soft and ground away very quickly. It makes a great hide box for a baby turtle. Next we used a ceramic planter. The material is very thin. Once we cut into it we chipped away the ceramic with a pliers removing only small pieces at a time. We finished the opening by grinding the edge smooth. The next hide box is larger and ideal for use outdoors. We left the drain hole in the top (bottom) open. It will let in rain water which is not a problem. Our next ceramic hide box took no work at all. It is a small house made for placing a tea light candle inside. We would set it deep enough in the soil so that there would be soil inside. Before finding this item, we tried to cut a hole in a similar piece. It was too hard and brittle to work with. Garden centers sometimes sell clay flower pots with one hole in the side similar to our hide boxes. These are "toad abodes" which are hide boxes for toads. You place them in your gardens in hopes of attracting toads to protect your flowers from bugs and slugs. They are just as good for turtles less the fun you would have making your own unique hide boxes. For several years we wondered if adult turtles outside would use a shelter if one was provided. Then we found a large clay flower pot someone had discarded. It is worse for wear so we decided to use it for an experiment. We cut a hole in the side of it to construct a hide box for adult box turtles. We were pleased to see that several box turtles use it. We have even seen two Gulf Coast box turtles in it at one time; they just fit together. So hide boxes are not just for young turtles. We will add a potted plant on top of it. There are other unique items and materials you can use. Coconut shells are a natural. Purchase a coconut at the supermarket. Try to fine a large one. Drill a hole in it to let the liquid out. Then saw off about a third of the coconut. Clean out the coconut meat and cut the entrance hole. This will be an interesting project if you never opened a coconut before. It takes some work, but the shell will last a long time. A year after writing about using a coconut shell for a hide box we came across a coconut at a yard sale for ten cents. We reached for it before even realizing it was a coconut, the whole coconut. We immediately thought of the possibility of making two hide boxes, one from the outer husk and one from the shell. Things did not go as planned. We cut away the material to make the hide box from the husk and expected to be able to dislodge the coconut shell from the husk. All attempts failed. Then we used a hammer expecting to dislodge the coconut. The coconut did not dislodge from the husk but broke releasing the meat of the coconut like a big nut completely intact. One piece of the shell was big enough to make a hide box for baby box turtles. We did not expect the coconut meat to fall out and in one piece. It did not rattle around before we broke the shell. It was flexible and did not contain any liquid. The meat had shrunk and turned red; it was slightly oily and easy to carve. We had fun making the hide boxes. Working with a whole coconut for the first time was an adventure into the unknown. We have no idea how old this souvenir coconut was or how long it would take to dry one out. Our turtles think they are great hide boxes. Something we plan to try someday is an ostrich or emu egg shell. They should be available over the internet. They come with a small hole at one end used to remove the contents. They should be easy to work with. We find the idea of a turtle hiding in an egg shell amusing. We are into using brass and copper as you can see in Tour Thirteen: Many Uses for Brass and Copper. It is only a matter of time before we try something made of brass or copper. Our hanging planters in our vivariums and aquariums are popular hiding places. We are not big on plastic. But then we have not come across something plastic that we wanted to try. If it is too light weight, it will simply get pushed around. An old black or brown Bakelite box would work. If we ever do one we will add it to this tour. Lastly glass is an option. Heavy glass can be cut and ground away like ceramic. Clear glass could be painted to provide a dark interior. These techniques can be used to make hide boxes for other reptiles and amphibians and maybe some fury critters as well. So why purchase hide boxes when you can make your own unique ones. The possibilities are endless. And if you have snakes, lizards, toads, salamanders or frogs... Think of the possibilities. We hope you enjoyed this tour and we hope you try making some truly unique hide boxes. Come back again.
|
