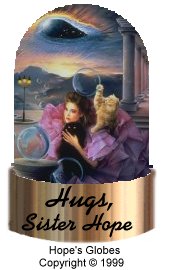
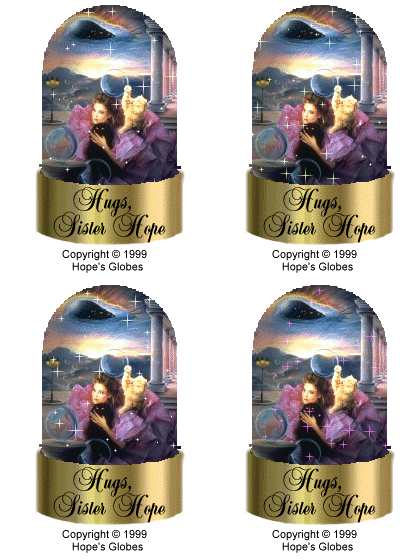
Please take one of my Logos
and link it back to me !!
https://members.tripod.com/Hopes_Heaven


This Tutorial is not to give GLORY
to myself
but to help everyone who is willing to learn !!
Please Share It, Love From Hope :)
Please feel free to visit my
Friends Globe sites

Please be patient with this
tutorial, some will learn very quickly
and some of you will need to visit every tutorial site link that
I have listed for you. Hang in there and you will get it.
Good Luck to you all and have fun !!
This Globe was made using Paint Shop Pro 5.0
If you do not have this, you may download it at ::
http://www.jasc.com

First down load these tubes for the dome and the
ball globes.
Globe Ball
Globe Dome
Courtesy of Lynn and Hope
With Special Permission
Copyright © 1999
For a Tube Tutorial, visit this site:
Working With Tubes
Now, download these other Plugins you will
need:
Download Gregs Filters for:
Sparkle
Spotlight
Check out Gregs other filters
Gregs Site
if still broken try this one
Filter
Factory A

Some people prefer making their Globes with Tubes
but I prefer Filters, especially the Sparkle Filter.
I have made a tutorial for Filters below.
After you have completed this
tutorial you can
experiment with these other bases.
Other Bases for you

Now Let's Have Some Fun And Make a
Globe !!
You Might Want To Print These Instructions to follow along with me.
Open PSP 5.0
1. Open a new image with a "transparent
background":
Dome Globe = 175 x 270
Ball Globe = 195 x 250
2. Click on the tubes tool and choose the dome or ball globe,
leave at 100%,and click in the very
center of the new image.
( If you need to move it - just
click on the move tool and place it
where you want it, as
long as it is centered. )
(You should have put the dome/ball globe in your tube folder in
Windows Explorer - PSP. If not go do that now, so it will
show up as a tube tool.) Here is a quick tip from LdyDragn.
This is what it should look like !!
![snow[1].bmp (156846 bytes)](snow1.jpg)
Important !!
You can also add your copyright at
the bottom on the
transparency area. Save as Cpyright/dome or Cpyright/ball.
Anytime you create something from scratch, you may
copyright it, as long as you can document and date it.
Copyright
Information
The copyright symbol can be found in your Word Processing
Program, just copy and paste this, if you don't have it. ©
You can also make the copyright symbol
by typing Alt 0169 in PSP.
Now is the time to add your text on the Base of the
Globe.
Click on the text button and chose a font and add your
text, click on OK, then position your text on the Base.
Now that you have your text on it, you
need to :
1. Right click on the text to
get it to stop the floating.
2. Click the magic wand and
select the inner white of the globe.
( It is important to keep the ants marching during this entire
tutorial. )
3. Copy and Paste as a "New
Image".
![snow1[1].bmp (91710 bytes)](snow11.jpg)
4. Take the wand again and select the inner
white to keep the ants
marching.
5. Go to "Selections", "Modify", "Expand" to
"1" then click OK.
6. Open the image that you want to insert in your Globe.
7. You may need to resize this image to fit in your Globe.
( Don't worry we will get rid
of excess later. )
8. Copy and paste as "New Layer" onto the Dome/Ball.
( not the Globe with the Base on it
)
9. Click on "Invert Selection" then Cut.
10. Click on "Invert Selection" again, it should look like this.

You should see the ants marching !!
HooRay !! Now you are ready to
copy this onto the main Globe !!!!!
Important make sure the ants are marching on your main Globe, too !!
11. Now, Copy and Paste, onto
the Globe with the Base, as a "New Selection".
12. Position this where you want
it, left click to place it.
( You should still have the ants
marching)
It should look like this, with ants
marching.


Now to add the "SPOTLIGHT"
This step is optional, but it makes
your Globe look rounded.
13. Now go to "Image",
"Plug-In Filters", Greg's Factory Output, "Spotlight".
Filter
Tutorial
14. Use these settings: ( or
whatever looks right to you )
Dome: 143, 122, 85, 117, 182, 74 ( or approx.)
Ball: 138, 136, 96, 165, 172,
83 (or approx.)
15. Now make 2 more duplicates
of what you just did.
I use Shift + d to make my duplicates.

Now, Yipee, let's add the
"SPARKLES"
16. Activate the first image,
you should have ants marching on Dome part
remember.
17. Now to add the
Sparkles - Go to "Image", "Plug-In Filters", VM Natural
"Sparkles".
( You should only see
the Dome with the image in it, if you kept your
ants
marching.)
18. Do the same to image 2 and 3
but put the Sparkles in a different area.
You can also adjust the color of the
Sparkles here.
19. Now save as img1 in
"PSP Format". Then do the same for img2 and img3.

Yeah !!! Now, we are ready to
animate it.
1. Get out of PSP and Open PSP
Animation Shop.
2. Click on Animation Wizard,
far left button.
3. Check only Same Size as the
first image then click Next.
4. Check only transparent then
click Next.
5. Check Upper Left Corner and
check With Canvas Color then click Next.
6. Check Yes Repeat The
Animation and fill in how long delay in frames,
set to 20, then click Next.
7. Now click Add and add
img1.psp from your hard drive, repeat for img2.psp,
and img3.psp, click Next then click
Finish.
8. Now to test your animation, go to the box
at the right, third from the end.
It says View Animation, click on it.
If you like what you see then.
Yell, YIPEEEEE, real loud !!
9. Now go to File and Save As.
Give it a name and click OK.
( It will save it as .gif, let it
stay as .gif )
10. Leave it at High Quality and
click Next.
11. Let it do it's thing and
click Next then Finish.
Voila, you have just made your
first animated Sparkle Globe !!!

Hugs to you all, this is for you,
please share this with all of your friends !!
Please take one of my Logos and link it back to me, thanks !!

Would you like to learn other
tutorials ??
Here is a Special Tutorial Page for you !!
|


![snow[1].bmp (156846 bytes)](snow1.jpg)
![snow1[1].bmp (91710 bytes)](snow11.jpg)


