
 |
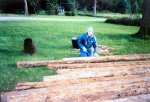
Susan is pealing the Eastern Red Cedar Logs while Zoe is watching. Red Cedar was used because of its natural resistance to rotting. |
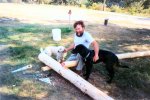 |
Our friend Mitch used his timber framing skills to cut mortise and tenon joints in the cedar logs with the help of Sparky and Chip. |
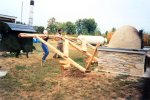 |
Susan and Mitch begin raising the West wall of the timber frame structure as Chip watches. |
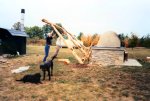 |
The West wall is starting to fall in to the holes, but Chip and Zoe are not impressed. |
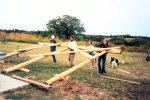 |
Susan, Mitch, Sarah and Sophia raise the East wall of the timber frame structure while Zoe and Sparky play. Note the short logs use to roll the wall into place, and how on this taller wall, Sarah is holding a brace to prevent the wall from falling backwards. |
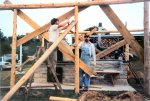 |
Mitch and Tim secure and level the East timber frame wall. The temporary braces keep everything true until the permanent braces cut with mortise and tenon joints are installed. |
 |
This detail of the timber frame braces shows the precise work required to fit the structure together. |
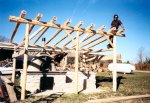 |
With the rafters now in place, Mitch has completed the timber frame portion of the structure. |
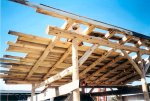 |
Mitch installs the roof deck boards on the rafters. |
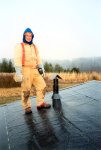 |
Jason has installed the underlayment for the metal roof and put on the roof jack and roof cap. |
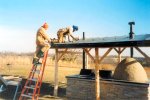 |
Francis and Jason install the metal roof panels and put the 1st crimp on the standing seams. |
 |
Sophia, Sarah and Francis prepare to sign and date the back of the last panel of standing seam metal roofing before it is installed, as Jason puts the 2nd crimp on the standing seams. |
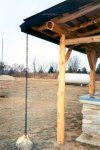 |
A rain gutter was installed to prevent water running off the roof from splashing onto the mud oven. A rain chain was used instead of a downspout as it gave a cleaner look to the structure and adds art to function. |
 |
The completed standing seam metal roof should last for many decades and keeps sparks away from the timber frame structure. It complements the black metal work and stone below just as the wood, clay and limestone complement each other. |
| Click on some of the other options in the menu above for more information on the mud oven and barbeque-grill. Back To Top | |
| Please contact Tim or Susan if you have questions about our outdoor kitchen. We would appreciate any feedback regarding this website. | |
|
|