|

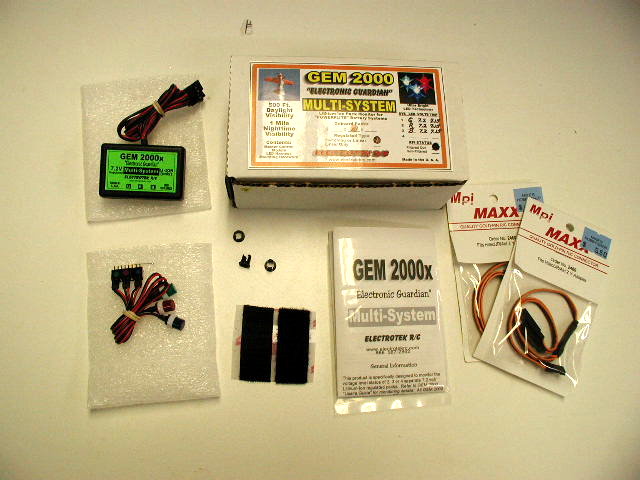
This is what is required to make your new
Gem system work. You get everything shown less the two Y harnesses, available from any hobby shop. This comes neatly packaged
in foam ready for you.

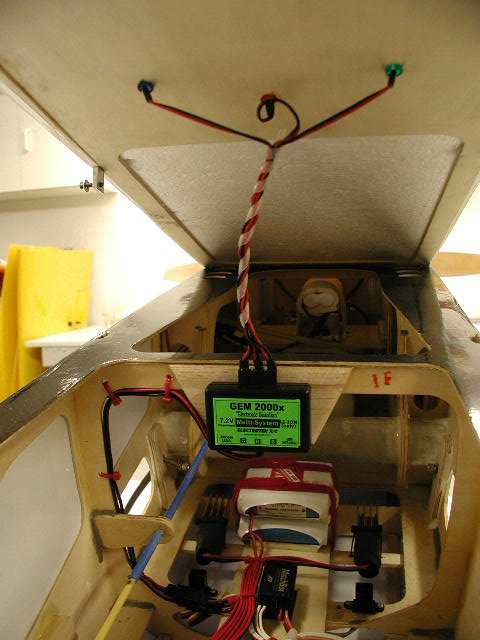
This is what it looks like underneath the
canopy. I found a convenient and safe place to mount the "magic box", leaving an easy access to the the plug-in for the LEDs.
All wiring should be kept neat to prevent snagging which can lead to disconnections during flight. I routed and tied
the wires to a former, leading to the switched power side, (between the switch and the regulator) You can either use a Y harness
to tap into the system, or do as I did and dissassemble and solder a female lead into the "downstream" side of the
JR chargeswitch, the regulator/receiver side in the switch. This makes for less connections to fail, and a neater, less cluttered, "wiring
harness" .

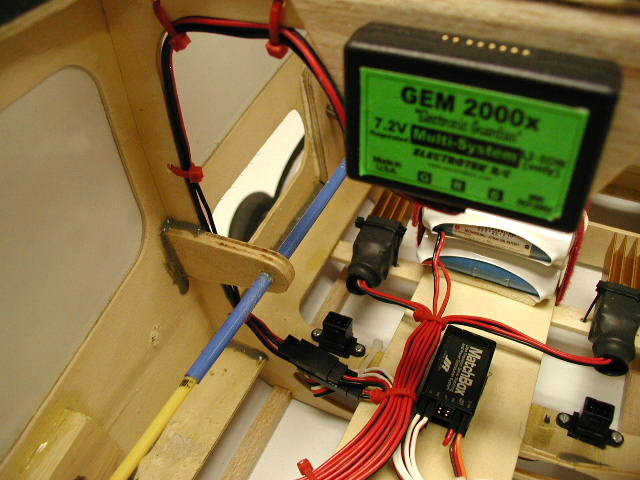
Here is a closer shot of how I mounted
the CPU. I used heavy 3/32" balsa, epoxied to the former. It has a sturdy hold, easily accessible to install the LED plug
before flight. The leads go to the switch. This system will now monitor my two 3200mah PowerfLite 7.2v packs, as well as the
2000mah PowerfLite 7.2v pack used on my 3W's ignition, while staying totally isolated from any ignition RF interference..
It will warn me of shorts, bad connections, failing switches, wiring, cells, overloads, servo loads/binds, etc.. It
will monitor and warn me of anything that may cause the pack to drop below 7.15 volts. Plus it looks cool while doing it!
Tri-Pack is most popular for Giant scale models, and is available
from PowerfLite.
|

